

Excel 2013
Formatting Cells
Cell borders and fill colors
Cell borders and fill colors allow you to create clear and defined boundaries for different sections of your worksheet. In our examples below, we'll add cell borders and fill color to our header cells to help distinguish them from the rest of the worksheet.
To add a border:
- Select the cell(s) you wish to modify.
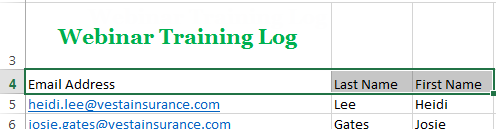 Selecting a cell range
 - Click the drop-down arrow next to the Borders command on the Home tab. The Borders drop-down menu will appear.
- Select the border style you want to use. In our example, we will choose to display All Borders.
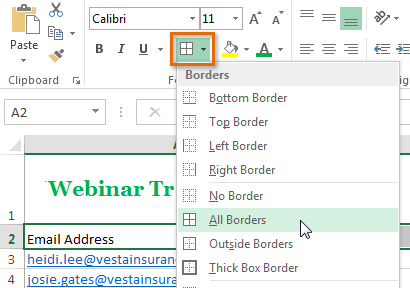 Choosing a border style
 - The selected border style will appear.
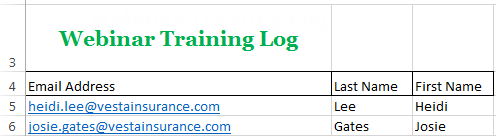 The added cell borders
You can draw borders and change the line style and color of borders with the Draw Borders tools at the bottom of the Borders drop-down menu.
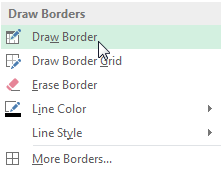 Drawing custom borders
To add a fill color:
- Select the cell(s) you wish to modify.
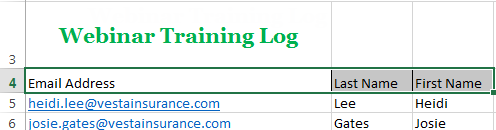 Selecting a cell range
 - Click the drop-down arrow next to the Fill Color command on the Home tab. The Fill Color menu will appear.
- Select the fill color you want to use. A live preview of the new fill color will appear as you hover the mouse over different options. In our example, we'll choose Light Green.
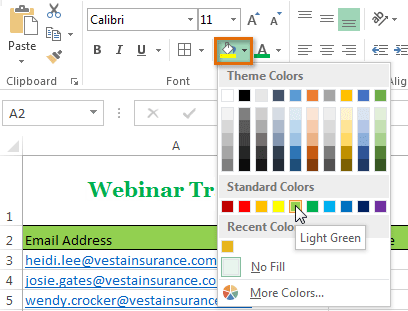 Choosing a cell fill color
 - The selected fill color will appear in the selected cells.
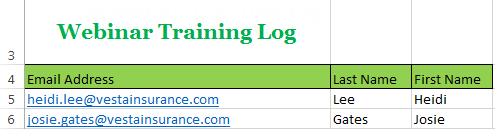 The new fill color


