Photoshop Basics
Doing More with Layers
Introduction
As we discussed in our lesson on Understanding Layers, there are many different ways to use layers in Photoshop. So far, we've covered a few fundamental skills, including how to use adjustment layers. In this lesson, we'll talk about some of the more advanced options, such as opacity, blending modes, layer masks, and layer groups. We'll also provide links to additional resources if you want to learn more about using these tools.
If you'd like to follow along, you can download our example file.
Layer opacity
You can control the opacity for almost every layer in a Photoshop document. The opacity determines how transparent or opaque the layer will be. In other words, it controls how much the layers below can show through. Take a look at the example below:

This example uses two different text layers and a background layer. The mountains text layer has an opacity of 100%. This layer is completely opaque, meaning nothing below the letters can show through. By contrast, the appalachian text layer has an opacity of 15%. This layer is mostly transparent, meaning you can see through the letters to the background layer.
You can also change the opacity of an adjustment layer to make it more subtle. For example, if you have a Curves layer that is too intense, you could reduce the opacity to 70-80%. In many situations, this may be easier than modifying the adjustment layer itself.
To adjust layer opacity:
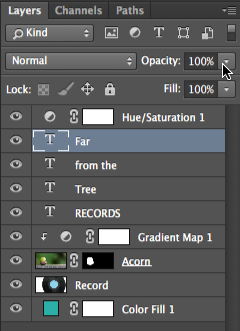
- Select the desired layer, then click the Opacity drop-down arrow at the top of the Layers panel.
- Click and drag the slider to adjust the opacity. You'll see the layer opacity change in the document window as you move the slider. If you set the opacity to 0%, the layer will become completely transparent, or invisible.
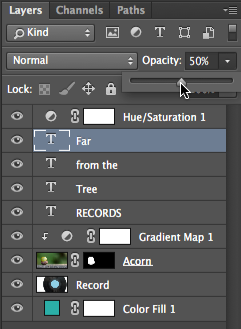
Open the example file, then adjust the opacity of the Text layers to see the effect.
Background transparency
By default, most Photoshop documents use a Background layer. You cannot adjust the opacity of a Background layer, and it cannot be hidden. This is because you won't want the background to have transparency for most projects, especially if you're working with a photograph.
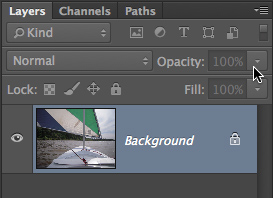
However, there are some situations where you may want a transparent background. For example, if you are creating a logo for a website a transparent background will allow the website's background color to show through, giving the logo a more seamless, professional look.
If you're following along with the example file, try hiding all layers except the Acorn layer. See the checkerboard pattern behind the acorn? This means the background is completely transparent. The checkerboard won't actually be exported when you save your image—it's only there to indicate transparency.
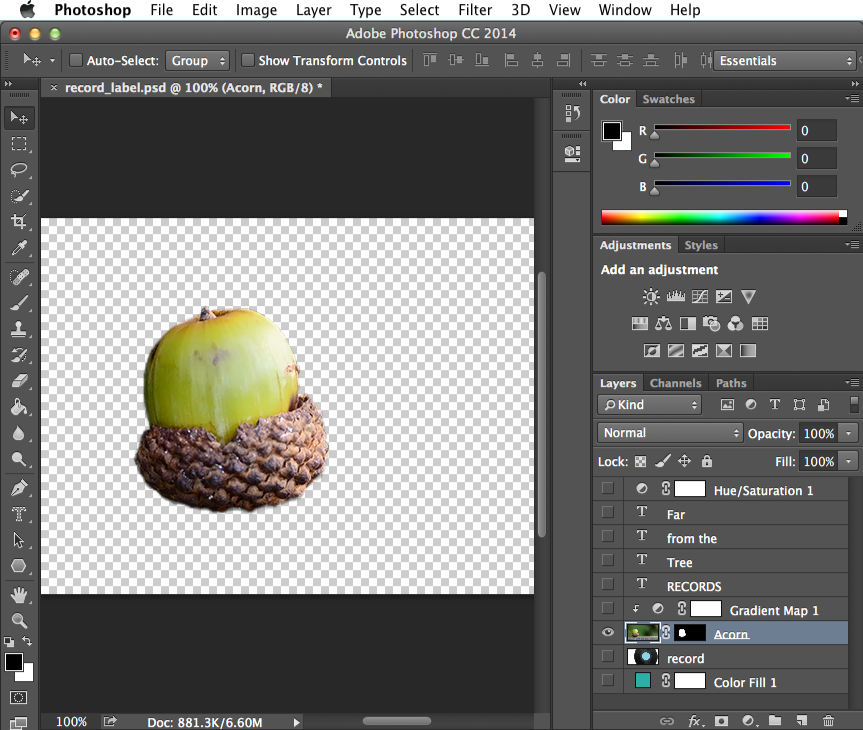
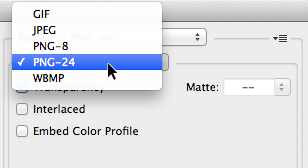
Note that if you want your image to have a transparent background, you'll need to save it in a format that can handle transparency. We recommend using the PNG-24 format, which is available in the Save for Web dialog box. JPEG files are unable to have transparent backgrounds, so they will save all transparent areas as white.
