Photoshop Basics
Levels, Curves, and Color
Color corrections
There will be times when you may want to adjust the colors in an image. For example, you may want to modify the color intensity or even change colors for artistic effect.
Saturation
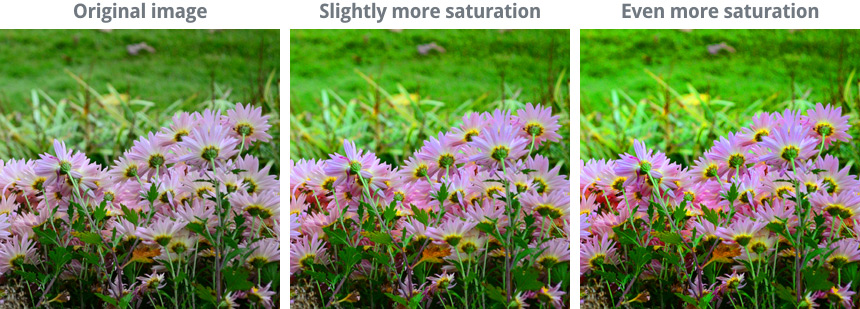
If the colors in your image are dull or muted, you can increase the saturation to make them look more vivid. You can see an example of this in the images below:
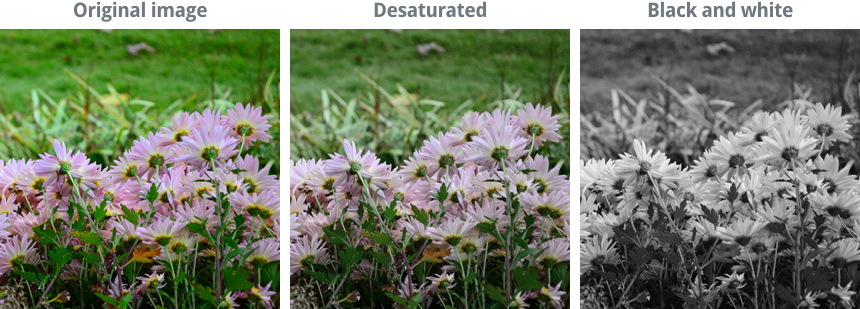
On the other hand, you can reduce the saturation to make the colors less vivid. If you remove the saturation completely, it will produce a black-and-white, or grayscale, image. You can see an example of this in the images below:
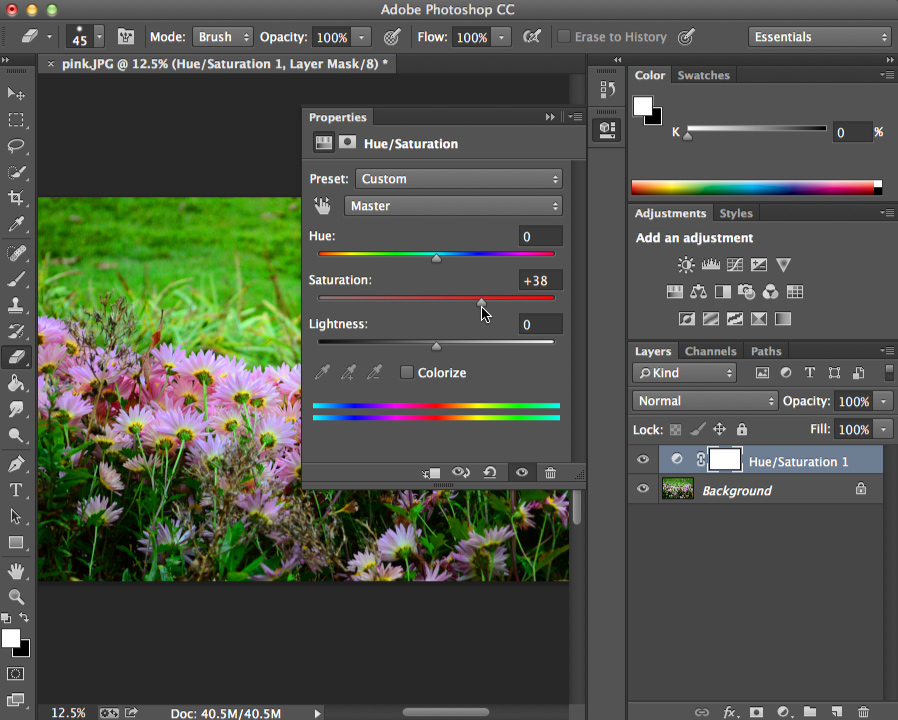
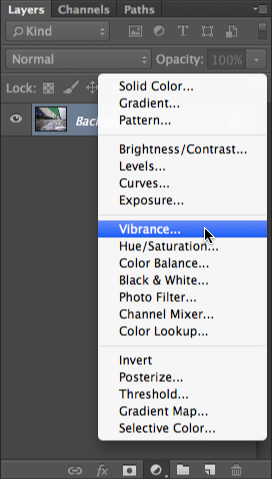
To adjust saturation, add a Hue/Saturation adjustment layer. Then click and drag the Saturation slider in the Properties panel to increase or decrease the saturation.
Saturation adjustment tips
Here are a few recommendations for getting the best results with saturation adjustments:
- Be careful not to increase the saturation too much. This can cause the colors to look unnatural, as in the example below:

- Increasing the saturation may also create image noise. We'll talk more about removing noise in the next lesson.
- For some types of pictures, especially portraits, increasing the saturation can look unflattering. In these cases, you may want to decrease the saturation.
- The Hue slider changes all of the colors in the image at the same time. This will often result in an unnatural color combination, so we don't recommend adjusting the hue unless you want an unusual effect.
- Although you could use the Lightness slider to increase or decrease the image brightness, you'll probably want to add a Levels or Curves adjustment layer instead—these will give you more control over image brightness.
Vibrance
Increasing the saturation can sometimes look a bit unnatural. One solution is to use a Vibrance adjustment layer instead of Hue/Saturation. Vibrance lets you boost the saturation for the parts of the image that are less colorful without oversaturating the parts that are already colorful.
Open pink_fullsize.jpg, then add a Hue/Saturation adjustment layer. Take the saturation to the highest and lowest settings to see the effect. Try to find the setting that looks best for the image.
Converting to black and white
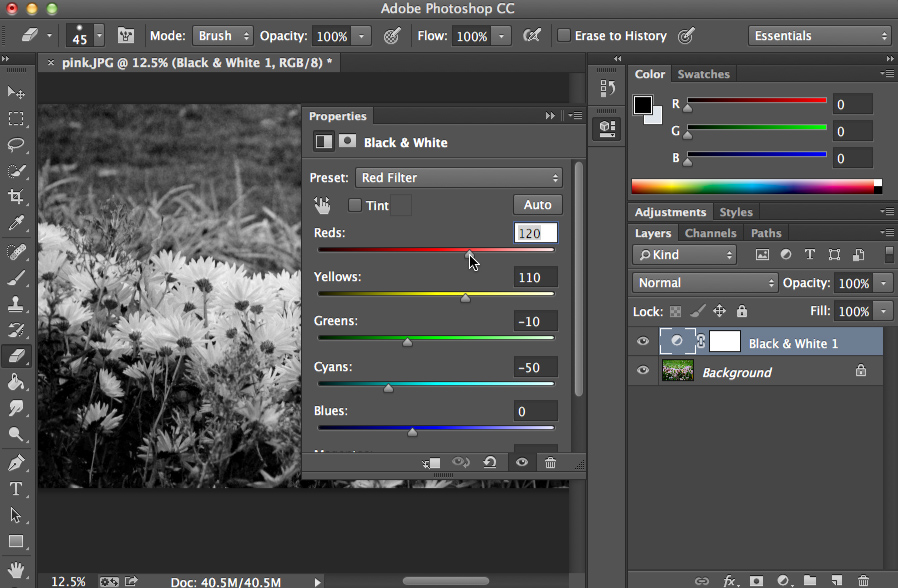
As we mentioned above, setting the saturation to -100 will create a black-and-white image. However, this method doesn't give you much control over how the black-and-white version will look. For better results, you can create a Black and White adjustment layer.
Because black-and-white photos don't have colors, the tones (the different shades of gray) are especially important. A Black and White adjustment layer allows you to control how the different colors are mixed to create specific tones, which can make a significant difference in how the final image looks.
We recommend trying different options from the Preset menu until you find one that works well for the image—you can then make small adjustments to the individual colors as needed.
