

Google Sheets
Modifying Columns, Rows, and Cells
Wrapping text and merging cells
Whenever you have too much cell content to be displayed in a single cell, you may decide to wrap the text or merge the cell rather than resizing a column. Wrapping the text will automatically modify a cell's row height, allowing the cell contents to be displayed on multiple lines. Merging allows you to combine a cell with adjacent empty cells to create one large cell.
To wrap text:
- Select the cells you wish to wrap. In this example, we are selecting cell range A3:A10.
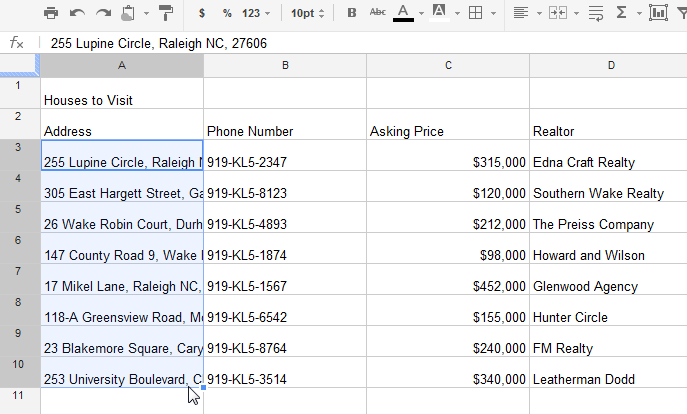 Selecting cells to wrap
 - Locate and select the Wrap text button
 .
.
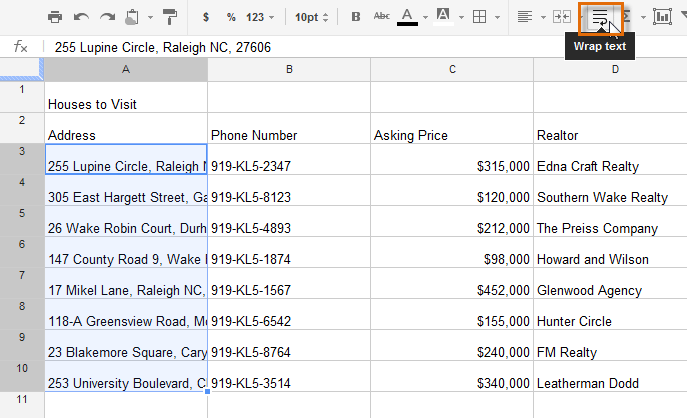 Clicking the Wrap text button
 - The cells will be automatically resized to fit their content.
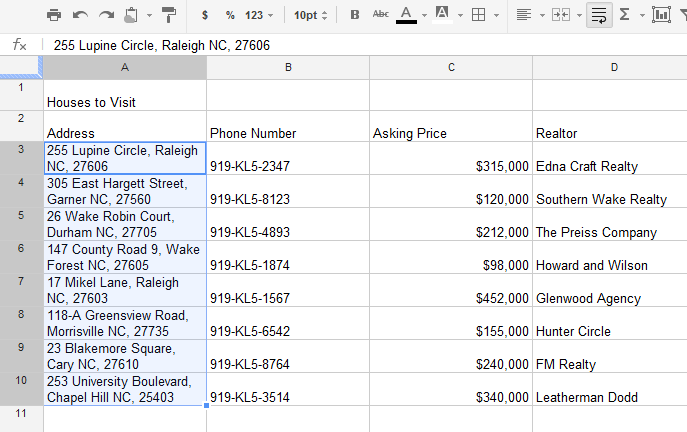 The wrapped text inside the resized cells
To merge cells:
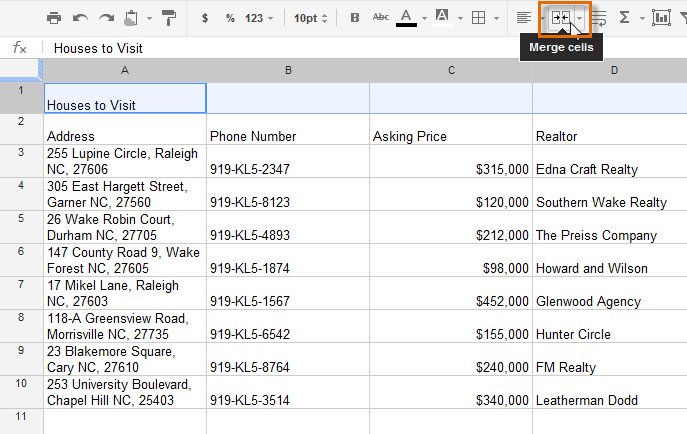
- Select the cells you wish to merge. In this example, we are selecting cell range A1:D1.
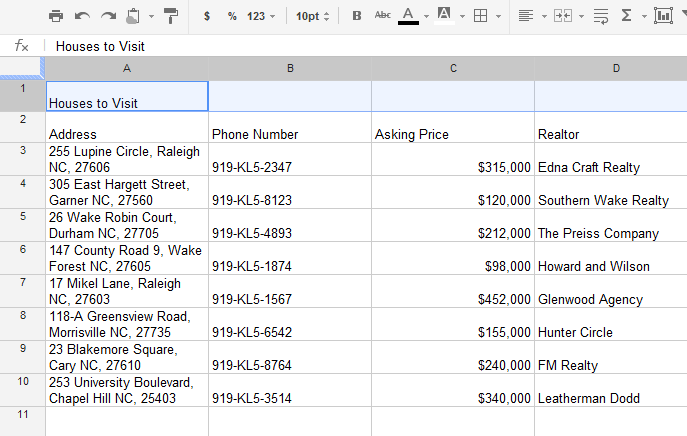 Choosing cells to merge
 - Locate and select the Merge cells button
 .
.
 Clicking the Merge cells button
 - The cells will now be merged into a single cell.
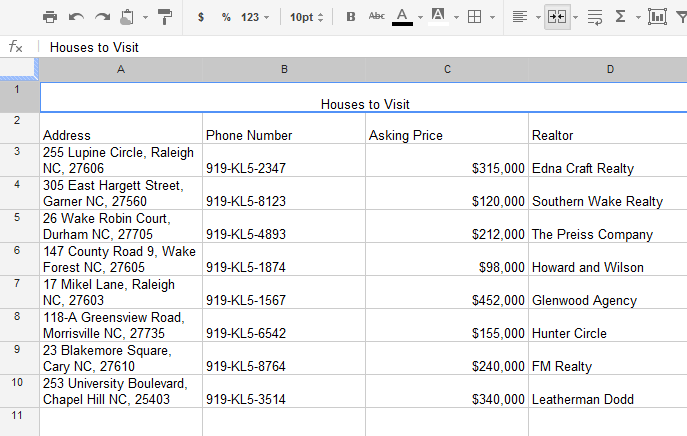 The merged cells
To unmerge a cell, click the drop-down arrow next to the Merge cells button, then select Unmerge cells from the drop-down menu.
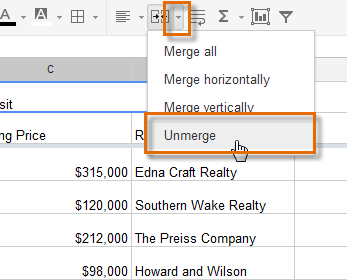 Unmerging cells


