Excel 2013
Modifying Columns, Rows, and Cells
Introduction
By default, every row and column of a new workbook is always set to the same height and width. Excel allows you to modify column width and row height in different ways, including wrapping text and merging cells.
Optional: Download our Lesson 8 Practice Workbook.
To modify column width:
In our example below, some of the content in column A cannot be displayed. We can make all of this content visible by changing the width of column A.
- Position the mouse over the column line in the column heading so the white cross
 becomes a double arrow
  .
.
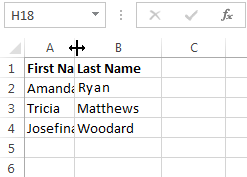 Hovering over the column line
 - Click, hold, and drag the mouse to increase or decrease the column width.
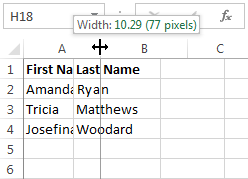 Increasing the column width
 - Release the mouse. The column width will be changed.
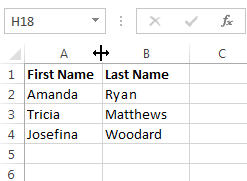 The new column width
If you see pound signs (#######) in a cell, it means that the column is not wide enough to display the cell content. Simply increase the column width to show the cell content.
To AutoFit column width:
The AutoFit feature will allow you to set a column's width to fit its content automatically.
- Position the mouse over the column line in the column heading so the white cross
 becomes a double arrow
  .
.
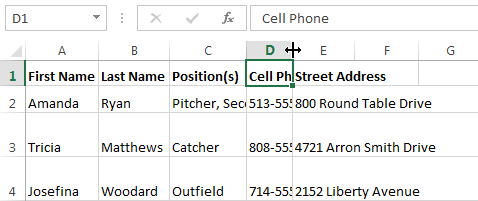 Hovering the mouse over the column line
 - Double-click the mouse. The column width will be changed automatically to fit the content.
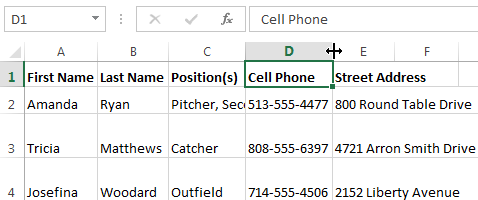 The automatically sized column
You can also AutoFit the width for several columns at the same time. Simply select the columns you would like to AutoFit, then select the AutoFit Column Width command from the Format drop-down menu on the Home tab. This method can also be used for Row height.
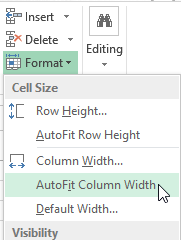 AutoFitting columns width with the Format command


