

Excel 2010
Modifying Columns, Rows, and Cells
Working with columns, rows, and cells
Video: Modifying Cells, Rows, and Columns in Excel 2010
 Watch the video (3:22).
By default, every row and column of a new workbook is always set to the same height and width. Excel allows you to modify column width and row height in many different ways.
To modify column width:
- Position your mouse over the column line in the column heading so the white cross
 becomes a double arrow
  .
.
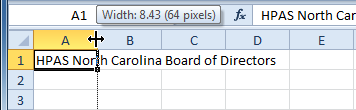 Positioning mouse over the column line
 - Click and drag the column to the right to increase the column width or to the left to decrease the column width.
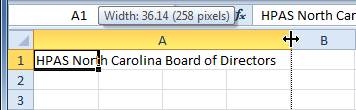 Increasing the column width
 - Release the mouse. The column width will be changed in your spreadsheet.
 Increased column width
If you see pound signs (#######) in a cell, it means that the column is not wide enough to display the cell content. Simply increase the column width to show the cell content.
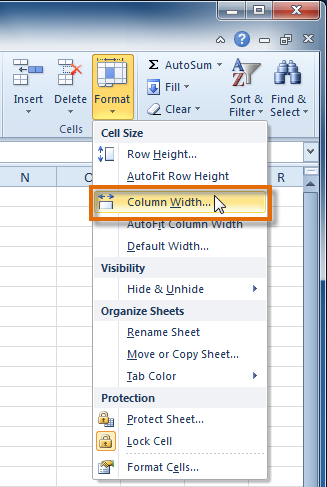
To set column width with a specific measurement:
- Select the columns you want to modify.
- Click the Format command on the Home tab. The format drop-down menu appears.
- Select Column Width.
 Increasing the column width
 - The Column Width dialog box appears. Enter a specific measurement.
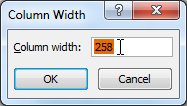 Increasing column width to 258 pixels
 - Click OK. The width of each selected column will be changed in your worksheet.
Select AutoFit Column Width from the format drop-down menu, and Excel will automatically adjust each selected column so all of the text will fit.


