Excel 2010
Formatting Tables
Formatting Tables
Just like regular formatting, tables can help to organize your content and make it easier for you locate the information you need. To use tables effectively, you'll need to know how to format information as a table, modify tables, and apply table styles.
To format information as a table:
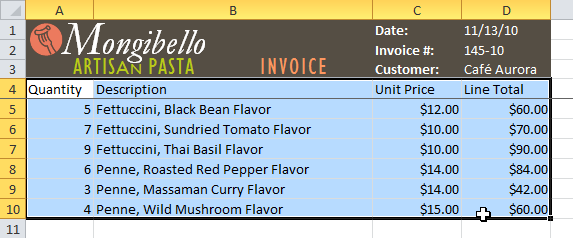
- Select the cells you want to format as a table. In this example, an invoice, we will format the cells that contain the column headers and order details.
 Selecting cells to format as a table
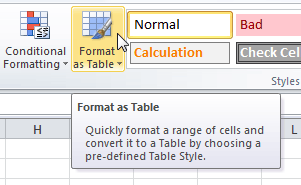
 - Click the Format as Table command in the Styles group on the Home tab.
 Format as Table command
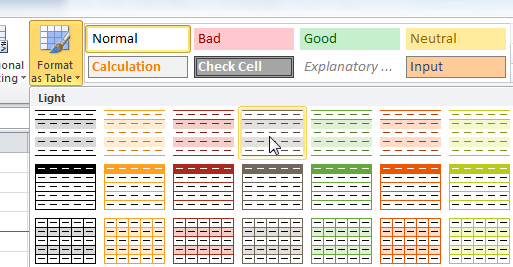
 - A list of predefined table styles will appear. Click a table style to select it.
 Selecting a table style
 - A dialog box will appear, confirming the range of cells you have selected for your table. The cells will appear selected in the spreadsheet, and the range will appear in the dialog box.
- If necessary, change the range by selecting a new range of cells directly on your spreadsheet.
- If your table has headers, check the box next to My table has headers.
 Creating a table
 - Click OK. The data will be formatted as a table in the style you chose.
 Data formatted as a table
Tables include filtering by default. You can filter your data at any time using the drop-down arrows in the header. To learn more, review our Filtering Data lesson.
To convert a table back into "normal" cells, click the Convert to Range command in the Tools group. The filters and Design tab will then disappear, but the cells will retain their data and formatting.


