

Excel 2010
Formatting Tables
Modifying tables
To add rows or columns:
- Select any cell in your table. The Design tab will appear on the Ribbon.
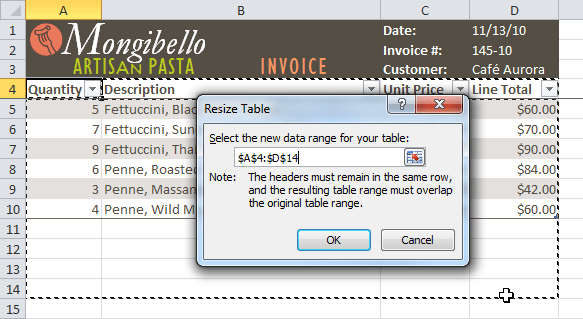
- From the Design tab, click the Resize Table command.
 Resize Table command
 - Directly on your spreadsheet, select the new range of cells you want your table to cover. You must select your original table cells as well.
 Selecting a new range of cells
 - Click OK. The new rows and/or columns will be added to your table.
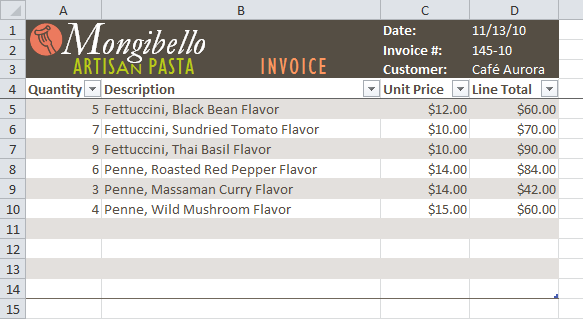 After adding new rows
To change the table style:
- Select any cell in your table. The Design tab will appear.
- Locate the Table Styles group. Click the More drop-down arrow to see all of the table styles.
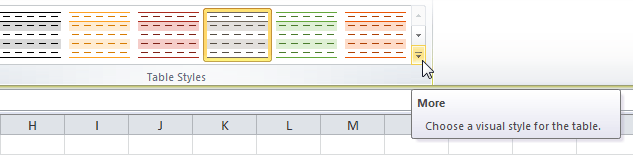 The More drop-down arrow
 - Hover the mouse over the various styles to see a live preview.
- Select the desired style. The table style will appear in your worksheet.
 After changing the table style
To change table style options:
When using an Excel table, you can turn various options on or off to change its appearance. There are six options: Header Row, Total Row, Banded Rows, First Column, Last Column, and Banded Columns.
- Select any cell in your table. The Design tab will appear.
- From the Design tab, check or uncheck the desired options in the Table Style Options group.
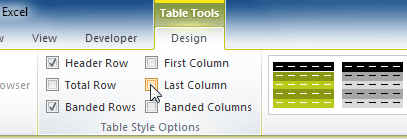 Table style options
Depending on the Table Style you're using, certain Table Style Options may have a different effect. You may need to experiment to get the exact look you want.


