Place blade (held within the mould) at a relatively steep angle to allow the
liquid foam to flow all the way to the base. Access to the funnels at the blade
tip should be easy (steps may be required) as the next stage will happen very
quickly.
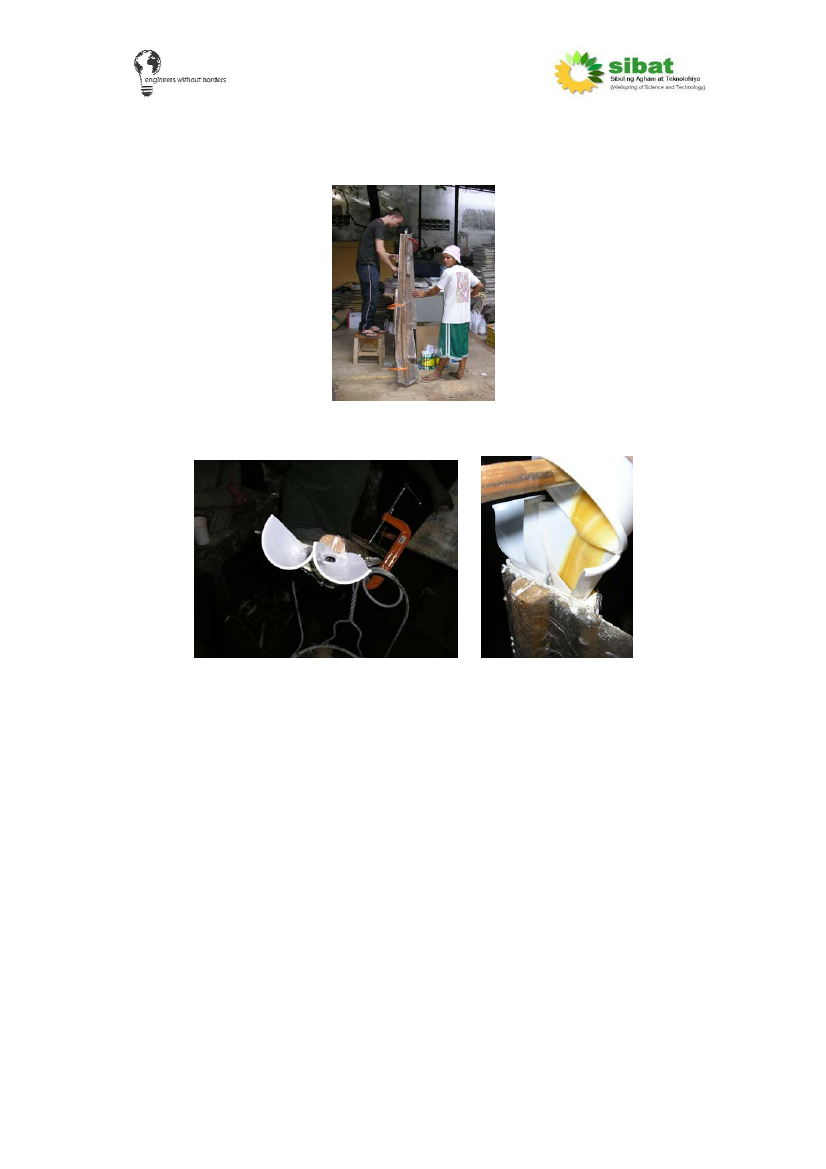
5: Mix well but very quickly. Pour into one section of the blade. Approximately
5 seconds are available before the foam starts to expand (be quick!).
Note: This is a relatively difficult stage with not much room for error. Once the
foam starts to expand there is nothing that can be done until it has been left to
cure. It is best to do some practice runs first, to get to know the properties of
the foam. In our attempts we had to add foam into the middle and base
sections of the blades. This was not ideal. Some form of liquid injection
system would be more suitable.
The liquid foam should flow to the base of the blade. The blade should be laid
flat so that the foam will expand evenly within the blade.
6: Leave to dry (approx 1hour).
7: Repeat the above process to fill the other section of the blade.
8: Remove masking tape. Ensure that the foam has filled the blade correctly.
Problems are difficult to correct but additional foam can be inserted into gaps
along the blade edge if required.
9: When the foam has fully cured, cut or sand away any excess foam that
might have spilled out.
32