DRYIT Semi-Continuous Tray Drier
Practical Action
General assembly
This section deals with the assembly of the drier components. This assembly of the drier
needs at least two people.
Follow these steps:
1.) Place the upper frame on top of the base (cladded) and line up the four legs with each
other.
2.) Clamp the meeting faces together and drill the holes I the upper frame using those in the
pads of the base for positioning.
3.) Put the nuts and bolts in place, tighten them and then remove the clamps
4.) Slide the drying cabinet (cladded) into position; the back and front of the cabinet should
be flush with the edges of the base, and the sides should be equidistant from the base
tray supports. Mark the positions of holes in the base through those in the angle pads.
5.) Drill the holes in the base and fit the nuts and bolts
6.) Drill the holes in the upper frame through those in the drying cabinet upper pads and fit
nuts and bolts.
Set up the lifting mechanism by following the steps below:
7.) Bolt the four plain bearings tot the upper frame and place the lower halves of the split
bearing sin position.
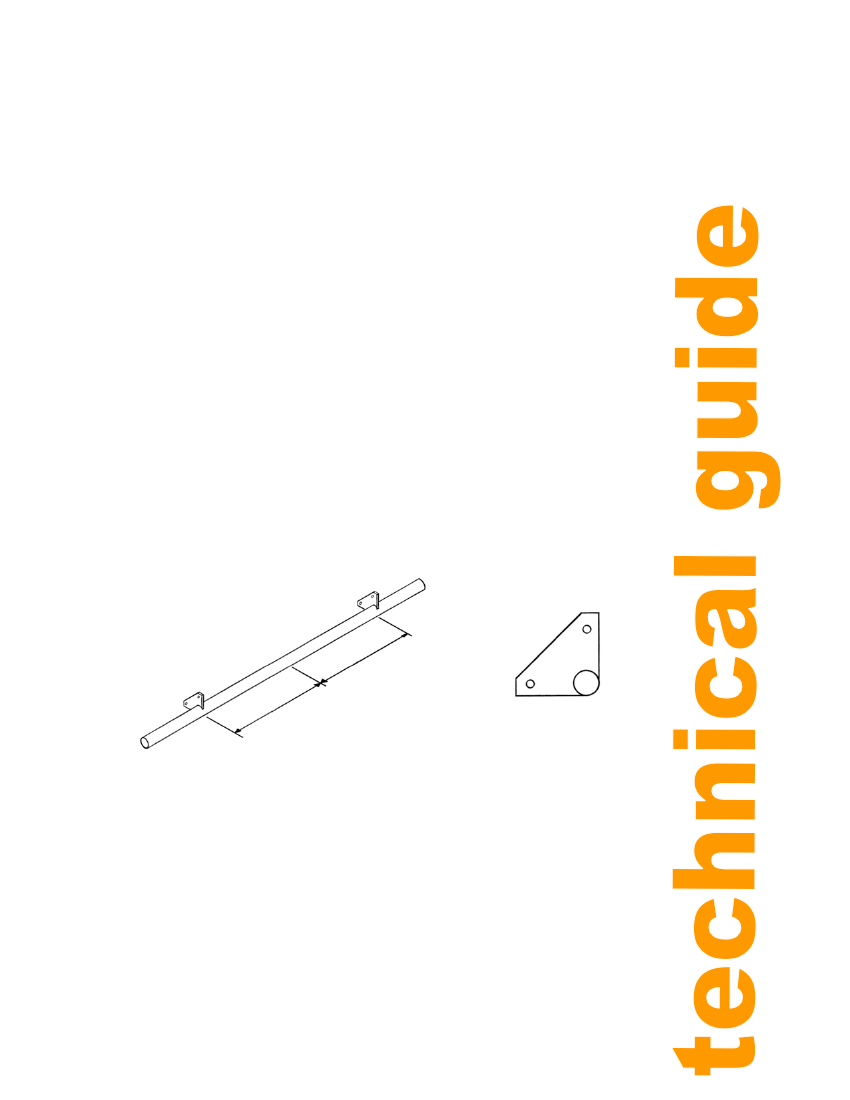
8.) Weld two cams to each bearing shaft in the positions shown in figure 25.
473
473 Centre line
Cam in line
Figure 25: Cams on shaft
9.) Mount the bearing shaft in the bearing blocks. Fit the bearing end plates and bolt on the
upper half of the left-hand split bearing.
10.) Bolt the links onto the upper holes of the cams and set the cams at approx 25 degrees
as shown in figure 26.
25
Cam