Publisher 2010
Working with Pictures
Fitting pictures in your publication
To get your picture to fit well on the page, you may have to adjust it by resizing, cropping, and rearranging it.
To resize a picture:
- Select the picture.
- Click one of the corner sizing handles and drag your mouse until the picture is the desired size.
 Clicking and dragging the picture to resize it
 - Release your mouse. The picture will be resized.
 The resized picture
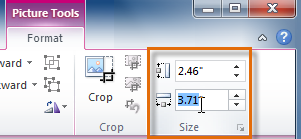
If you know exactly how many inches tall and wide you want your picture to be, you can resize it to those specifications. Click the Picture Tools Format tab, then locate the Size group. Enter the desired height of your picture in the top box and the desired width in the bottom box.
 Entering precise measurements for the picture
To crop a picture:
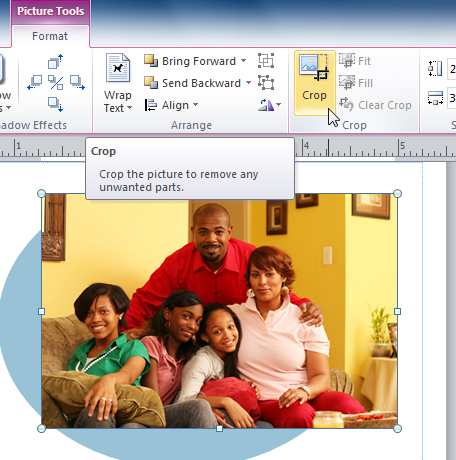
- Select the picture, then click the Picture Tools Format tab and locate the Crop group.
- Click the Crop command.
 The Crop command
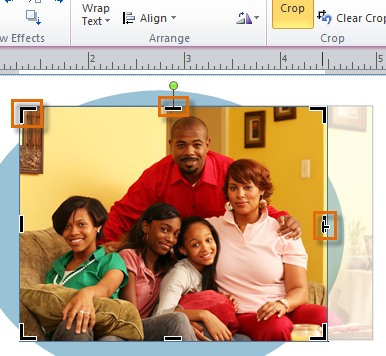
 - The black cropping handles will appear. Click and drag a handle to crop the picture. The areas that will be cropped will appear to be semi-transparent.
 Cropping handles
 - When you are satisfied with the appearance of your picture, click the Crop command again.
- The picture will be cropped.
 The cropped picture
Arranging pictures
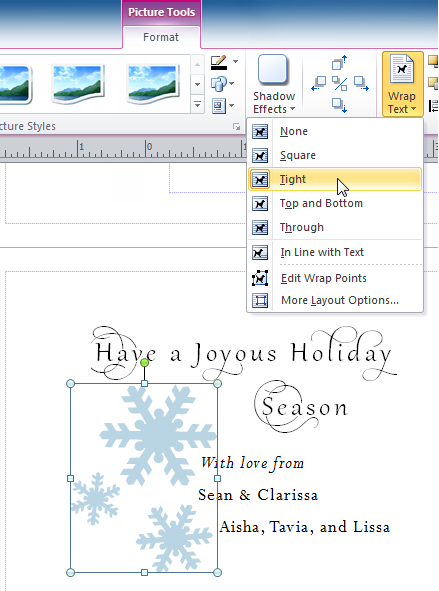
To get your pictures to fit properly with text and other objects, you may have to align them and adjust their text wrap settings. The procedures for doing these things are identical to the procedures for working with shapes and other objects. To learn how to arrange and align pictures, review our Working With Shapes and Objects lesson.
 Picture text wrapping options


