Word 2000
Editing Tables
Adding Borders and Shading
Want to give your table your own decorative touch? You can adjust AutoFormats (using the checkboxes in the AutoFormats dialog box) or start with a clean slate.
To start from scratch, create a table and open the Tables and Borders toolbar
by choosing View ![]() Toolbars
Toolbars ![]() Tables
and Borders.
Tables
and Borders.

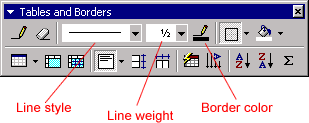
The Line Style, Line Weight, and Border Color buttons all format table cell borders.
To Change Line Style or Line Weight
 :
:
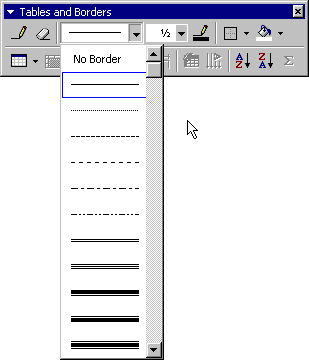
- Click the drop down arrows (next to the buttons) to view and select from the list of choices.
- The mouse pointer turns into a pencil
 .
.
- Trace the line you want to change.
- Click anywhere outside the table to change to pencil back into the I-beam.
To Change the Border Color:
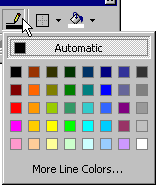
- Click the drop down arrow next to the Border Color button. A color menu appears.
- Select a color. The I-beam becomes the pencil.
- Using the pencil, trace the borders that you want to color. Don't miss any areas or the color will not be applied.

To Apply a Border:
- Select the cells you want bordered.
- Select the Line Style, Line Weight, and Border Color.
- Click the Borders button drop down menu and choose the border you want.

To Apply Shading:
- Select or place the insertion point inside the cell(s) you want shaded.
- Click the Shading Color button drop down arrow. A shading color menu appears.
- Click on a color. Your cell(s) are automatically shaded.


