Publisher 2010
Working with Shapes and Objects
Working with shapes
Using shapes and objects is an easy way add graphic design elements to your publication. While you may not need shapes in every publication you create, they can add visual appeal.
To insert a shape:
- Select the Insert tab, then locate the Illustrations group.
- Click the Shapes drop-down command.
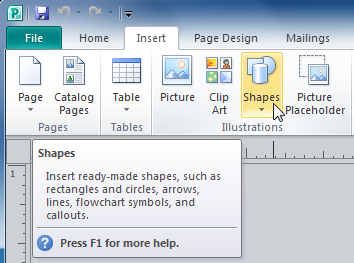 The Shapes drop-down command
 - Select a shape from the drop-down menu.
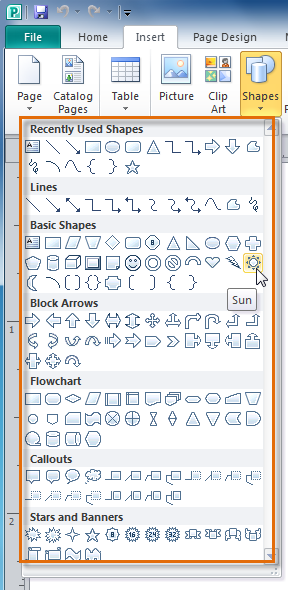 Selecting a shape
 - Click and drag the mouse until the shape is the desired size.
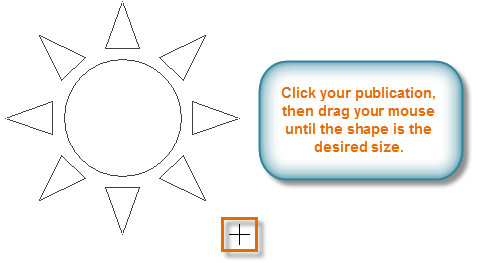 Clicking and dragging to create a shape
 - Release the mouse button. The shape will be added to your publication.
 The added shape
To resize a shape:
- Select the shape.
- Click and drag one of the sizing handles on the corners and sides of the text box until it is the desired size. You can:
- Drag the top or bottom sizing handles to modify shape height
- Drag the side handles to modify shape width
- Drag the corner handles to modify height and width at the same time
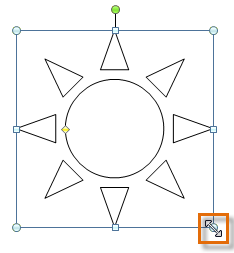 Resizing a shape
 - To rotate the shape, click and drag the green handle.
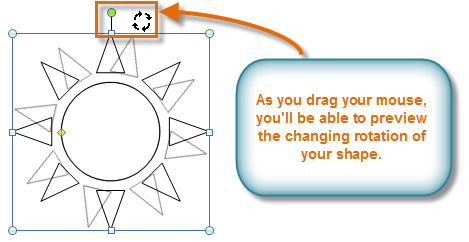 Rotating a shape
 - Some shapes also have one or more yellow handles that can be used to modify the shape. For example, with this sun shape you can adjust the diameter of the center circle and the length of the points.
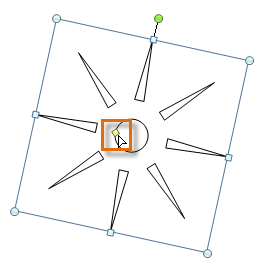 Modifying a shape with the yellow handle
If you hold down the shift key while resizing a shape, the shape will keep its proportions instead of getting stretched out. For instance, if you hold down the shift key while you resize a square, the final shape will remain a perfect square with four equal sides.
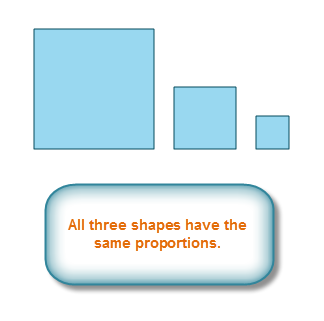 Shapes that have been resized with the shift key


