Publisher 2010
Getting to Know Publisher 2010
Working with the Publisher 2010 environment
One of the first things you might notice when you open Publisher is that the rulers and guidelines that are used to line up document components are slightly different from those in other Office programs. Other features of the Publisher environment might seem more familiar. For instance, you’ll recognize the Ribbon, where you can find the commands you need to complete common tasks in Publisher.
The Ribbon
The Ribbon contains multiple tabs, each with several groups of commands. Some tabs, like Text Box Tools or Picture Tools, may appear only when you're working with certain items like text boxes or images.
 The Ribbon
Viewing tools
Publisher offers a group of viewing tools to help you control the layout of your text, images, and objects on the page. These viewing tools are for your editing purposes only. They can be turned on and off and will not appear in your printed publication.
- To access and choose viewing tools, select the View tab, then locate the Show group. Click the check boxes of the various view options to turn them on and off.
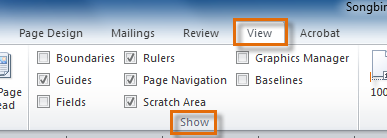 Publication viewing tools
Publication viewing tools include:
- Rulers
You can use the rulers to the left and top of your publication to help you line up text, images, and other objects and get a clearer idea of exactly where those objects will appear on the printed page. When you select an object in your publication, a white space will appear on the rulers to show the object's location.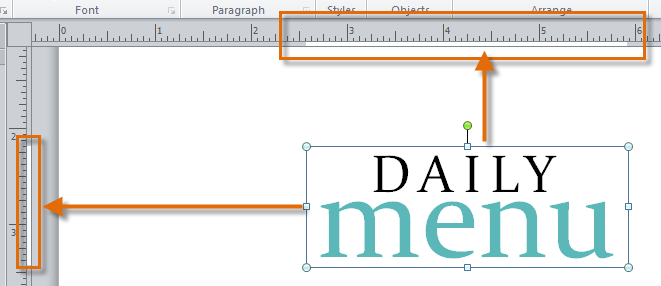 The rulers
 - Baselines
Baselines are evenly spaced horizontal lines you can use to line up text. You'll learn about automatically aligning text to your baselines in the Working with Text lesson.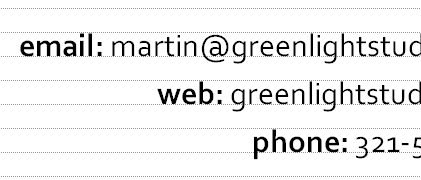 Baselines
 - Boundaries
Boundaries are dark blue dashed borders that appear around your objects. Viewing object boundaries can be useful when you're aligning objects or wrapping text.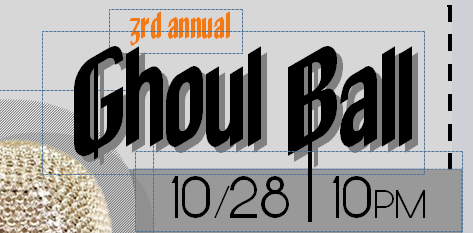 Object boundaries
 - Guides
Guides are thin lines that help you align various objects. There are two types of guides:- Margin guides, which are blue lines that mark the edges, or margins, of the printable area on each page of your publication. Margin guides are automatically created when you set your page margins.
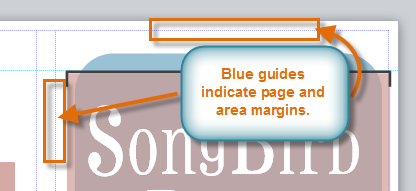 Margin guides
 - Customizable guides, which are green lines you can add anywhere on your publication.
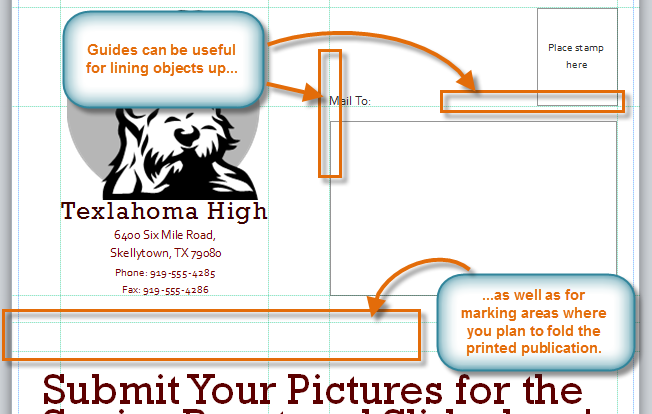 Customizable green guides
- Margin guides, which are blue lines that mark the edges, or margins, of the printable area on each page of your publication. Margin guides are automatically created when you set your page margins.
To add green guides:
- Click either the horizontal or vertical ruler.
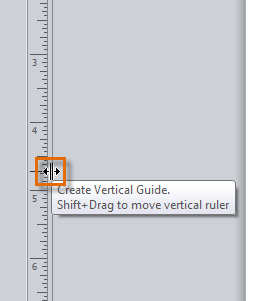 Creating a vertical guide
 - Drag your mouse to your publication, and release to add the guide in the desired location.
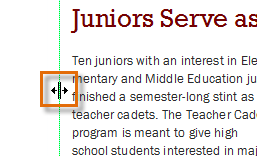 Dragging the guide to the desired location
 - Your guide will be placed. You can move it at any time by clicking and dragging it.
 The added guide


