PowerPoint 2013
Tables
Modifying tables
It's easy to modify the look and feel of any table after adding it to slide. PowerPoint includes several options for customizing a table, including adding rows or columns and changing the table style.
To resize a table:
- Click and drag the sizing handles until the table is the desired size.
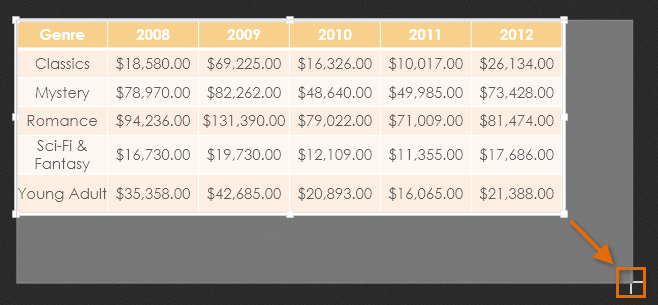 Resizing a table
To move a table:
- Click and drag the edge of a table to move it to a new location on a slide.
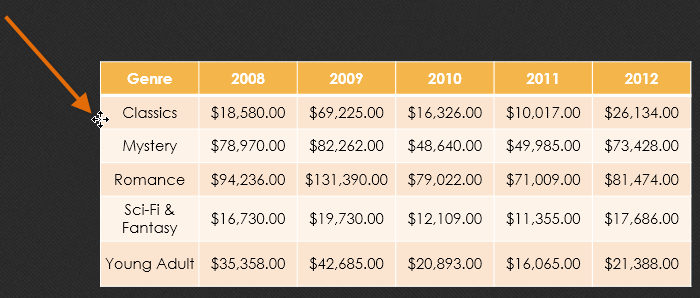 Moving a table
To add a row or column:
- Click a cell adjacent to the location where you wish to add a row or column.
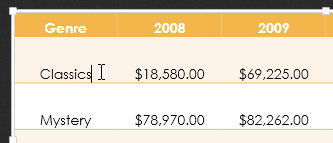 Clicking a cell
 - Click the Layout tab on the right side of the Ribbon.
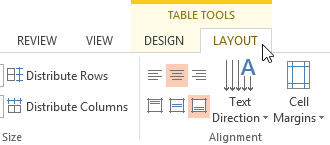 Clicking the Layout tab
 - Locate the Rows & Columns group. If you want to insert a new row, select either Insert Above or Insert Below. If you want to insert a new column, select either Insert Left or Insert Right.
 Inserting a new row
 - The new row or column will appear.
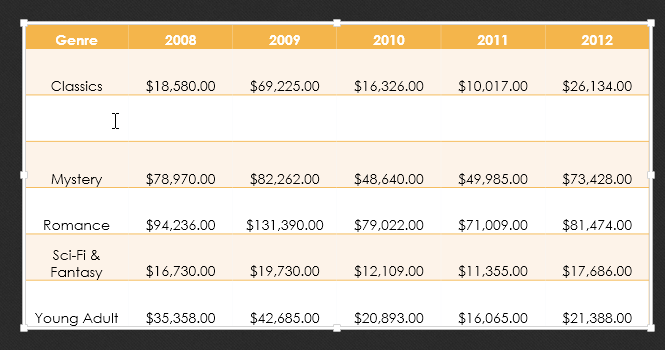 The inserted row
To delete a row or column:
- Select the desired row or column by clicking any cell in that row or column, then select the Layout tab.
- In the Rows & Columns group, click the Delete command, then select Delete Rows or Delete Columns from the menu that appears.
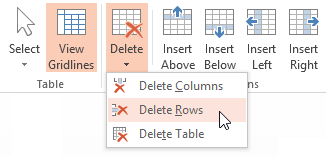 Deleting a row
 - The selected row or column will be deleted.
To delete a table:
- Select the table you wish to delete, then press the Backspace or Delete key on your keyboard.
You can also access the Insert and Delete commands by right-clicking a table.
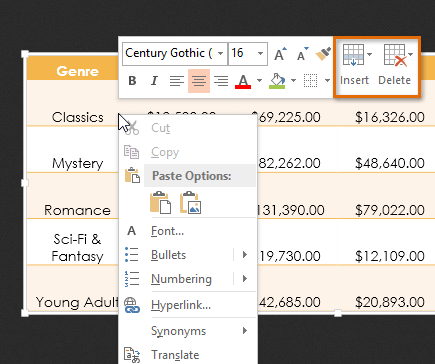 Accessing the Insert and Delete commands by right-clicking


