

PowerPoint 2010
Working with Tables
Modifying tables
To resize a table:
- Position the mouse over one of the sizing handles located around the edge of the table. The cursor will become a pair of directional arrows
 .
.
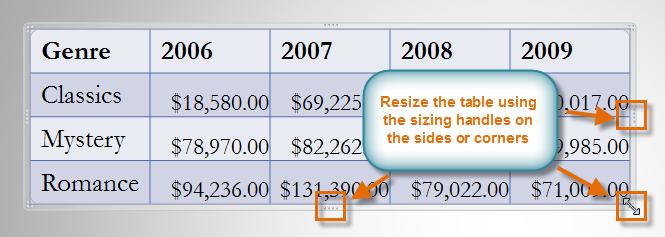 Using the sizing handles to resize a table
 - Click, hold, and drag your mouse to make the table larger or smaller.
 Resizing a table
 - Release the mouse. The table will be resized.
 The resized table
To add a column or row:
- Place the insertion point in a cell adjacent to the location where you wish to add a row or column.
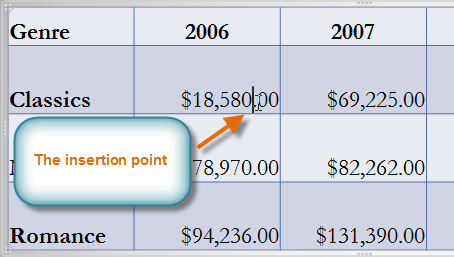 Placing the insertion point to insert a new row
 - Select the Table Tools Layout tab, and locate the Rows & Columns group.
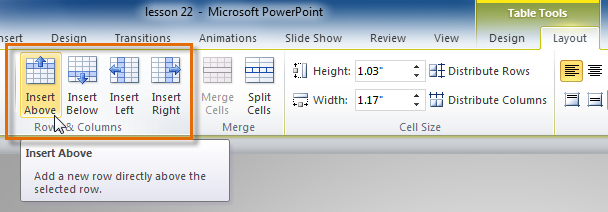 Inserting a new column or row
 - If you would like to insert a new row, select either Insert Above or Insert Below. If you would like to insert a new column, select either Insert Left or Insert Right.
- A new row or column will appear.
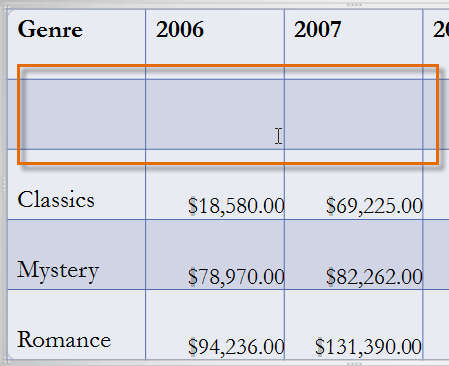 The inserted row
To delete a row or column:
- Select the row or column by placing the insertion point in any cell in that row or column.
- Select the Table Tools Layout tab.
- In the Rows & Columns group, click Delete. A drop-down menu appears.
- Select Delete Rows or Delete Columns.
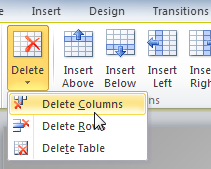 Deleting a column


