Photoshop Basics
Getting to Know the Photoshop Interface
Working with Tools and other panels
The Tools panel
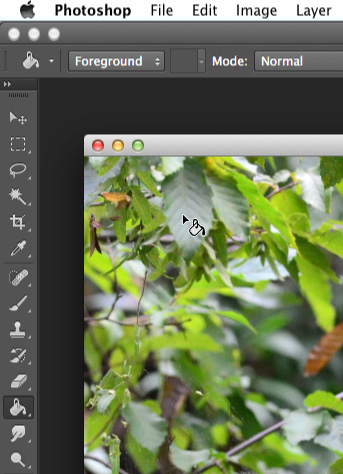
The Tools panel is one of the most important features in Photoshop—it's where you'll select different tools for editing images. Once you've chosen a tool, you'll be able to use it with the current document. Your cursor will change to reflect the currently selected tool.
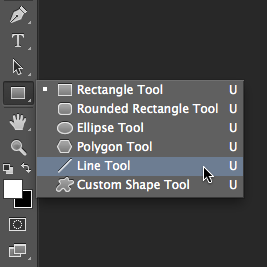
You can also click and hold to select a different tool. For example, you can click and hold the Rectangle tool to select different Shape tools, such as the Ellipse, Line, or Custom shape tools.
Showing and hiding panels
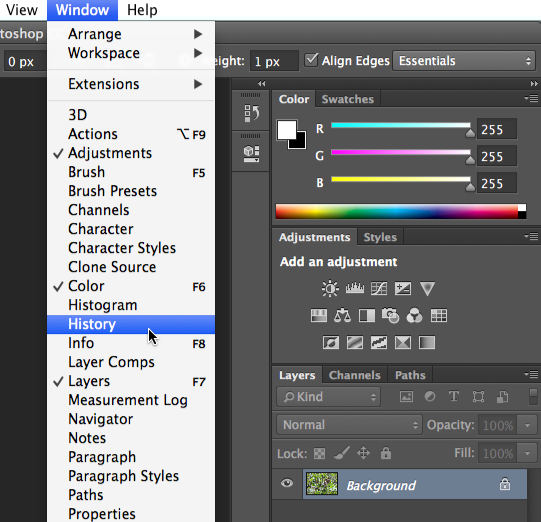
You'll also be able to view and modify a lot of information about the current document through the other panels in the workspace For example, you can view the document's layers in the Layers panel. To show or hide any panel, click the Window menu, then select the desired panel—currently visible panels are indicated by a check mark. In the image below, we're using the Window menu to turn on the History panel:
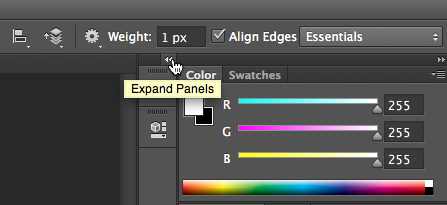
You can use the double-arrows to expand or collapse panels. This can be helpful if you want to temporarily hide a panel without removing it from the workspace.
You can also press the Tab key on your keyboard to show or hide all active panels.
Moving panels
If you want to change a panel's location, you can move it by clicking and dragging the panel to a new part of the workspace.
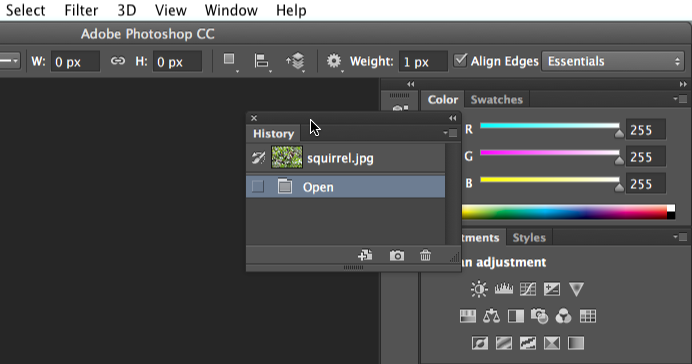
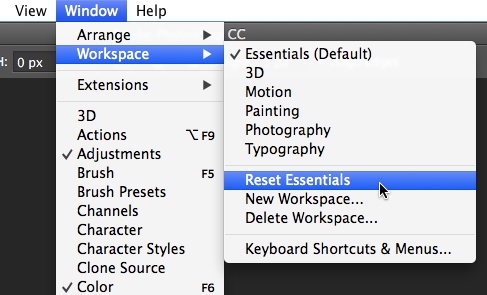
However, if you're planning to follow along with our tutorial, we recommend keeping most panels in the default location for now. To reset the panels to their default positions, select Window Workspace
 Reset Essentials. Note that this process may vary depending on which version of Photoshop you're using. For example, in Photoshop Elements, you'll go to Window
 Reset Panels.
For even more information about organizing panels, you can check out this tutorial from Adobe.


