Photoshop Basics
Getting to Know the Photoshop Interface
Opening files
Most of the time, you'll want to start by opening an existing photo rather than creating a new, blank image. Photoshop allows you to open and edit existing image files, such as .jpg or .png files, as well as .psd (Photoshop document) files.
To open a file:
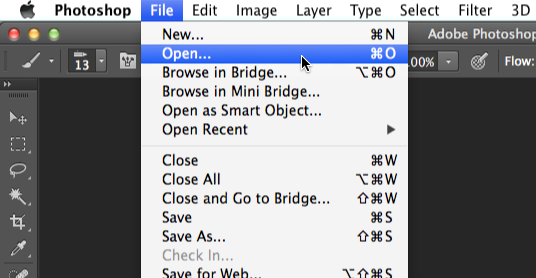
- Select File
 Open.
Open.
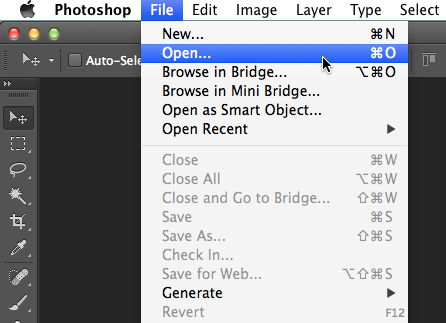
- A dialog box will appear. Locate and select the file on your computer, then click Open.
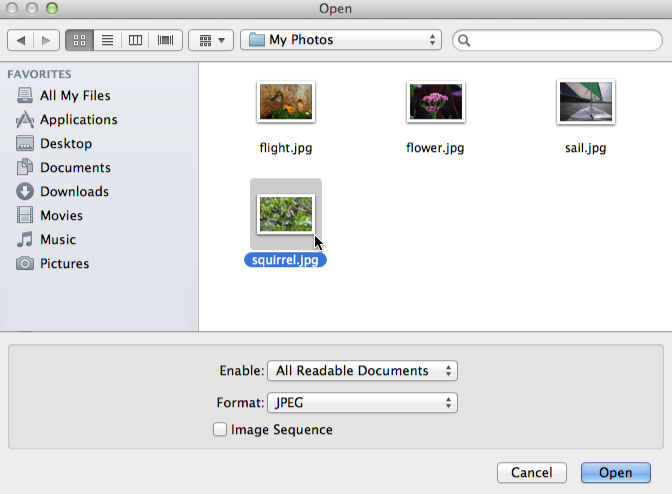
- The file will appear in Photoshop.
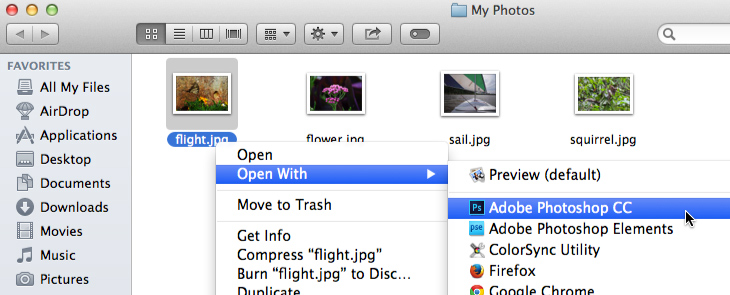
If you don't currently have Photoshop open, you can locate and right-click the file on your computer and then choose Open With Adobe Photoshop to open the file.
Overview of the Photoshop interface
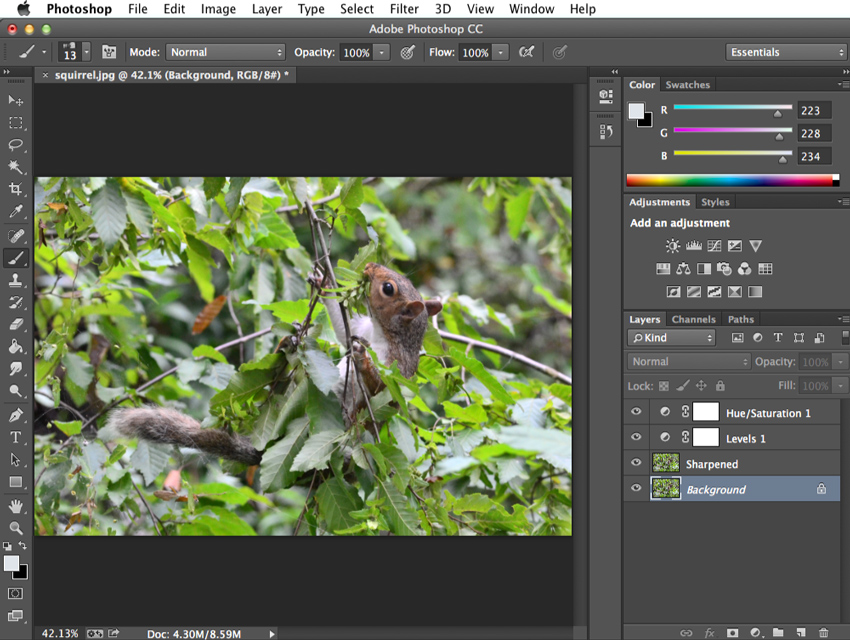
Because Photoshop is designed primarily for professional use, the interface may feel a bit complex and intimidating for new users. Even if you have some experience with other image editing software, it's a good idea to become familiar with the different parts of the Photoshop interface.
Click the buttons in the interactive below to become more familiar with the Photoshop interface.
Document window
When you open an image file, it will appear in the document window. At the top of the document window, you’ll see the file name, along with the current zoom level. In our example, you’ll notice that we’re viewing the document at 42.1% of its full size.
Drawing tools
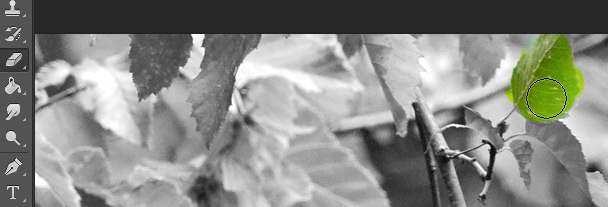
You can think of these a bit like real-life drawing tools. For example, the Brush tool allows you to draw on the image, while the Eraser tool allows you to remove parts from the image. For example, when you erase part of a layer, it will allow any layers below it to show through.
In the example below, we've erased part of a black and white layer that's above a color layer, allowing the color to show through.
Selection tools
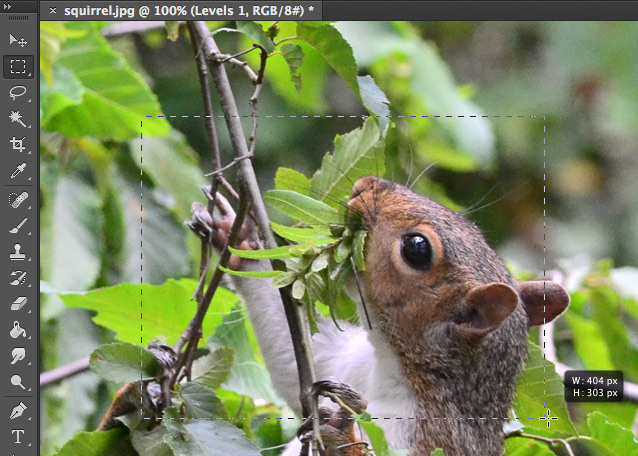
These tools allow you to draw a selection around certain areas of the current document. The default selection tool shown in the example below is the Rectangular Marquee tool.
Other tools, like the Lasso and Magic Wand, allow you to select specific objects without selecting the background. Once you’ve selected part of an image, there are many different things you can do with the selection.
Tools panel
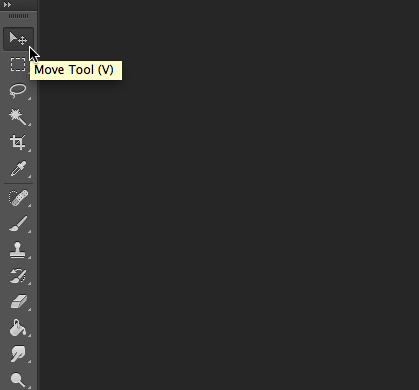
This is one of the most important features in Photoshop—it's where you'll select different tools for editing your images. Once you've chosen a tool, you'll be able to use it with the current document.
Layers panel
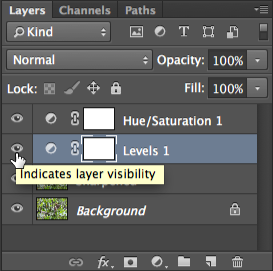
Here, you can see the different layers in the current document. You can turn each layer on and off by clicking the eye icon.
We’ll talk much more about layers throughout this tutorial.
Control panel
From here, you’ll be able to customize the settings for the currently selected tool. For example, if you’re using the Brush tool, you’ll be able to change the brush size, brush tip, and more.

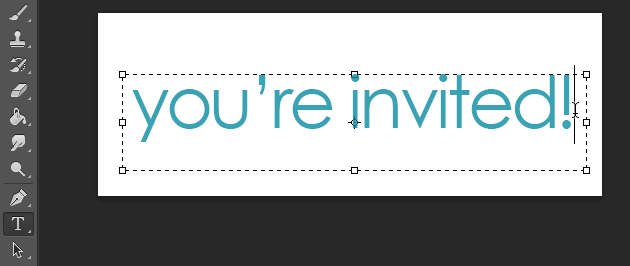
Type tool
This tool allows you to add text to the current document. For example, you might use this feature to create your own holiday card or invitation.
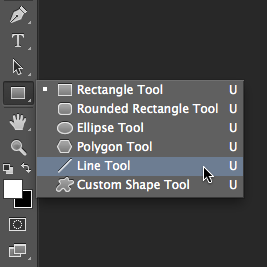
Shape tool
This tool allows you to insert shapes, such as squares, lines, and ellipses, in the current document.
Color Picker tool
Here, you can select the colors for various tools, such as the Brush tool, the Gradient tool, and many others.
Menu bar
This is where you’ll access different commands to use in Photoshop. For example, from the File menu, you can open and save files. The Image menu allows you to make various adjustments, such as the image size, whereas the Filter menu gives you access to more advanced tools and effects.
We’ll talk much more about the various commands on the Menu bar throughout this tutorial.
