Outlook 2010
Managing Your Calendars
Doing more with calendars
Once you're familiar with the basics of Calendar view, you can start taking advantage of its most helpful features with these additional tips.
To apply categories to appointments:
If you schedule a lot of different appointments, you can keep them organized by applying categories, just like email messages. If you've already customized categories to manage email messages (see Lesson 3), you'll be able to apply those same categories to your appointments.
- To apply a category, select the desired appointment, then click the Categorize command on the Ribbon.
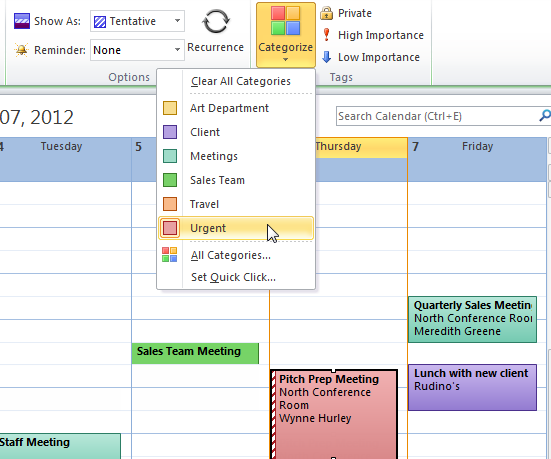 Applying categories to appointments and meetings
To create multiple-day appointments:
If you have an appointment that will span multiple days, such as a vacation or conference, you can schedule the appointment to extend across multiple days on your calendar.
- When creating the appointment, set the Start and End time for the full length of the appointment.
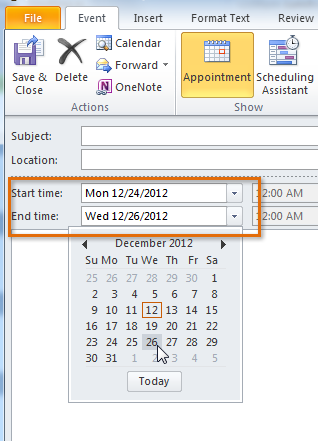 Creating a multiday appointment
 - The appointment will appear on your calendar across multiple days.
 A single appointment spanning multiple days
To create appointment reminders:
You can create reminders for your most important appointments, which can be especially helpful if you keep a busy schedule. For example, you might schedule a reminder for an important lunch date that would appear 30 minutes before the appointment.
- To create a reminder, simply set a reminder time on the Ribbon when creating a new appointment.
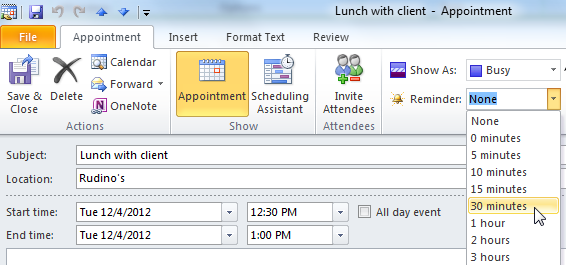 Setting an appointment reminder
 - The reminder will appear in a pop-up dialog box at the scheduled time.
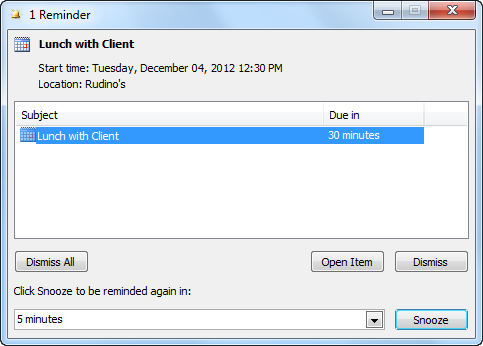 The scheduled reminder
To print calendars:
If you need to reference your schedule on the go, it's easy to print your calendars.
- Click the File tab on the Ribbon.
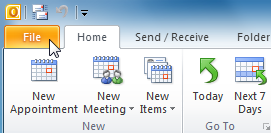 Clicking the File tab
 - Backstage view will appear. Locate and select Print.
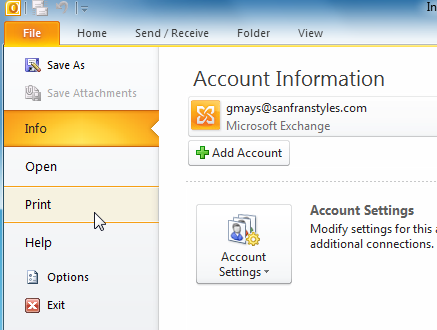 Clicking Print in Backstage view
 - The Print pane will appear. Choose your desired layout, including daily, weekly, and monthly summaries of your appointments and meetings, then click Print.
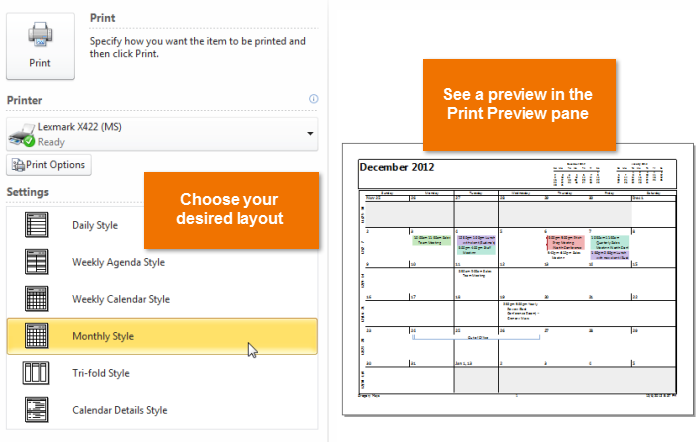 Printing calendars


