Image Editing 101
Making Basic Adjustments
Introduction
Image editing is all about adjusting your images to make them look better. We're going to talk about some of the most basic image adjustments, along with some common problems to watch out for when making these changes. The adjustments we'll cover in this lesson include:
- Cropping: If you want to remove parts of an image, you can crop it. You can think of cropping as using a pair of scissors to cut out the parts you no longer want.
- Resizing: If you want to make an image smaller or larger, you can resize it. However, keep in mind that making an image larger than its original size generally does not look good.
- Rotating: If you want to change the orientation of an image, you can rotate it to the left or right.
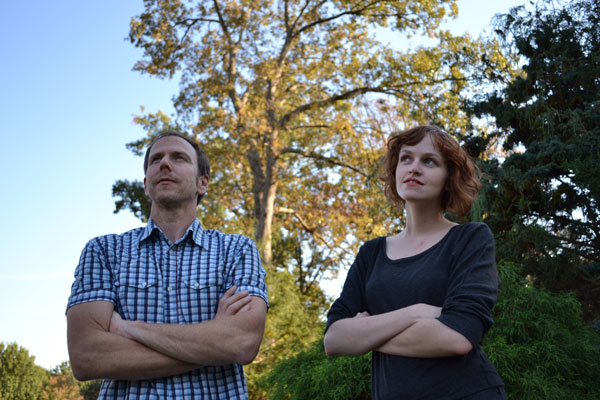
Optional: If you'd like to follow along, you can download some or all of our example images. Just click any of the images below to open a full-sized version. Then right-click the full-sized version and select Save Image As to save it to your computer.
About this lesson
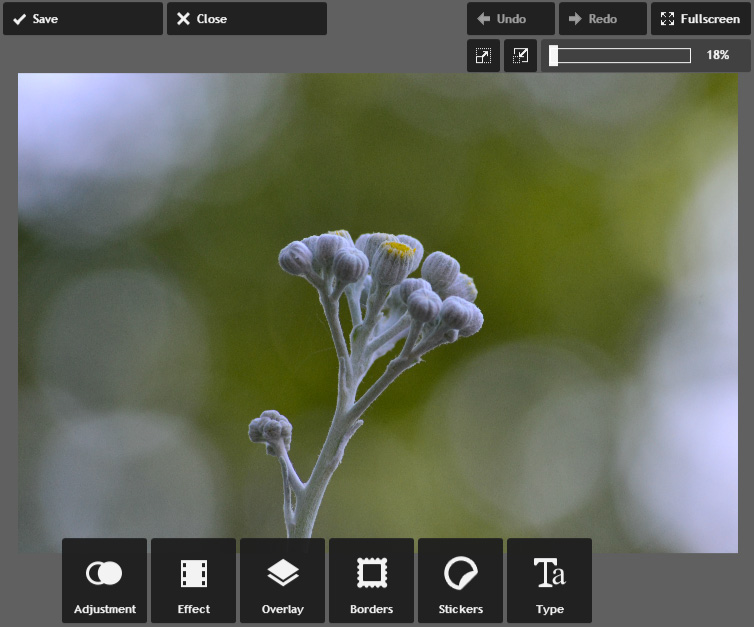
Throughout this lesson, we'll show you how to make these adjustments with Pixlr Express, a free, web-based image editor you can use from almost any computer with an Internet connection. If you're using a mobile device, you can use the free Pixlr Express mobile app.
If you have a different image editing program, you can still follow along—these features will work roughly the same way for most image editors.

Image editing tips
Here are a few important things to keep in mind as you start working with images. If you're new to image editing, we also recommend reading the first lesson in this tutorial.
- Keep your originals: If you're planning to make even basic changes to an image, you should also keep an original, unedited version of the file. We recommend making a habit of doing this whenever you're working with image files. This way, you'll always be able to go back to the original version.
- Check the zoom level: When you're editing an image on a computer, you'll usually be viewing it at less than 100% of its full size. This is because most modern digital cameras take large, high-resolution images. These images are so large, in fact, that most computer screens can't display all of the pixels in the image at once. This is actually a good thing, because it means you'll have extra detail to work with as you edit the image.
- Higher resolution = more detail: Whenever you crop or resize an image, you're also removing pixels from the image. This means you'll have fewer pixels to work with, which will give you less flexibility. For example, if you want to print a photo, having extra pixels will help to make the photo look as sharp as possible (since photo prints have a higher resolution than most computer screens). Or, if you're creating a desktop background, you'll want to ensure that the final size is at least as large as your screen resolution.
- Experiment: There's no perfect formula for editing images. As long as you keep a copy of the original file, you should feel free to try out different adjustments to find what works for that image. If you change your mind later on, you can always go back to the original version and start over.


