

Excel 2013
Worksheet Basics
Grouping and ungrouping worksheets
You can work with each worksheet individually, or you can work with multiple worksheets at the same time. Worksheets can be combined together into a group. Any changes made to one worksheet in a group will be made to every worksheet in the group.
To group worksheets:
In our example, employees need to receive training every three months, so we'll create a worksheet group for those employees. When we add the names of the employees to one worksheet, they'll be added to the other worksheets in the group as well.
- Select the first worksheet you wish to include in the worksheet group.
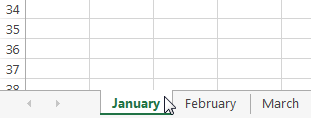 Selecting the first worksheet of the group
 - Press and hold the Ctrl key on your keyboard.
- Select the next worksheet you want in the group. Continue to select worksheets until all of the worksheets you want to group are selected.
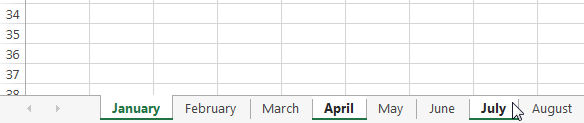 Adding worksheets to the group
 - Release the Ctrl key. The worksheets are now grouped.
While worksheets are grouped, you can navigate to any worksheet within the group. Any changes made to one worksheet will appear on every worksheet in the group. However, if you select a worksheet that is not in the group, all of your worksheets will become ungrouped.
To ungroup all worksheets:
- Right-click a worksheet in the group, then select Ungroup Sheets from the worksheet menu.
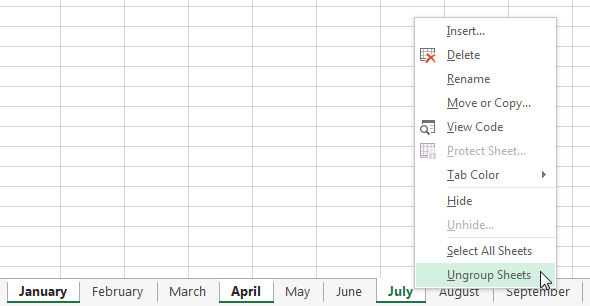 Ungrouping a worksheet group
 - The worksheets will be ungrouped. Alternatively, you can simply click any worksheet not included in the group to ungroup all worksheets.
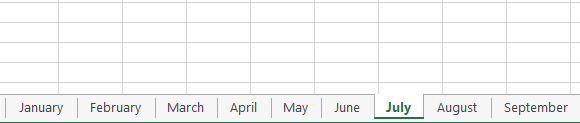 The ungrouped worksheets


