Photoshop Basics
Sharpening and Noise Reduction
Sharpening tips
Here are a few tips for getting the best results with sharpening:
- If you increase the amount of sharpening that is added, there will usually be a point where the edges in the image will start to glow, causing them to look exaggerated. Whenever you see this happen, try decreasing the amount to make the sharpening look more natural.
- If the sharpening still looks a bit unnatural, you could try reducing the opacity of the sharpened layer to make the effect more subtle.
- Note that sharpening cannot fix an image that's very blurry or out of focus—it works best with images that are clear but have a slightly soft look.
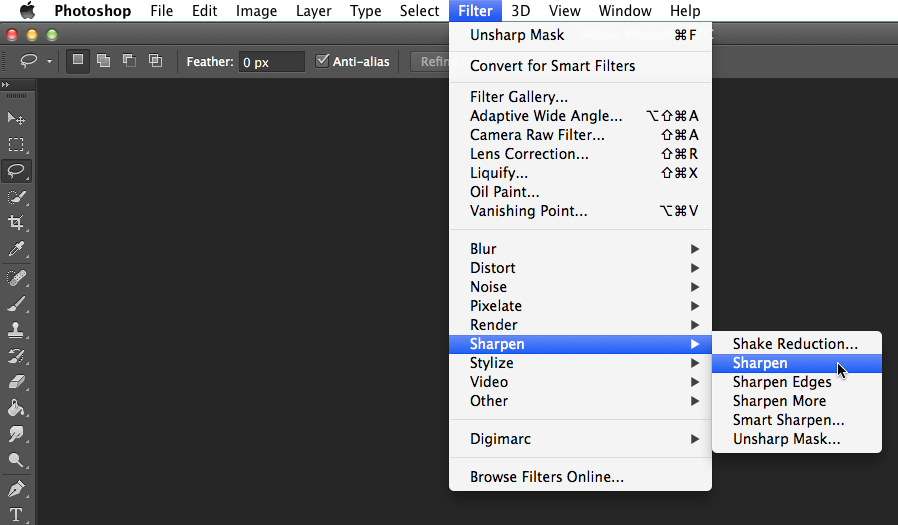
- While unsharp mask is a useful tool, Photoshop also includes other sharpening filters, which can be found in the Filter
 Sharpen menu. Some filters, such as Sharpen and Sharpen More, apply a preset amount of sharpening. Others, such as Smart Sharpen, give you even more ways to tweak the adjustments (although this also means it's even trickier to use than unsharp mask).

If you want to learn more about using Smart Sharpen, check out the Sharpen Your Photos with Smart Sharpen video on the Adobe website.


