Outlook 2010
Managing Contacts
Doing more with contacts
Once you're familiar with the basics of Contacts view, you can start taking advantage of its most helpful features with these additional tips.
To send an email to contact groups:
Contact groups are especially convenient for sending messages to a group of people, such as a specific team in your workplace.
- Select the desired contact group, then click the E-mail command on the Ribbon.
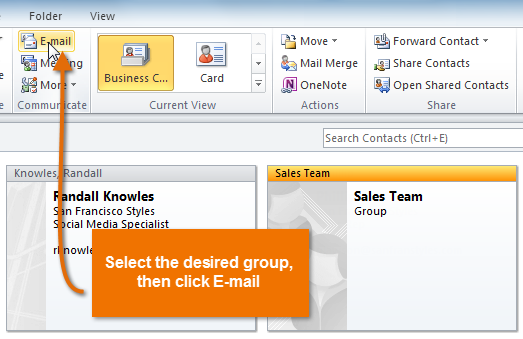 Creating a group email
 - The Compose window will appear, and the contact group will be copied into the To: field. The message will be sent to everyone in the contact group.
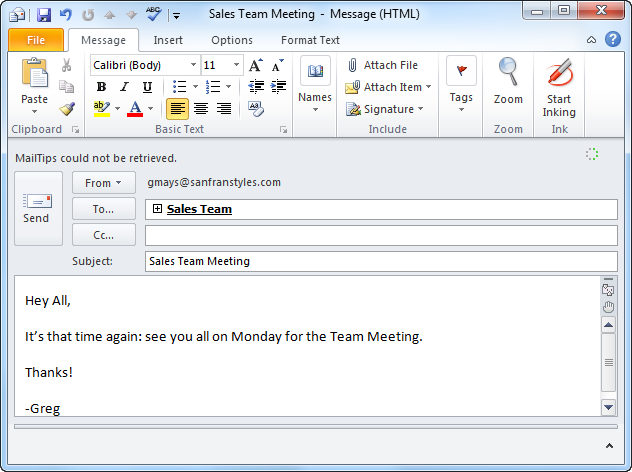 The contact group copied into the To: field
To assign tasks:
If you want to use Outlook 2010 to manage projects and tasks, you can assign tasks (also known as To-Do's) to your contacts. Your contact will receive a notification about the task, and you'll be notified when the task is completed.
- Click the desired contact, locate and select the More command on the Ribbon, then select Assign Task from the drop-down window.
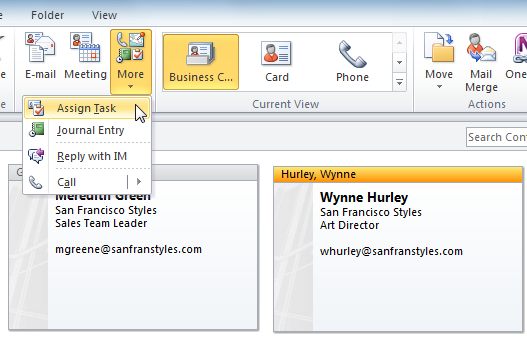 Assigning a task to a contact
 - The Task window will appear. Enter a subject as you would for an email message, as well as a due date for the task.
- When you're finished entering information about the task, click Send.
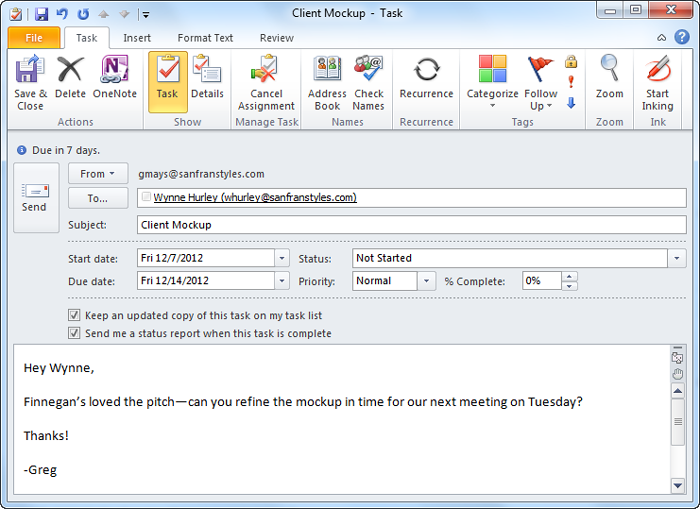 Assigning a task
To print contacts:
If you need to access your contacts list away from your computer, it's easy to print contacts.
- Click the File tab on the Ribbon.
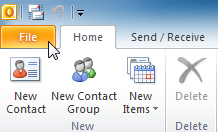 Clicking the File tab
 - Backstage view will appear. Locate and select Print.
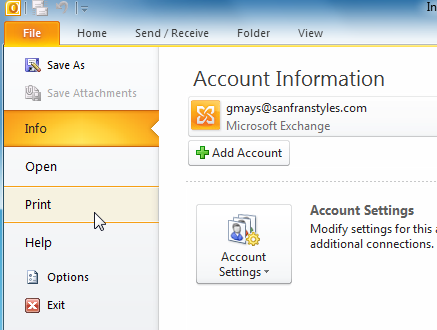 Clicking Print in Backstage view
 - The Print pane will appear. Choose your desired layout, including business card, phone list, and more, then click Print.
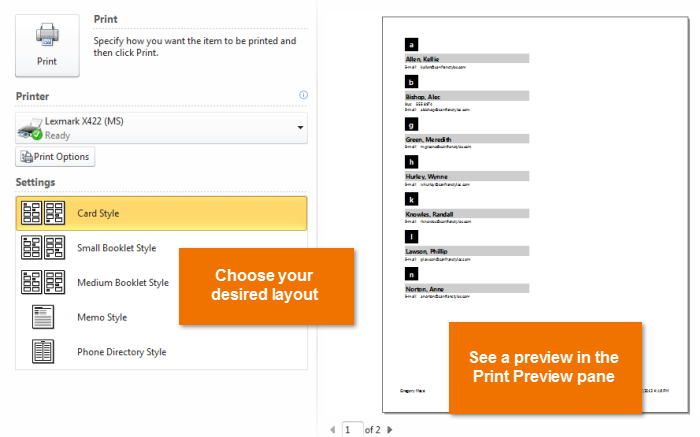 Printing a contacts list


