

Google Docs
Working with Tables
Inserting and modifying tables
 Watch the video (3:39).
Watch the video to learn how to work with tables in Google Documents.
To insert a table:
- Place the insertion point at the location where you want to insert a table.
- Click the Table drop-down menu and hover the mouse over Insert table. A grid of squares appears.
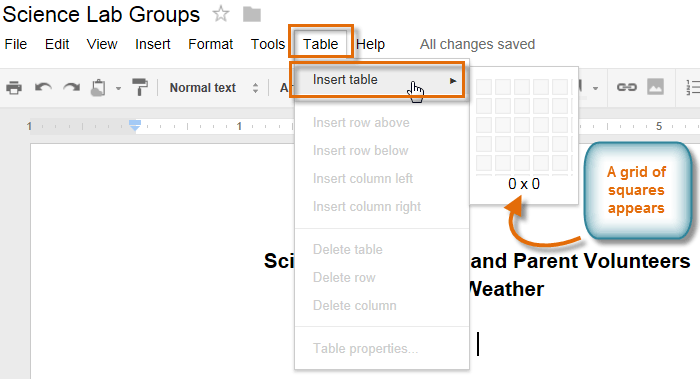 Inserting a new table
 - Drag the mouse over the grid of squares to select the number of columns and rows in the table.
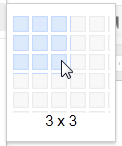 Selecting columns and rows
 - Click the mouse, and the table appears in the document. The insertion point will now be in the top left cell.
 A new table
To delete the table, right-click anywhere on the table and select Delete table from the menu that appears.
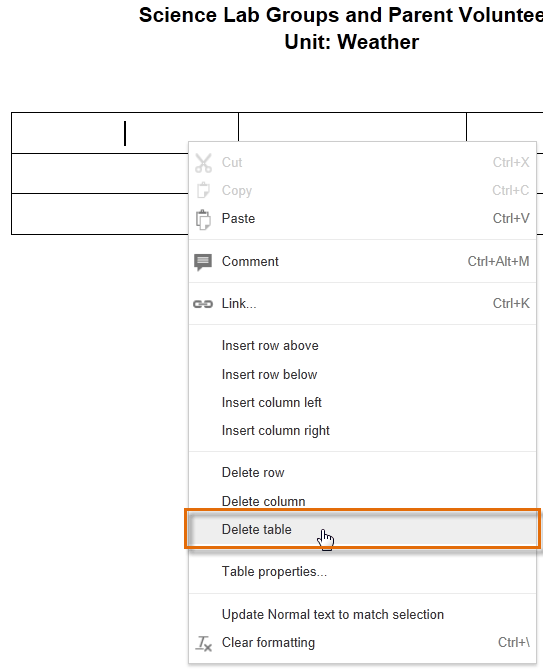 Deleting the table
To add an additional row:
- Right-click in a row adjacent to the location where you wish to add a row, then select Insert row above or Insert row below from the menu that appears.
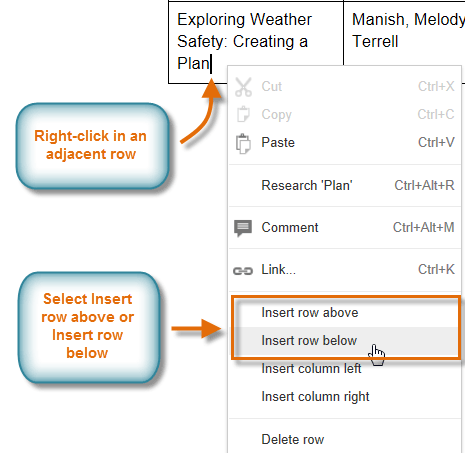 Inserting a new row
 - The new row appears in the table.
 The additional row
To add an additional column:
- Right-click in a column adjacent to the location where you wish the new column to appear, then select Insert column left or Insert column right from the menu that appears.
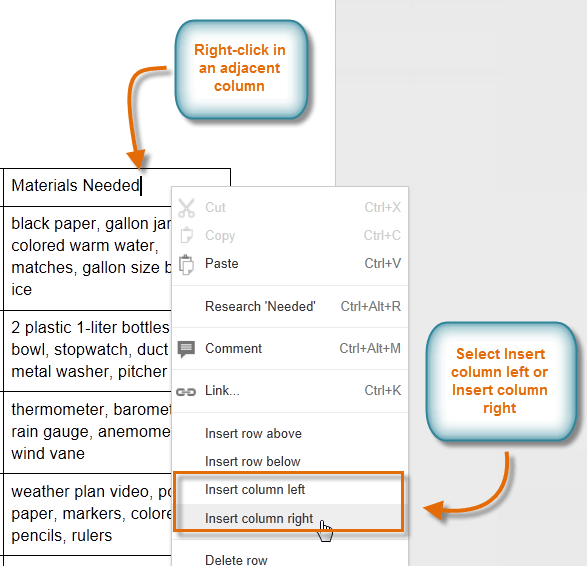 Inserting a column to the right
 - The new column appears in the table.
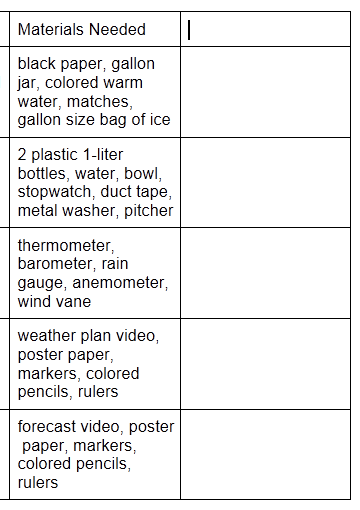 The additional column
To delete a row or column:
- Right-click the mouse in the row or column you wish to delete, then select Delete row or Delete column from the menu that appears.
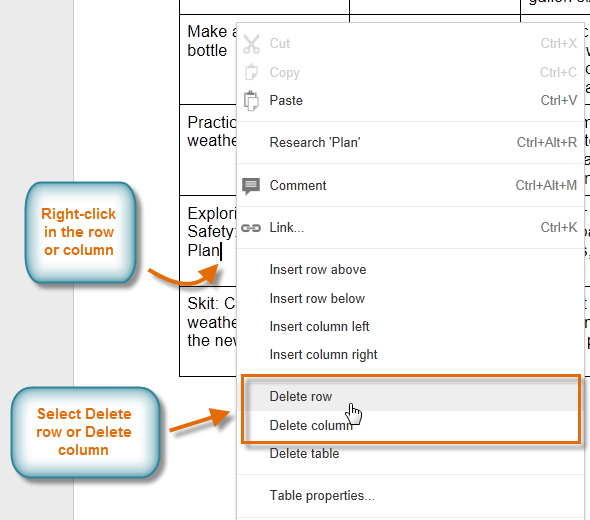 Deleting a row


