Excel 2013
Printing Workbooks
Choosing a print area
Before you print an Excel workbook, it's important to decide exactly what information you want to print. For example, if you have multiple worksheets in your workbook, you will need to decide if you want to print the entire workbook or only active worksheets. There may also be times when you want to print only a selection of content from your workbook.
To print active sheets:
Worksheets are considered active when selected.
- Select the worksheet you want to print. To print multiple worksheets, click the first worksheet, hold the Ctrl key on your keyboard, then click any other worksheets you want to select.
 Selecting multiple worksheets to print
 - Navigate to the Print pane.
- Select Print Active Sheets from the Print Range drop-down menu.
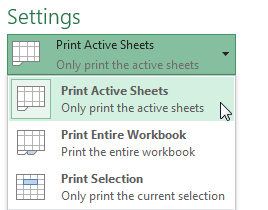 Printing active worksheets
 - Click the Print button.
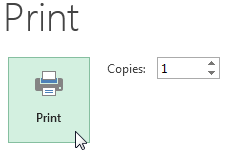 Clicking the Print button
To print the entire workbook:
- Navigate to the Print pane.
- Select Print Entire Workbook from the Print Range drop-down menu.
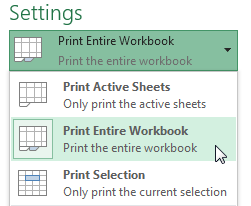 Printing the entire workbook
 - Click the Print button.
 Clicking the Print button
To print a selection:
In our example, we'll print a selection of content related to upcoming softball games in July.
- Select the cells you wish to print.
 Selecting a print area
 - Navigate to the Print pane.
- Select Print Selection from the Print Range drop-down menu.
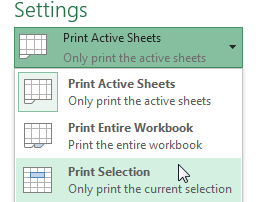 Printing only the selected cells
 - A preview of your selection will appear in the Preview pane.
 Viewing the selection in the Preview pane
 - Click the Print button to print the selection.
 Clicking the Print button
If you prefer, you can also set the print area in advance so you'll be able to visualize which cells will be printed as you work in Excel. Simply select the cells you want to print, click the Page Layout tab, select the Print Area command, then choose Set Print Area.
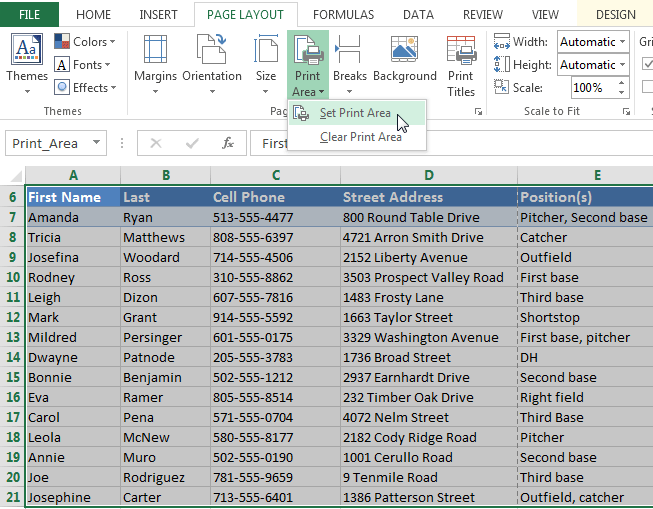 Setting a print area


