Word 2013
SmartArt Graphics
Changing the SmartArt organization
To add a shape:
- Select the SmartArt graphic, then click the Design tab on the right side of the Ribbon.
 Clicking the Design tab
 - Decide where you want the new shape to appear, and select an adjacent shape.
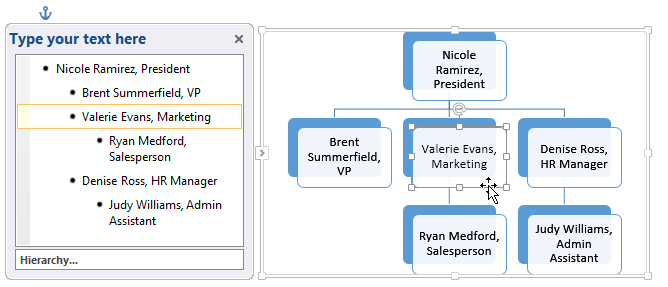 Selecting an adjacent shape
 - Click the Add Shape command in the Graphics group. A drop-down menu will appear.
- Select Add Shape Before or Add Shape After to add a shape on the same level as the selected shape. Select Add Shape Above or Add Shape Below to add a shape above or below the selected shape.
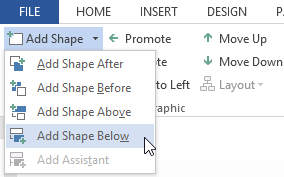 Adding a shape
 - The new shape will appear.
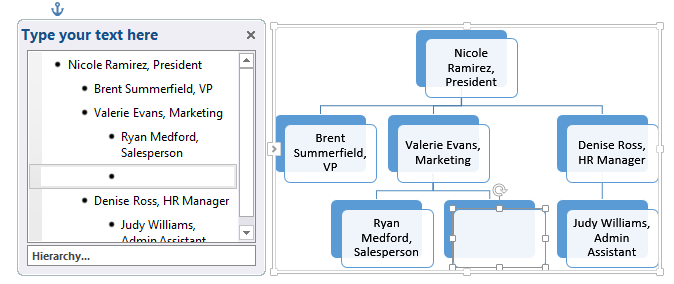 The newly added shape
To promote or demote shapes:
- Select the SmartArt graphic, then click the Design tab on the right side of the Ribbon.
 Clicking the Design tab
 - Select the shape you would like to promote or demote. In our example, we'll demote a shape.
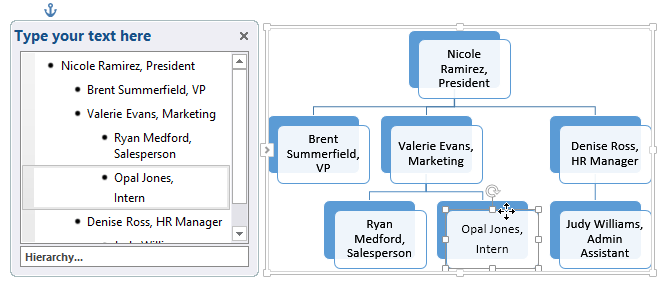 Selecting a shape to demote
 - To move the shape to a higher level, click the Promote command in the Create Graphic group. To move it to a lower level, click Demote.
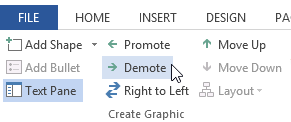 Clicking the Demote command
 - The shape will move one level higher or lower.
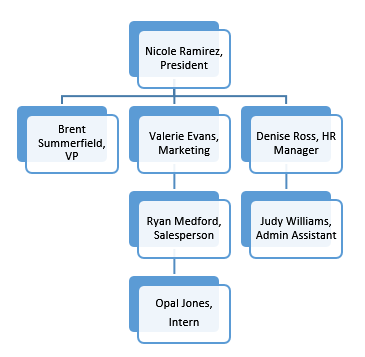 The demoted shape
You can also demote and promote shapes from within the task pane. With the insertion point in the task pane, press the Tab key to demote a shape. Press the Backspace key (or Shift+Tab) to promote a shape. It's a lot like creating an outline with a multilevel list. For more information, you may want to review our Lists lesson.
To rearrange shapes on the same level:
- Select the SmartArt graphic, then click the Design tab.
- Select the shape you would like to move.
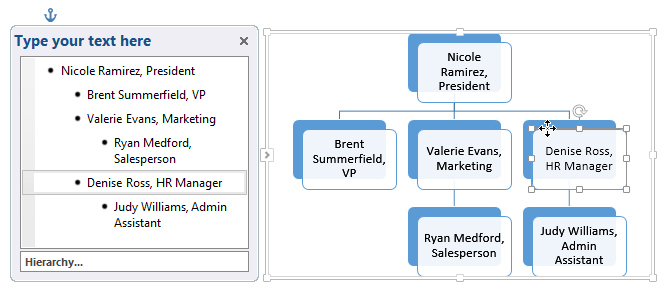 Selecting a shape to move
 - In the Create Graphic group, click Move Up or Move Down.
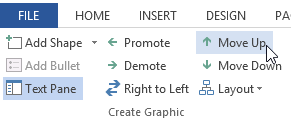 Clicking Move Up
 - The shape will move to a new location on the same level, and any shapes nested below it will also move.
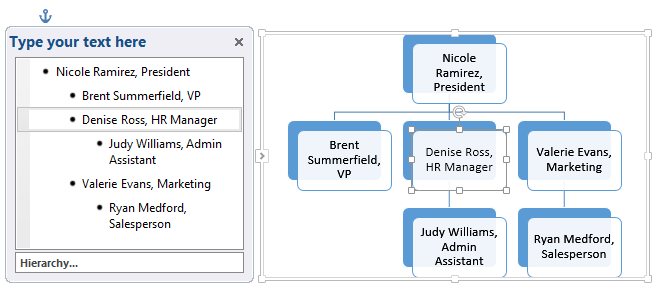 The moved shape


