Word 2010
Text Boxes and WordArt
Text boxes
Text boxes are useful for helping to organize your document. They are basically treated the same as shapes, so when you insert a text box you can format it by changing its fill color, outline color, and shape style, as well as create WordArt and add 3D effects.
To insert a text box:
- Select the Insert tab on the Ribbon.
- Click the Text Box command in the Text group. A drop-down menu will appear.
- Select Draw Text Box.
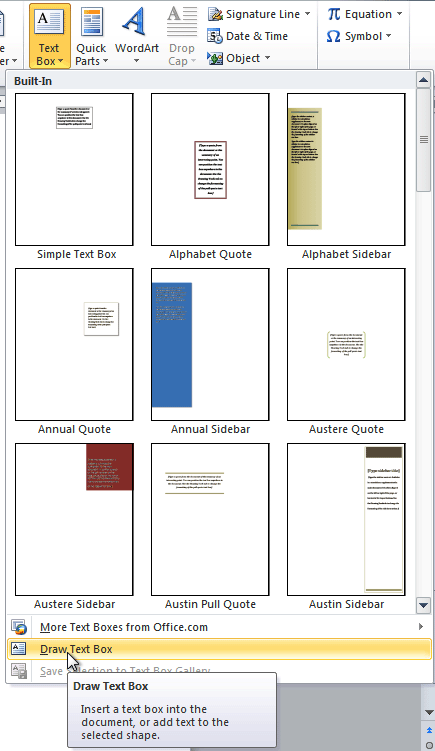 Creating a blank text box
 - Click and drag on the document to create the text box.
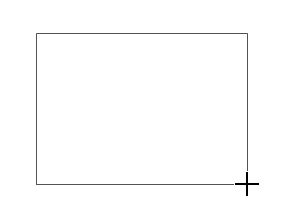 Drawing the text box
 - You can now start typing to create text inside the text box.
From the drop-down menu, you can also select one of the built-in text boxes that have pre-defined colors, fonts, positions, and sizes. If you choose this option, the text box will appear automatically so you will not need to click and drag to draw it.
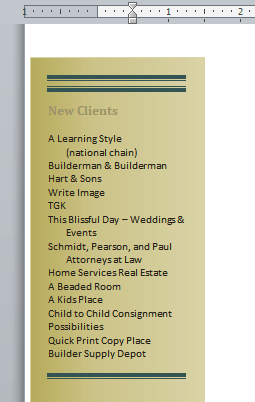 A built-in text box
To move a text box:
- Click on the text box.
- Hover the mouse over one of the edges of the text box. The mouse pointer becomes a cross with arrows on each end
 .
. - Click and drag the text box to the desired location on the page.
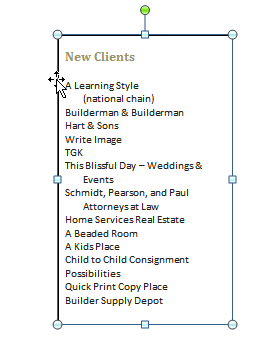 Moving a text box
To resize a text box:
- Click the text box.
- Click and drag one of the sizing handles on the corners or sides of the text box until it is the desired size.
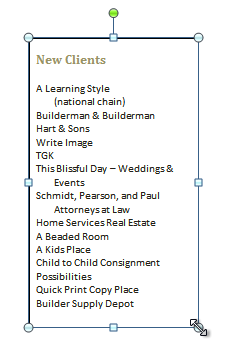 Resizing a text box
If you drag the sizing handles on any of the four corners, you will be able to change the height and width at the same time. The sizing handles on the top or bottom of the text box will only allow you to resize vertically, while the handles on the left and right sides will resize the text box horizontally.


