Twitter 101
Create a Twitter Account
Before you sign up
Your profile on Twitter is public, so it is important for you to consider how you want to be represented and viewed by the world before you sign up.
 Twitter profile example
Consider your profile
- Twitter handle: Your Twitter handle, or user name, can say just as much about who you are as it does about why you are on Twitter. Try to create a Twitter handle that is unique and catchy, in addition to being easy to remember and spell so others can connect with you. Keep in mind that it is public, so you may not want to use your full name.
 Twitter handle examples
 - Profile picture: Make sure the profile picture you use represents exactly who you want to be on Twitter. For example, If your motivation for using Twitter is for networking with other professionals, then a photo of you partying at Mardi Gras isn’t appropriate. If protecting your privacy is important, then you may want to use a graphic avatar in place of a personal photo. However, you should keep in mind that Twitter is about relationships, and some people might not feel as connected to company logos and graphics.
 Twitter profile picture examples
 - Profile bio: Your bio can include a quick, one- or two-line description of who you are. Because space is at a premium, descriptive text that uses powerful imagery can paint a unique picture of who you are. Some people create bios with contradictory words in order to be humorous, informational, and memorable with very little said. If you are promoting yourself or a business, you may want to include your web address or other contact information, but keep in mind that this information is public to everyone on the Web.
 Twitter bio examples
 - Who you follow and lists: Others can also see who you follow and the lists you create, so you may want to be selective about who you choose to follow. Twitter feeds that are racist, sexist, inappropriate, or otherwise polarizing can reflect poorly on you. Avoiding controversial feeds is especially important if you are networking professionally or looking for a job.
Think before sharing
As with all social media sites, you should assume that everything you post is public and accessible to anyone forever. Twitter is great for sharing and connecting, but it's not so great for private or extremely personal communication. Twitter does allow you to set privacy for your tweets, protecting them from being seen by anyone other than the followers you have approved to view them. However, any of your approved followers can retweet one of your tweets, thereby making it public, so your protection is limited.
If you are new to social networking, you may want to visit our Internet Safety lesson on Smart Social Networking and Communication Tips.
Create an account
Watch the video for an overview of the Twitter signup process.
To create an account:
- Go to www.twitter.com.
- Locate the New to Twitter? box. Enter your full name, email address, and desired password into the form. As with all online services, it's important to choose a a strong password—in other words, it should be difficult for someone else to guess but easy for you to remember. Visit Passwords: The First Step to Safety in our Internet Safety tutorial for more information.
- Click the Sign up for Twitter button.
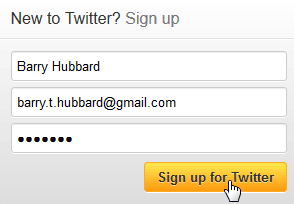 Clicking Sign up for Twitter
 - A form will appear. You will need to confirm your information and choose a user name that hasn't already been taken.
- Uncheck the box next to Tailor Twitter based on my recent website visits if you do not want Twitter to access your browsing history.
- Read through the Terms of Service, then click Create my account.
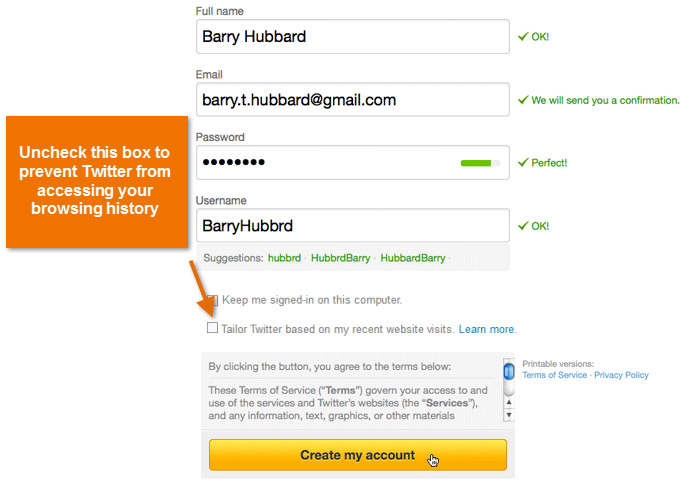 Creating an account
 - The Twitter welcome page will appear. This page will help you set up your account. Click Next to continue.
 The Twitter welcome page
 - You can now start choosing who to follow. A list of people you can follow will appear. You must choose five people to follow before clicking Next.
 Choosing who to follow
 - Twitter will also suggest people to follow based on your interests. To continue, select five people to follow, then click Next.
 Browsing by Category
 - Optional: You can automatically find people you know by selecting a service you use, like an email account. For example, if you have a Gmail account, Twitter can look for your Gmail contacts who are already using Twitter. Click Skip this step at the bottom of the page if you would like to do this later.
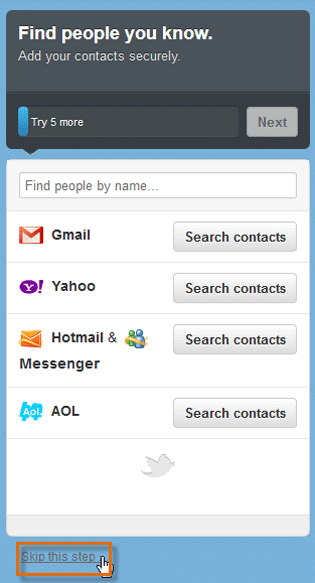 Finding friends
 - Optional: You can add a profile picture and bio to your account. If you feel comfortable with this process, you can upload a photo now or you can Skip this step. We will explain how to customize your profile later in the lesson.
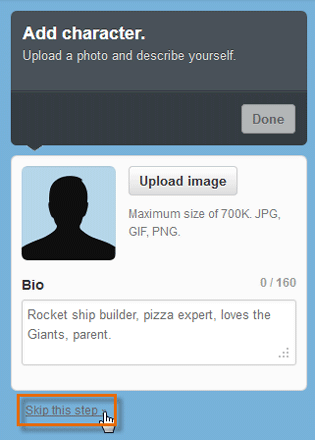 Adding a profile picture and bio
 - Your new Twitter homepage will appear.
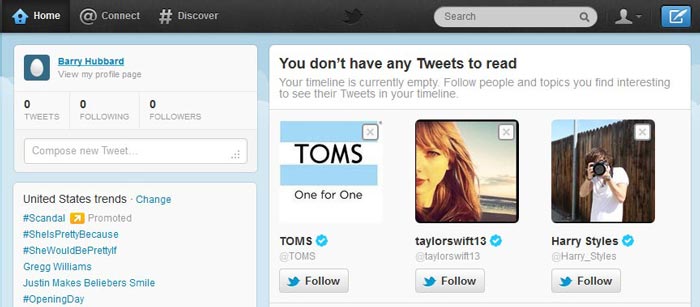 A newly-created homepage
To confirm your email address:
At this point, Twitter will send a confirmation email to the email address you provided. Before you can access all of Twitter's features, you'll need to confirm your email address.
- Sign in to your email account.
- Open the confirmation message from Twitter: "Confirm your Twitter account, user name!"
- Click the link to confirm your account.
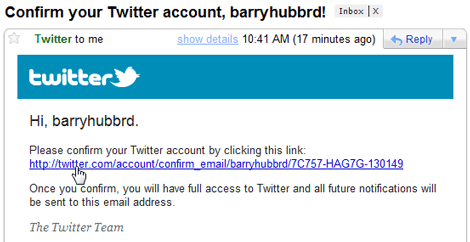 Confirming an email address
 - Your Twitter homepage will open. You now have full access to Twitter, and all future notifications will be sent to the email address you provided.
Privacy settings
Twitter gives you several different options you can use to control the amount of privacy you have on Twitter. They are found in your Account Settings:
- Tweet location: This option will automatically add your current location to your tweets. Some people like to enable this feature to share more information about where they are, but if you want extra privacy you can uncheck this option.
- Tweet privacy: This lets you choose who can view your tweets. If it's unchecked, anyone in the world can view them, so if you want maximum privacy (and don't mind having fewer followers) you can check this option. Note that even if you protect your tweets, anyone can still view your name, location, bio, and who you're following.
- Personalization: Twitter can customize the types of tweets you see based on your Internet browsing history. If you prefer for Twitter not to access your browsing history, uncheck this option.
To manage your privacy settings:
- Click the gear icon
 on the top navigation bar, then choose Settings from the drop-down menu.
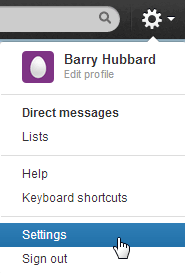 Accessing the Settings
 - The Account Settings page will appear. Scroll down and check or uncheck the items that relate to your privacy and security.
- Click Save Changes.
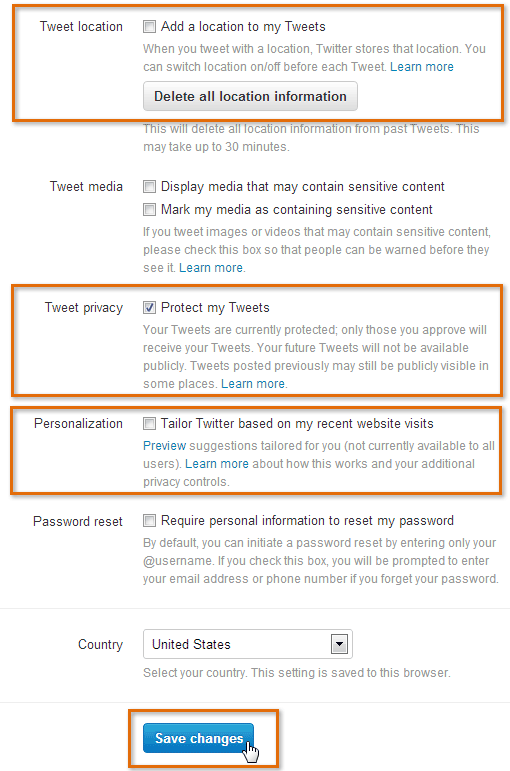 The three items that relate to privacy
 - You will then need to re-enter your Twitter password and click Save changes.
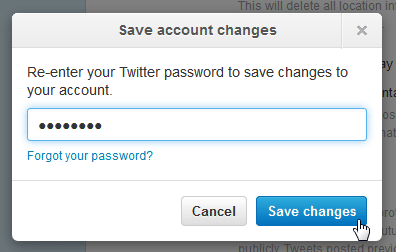 Confirming the changes
Creating your profile
Once you've created your account, you'll want to add a profile picture, header image, profile information, and theme. This helps to make your Twitter feed more personal and unique.
To add a profile picture and information:
- Click the gear icon
 on the top navigation bar, then choose Settings from the drop-down menu.
 - Select the Profile button from the left navigation pane.
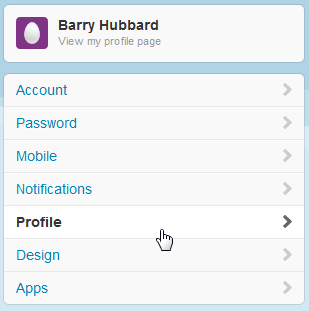 Going to Profile Settings
 - The profile form will appear. Click Browse, then choose an image on your computer to use as a profile picture. You'll need to use a picture that does not exceed the size limit (currently 700 kilobytes).
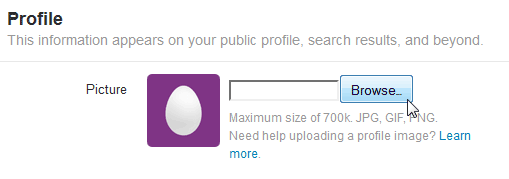 Clicking Browse to choose a picture
 - Click Change header to upload a header image, which will appear as background image on your profile page.
 Changing the header image
 - In the Location field, type where you are located. You can type your city, state, and/or country, depending on how specific you want to be. Keep in mind that anyone who views your profile will be able to see this information. You can also leave it blank if you prefer.
- In the Website field, you can type an address to your website or blog if you have one. If not, you can leave it blank.
- In the Bio field, type something about yourself (in fewer than 160 characters).
- When you're done, click Save Changes.
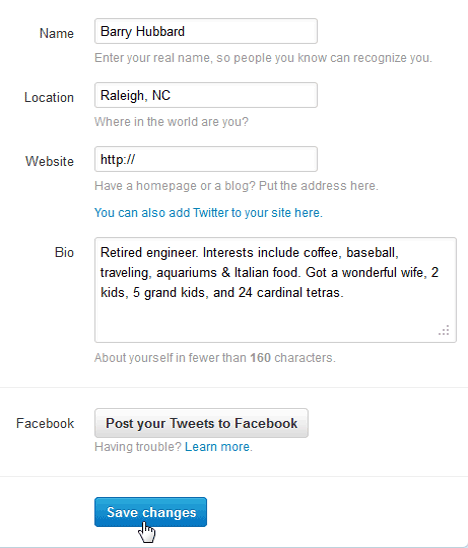 Saving profile info
Twitter recommends using your real name so people you know can find you. However, if you prefer to remain anonymous you can type an alias in the Name field.
To add a theme:
- Click the gear icon
 on the top navigation bar, then choose Settings from the drop-down menu.
 - Select the Design button from the left navigation pane.
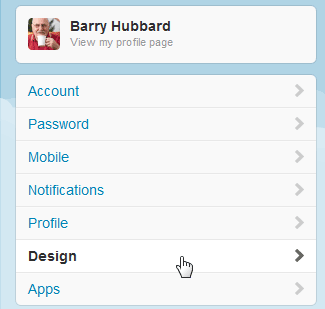 Going to Design Settings
 - Click on a theme to preview it. You can preview as many themes as you want.
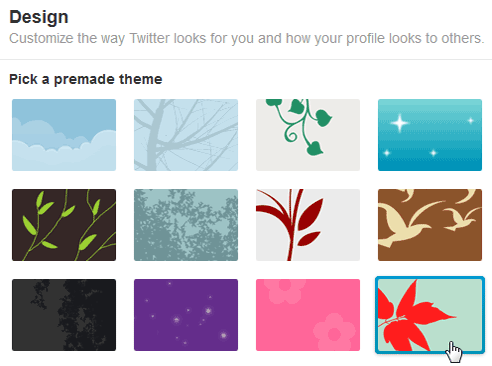 Clicking on a theme
 - When you've found one you like, click Save Changes, and it will be applied to your profile.
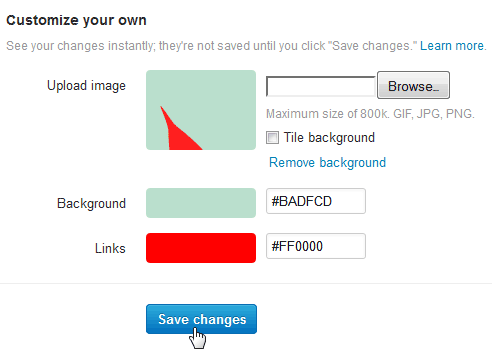 Saving the current theme
You can also Upload your own image or Change background and link color if you want to customize your theme even further.
Your profile is finished! Select the Me icon  on the top navigation bar, then click View my profile page to see your profile at any time. You can also select View my profile page in the left navigation pane on your homepage.
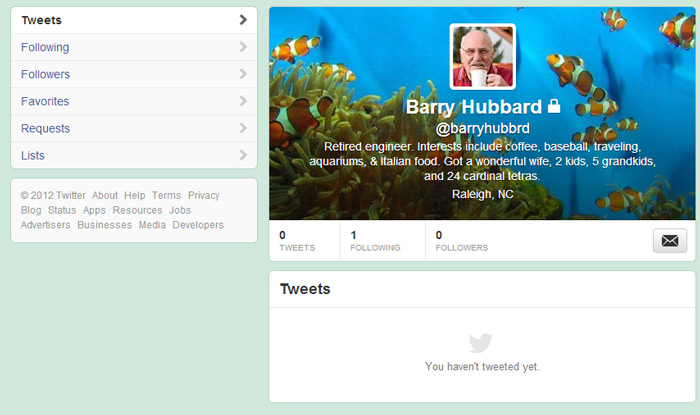 The finished profile


