OS X Mavericks
Working with Finder
Working with files and folders
Now that you know how to use Finder, you can learn how to create new folders, add shortcuts to the desktop, delete files, tag files and folders, and unmount drives that are connected to your computer.
Creating and modifying folders
As you organize your files, you'll need to create new folders from time to time. Most of the time, you'll be creating folders within other folders, but you can also put them directly on the desktop. Once you've created a folder, you can change its name or tag it.
To create a new folder:
- Navigate to the location where you want to create the new folder.
- Right-click, then select New Folder.
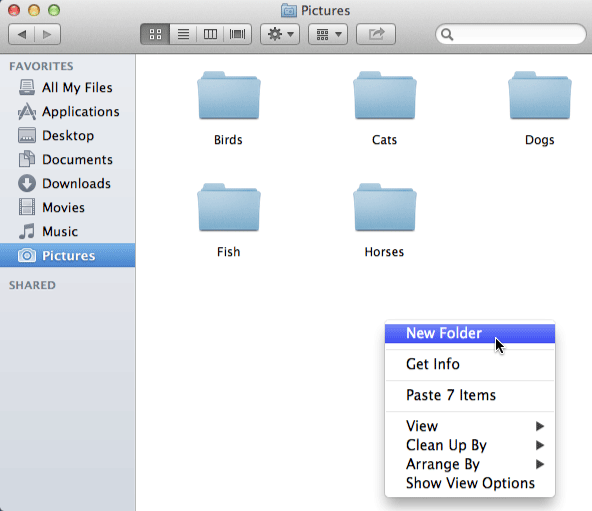 Right-clicking to create a new folder
 - Type the desired name for your folder.
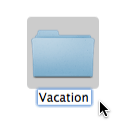 Typing a name for the folder
You can also create a folder by clicking File in the menu bar and selecting New Folder.
To rename a folder:
- Click on the folder once to select it (do not double-click), then press the Return or Enter key. The folder name should now be highlighted.
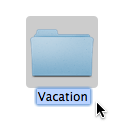 The highlighted folder name
 - Type the desired name for the folder.
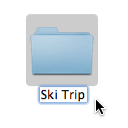 Typing a new name for the folder
Tags
OS X Mavericks introduces a new feature called tags, which are similar to labels in earlier versions of OS X. Tags make it easy to organize your files and folders into different categories so you can find them quickly. Unlike labels, you can apply multiple tags to a file or folder.
To tag files and folders:
- Right-click the file or folder, then select the desired tag. You can also apply multiple tags if desired.
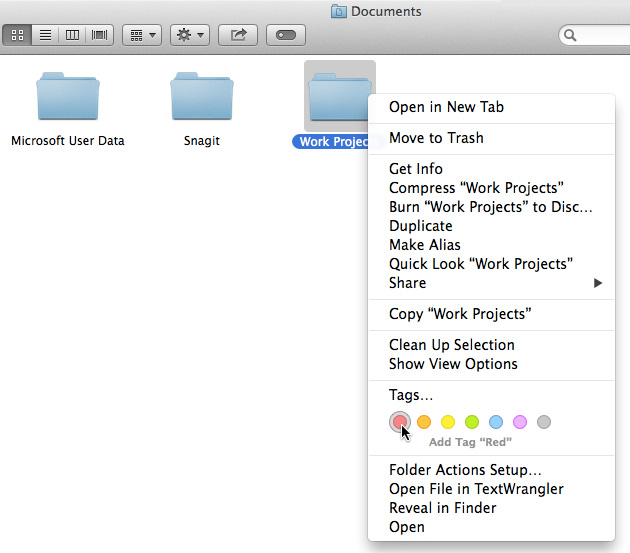 Tagging a folder
 - The tag will be applied.
 The tagged folder
 - To quickly view tagged items, select the desired tag in the Finder sidebar. Any items with that tag will appear.
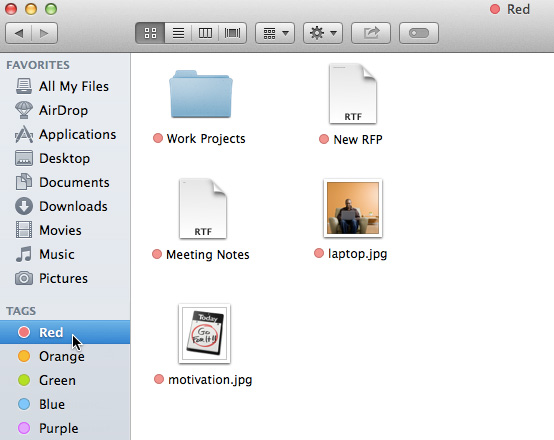 Browsing tagged items
You can also tag multiple items at the same time. To do this, press and hold the Command button while selecting the desired items, click the Tag button, then select the desired tag(s).
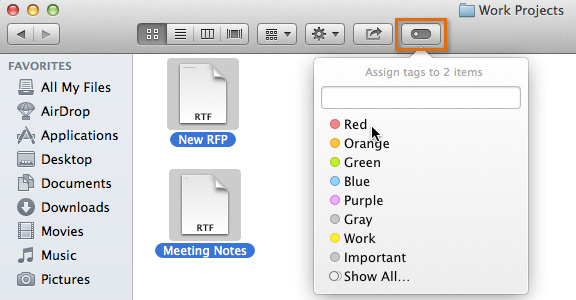 Tagging multiple files at the same time
Customizing tags
OS X Mavericks makes it easy to customize your tags. For example, you can rename default tags, choose a new tag color, or even create your own tags. Simply open the Finder Preferences, then click Tags. From here, you can customize your tags as desired.
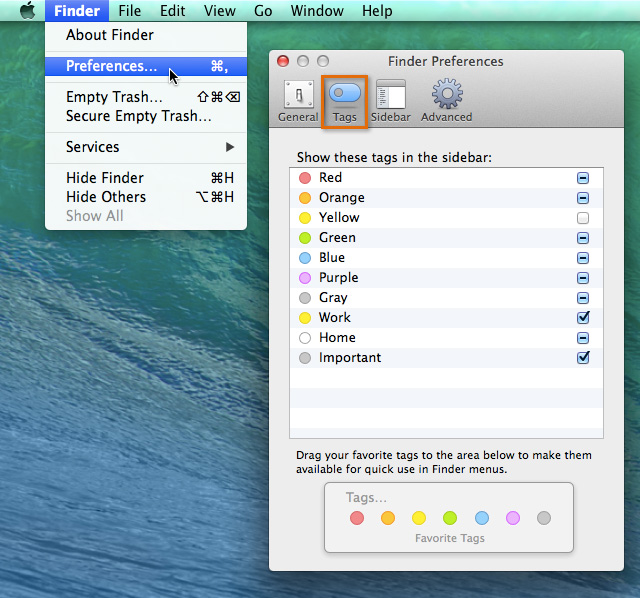 Customizing tags


