Image Editing 101
Fixing Common Problems
Sharpening

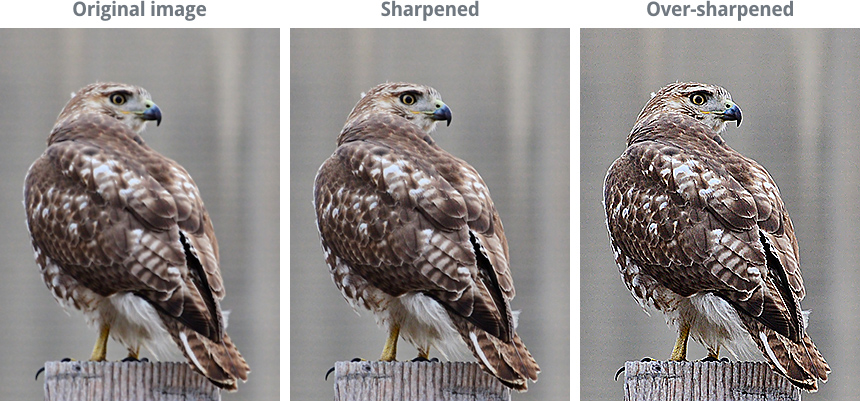
Sometimes an image may not be as clear as you'd like it to be. Sharpening can help make your images look crisp and clear by enhancing the edges of objects in the image. However, adding too much sharpness can actually make an image look worse, or lead to a loss in image detail. Take a look at the example below:

As you can see, the right amount of sharpness makes the photo look very crisp—for example, in the center image, it's easy to see the edges of the bird's feathers. But adding too much sharpness can cause the edges to look exaggerated and unnatural, as in the image on the right. You may have also noticed that the background in the over-sharpened image has a lot of added image noise.
To sharpen an image:
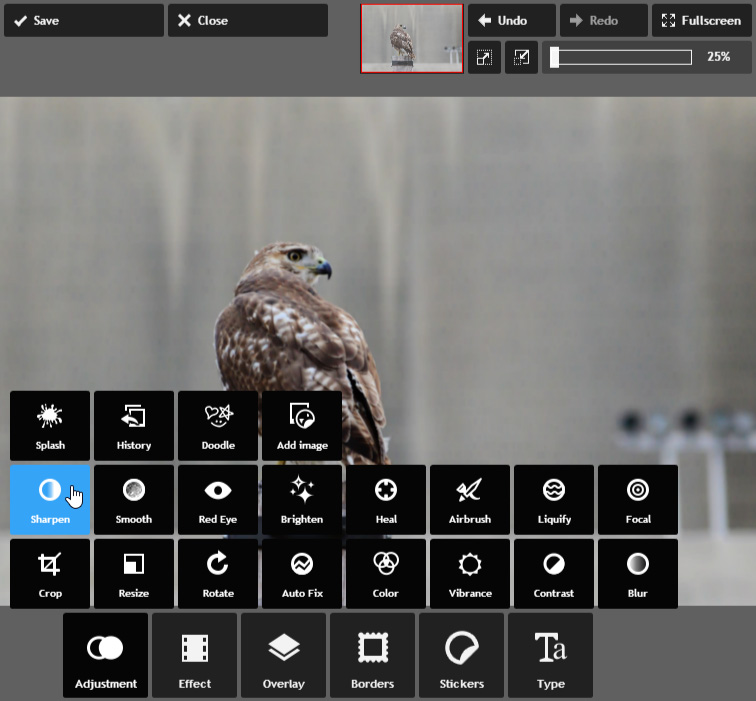
- With the image open in Pixlr Express, click the Adjustment button, then click Sharpen.

- Set the desired amount of sharpness to add, along with the radius. The radius controls the size of the details that will be sharpened, so it's generally best to use a very low number for this setting. Take some time to try adjusting both the amount and radius to see the effect—a preview will appear as you adjust each setting.

- Click Apply. The image will be sharpened. If desired, click the Save button to save this new version of the image.
If you want to learn more about sharpening, check out this tutorial from Cambridge in Colour.


