Google Sheets
Working with Multiple Sheets
Using multiple sheets
When you create a new Google spreadsheet, it has one sheet, which is named Sheet1 by default. In the sheets toolbar located at the bottom of the window, you will see a tab for each sheet you have. To organize your spreadsheet and make it easier to navigate, you can create, rename, delete, move, and duplicate sheets.
Watch the video to learn how to create and manage multiple sheets.
To create a new sheet
In our example, the sheets of our service log are organized by month. We will create a new sheet in the log so data can be entered in the new month.
- Click the Add Sheet command
 in the sheets toolbar.
 Clicking the Add Sheet command
 - A new sheet will appear in the sheets toolbar.
 The new sheet
Alternatively, you can create an additional sheet by clicking Insert and selecting New sheet from the drop-down menu.
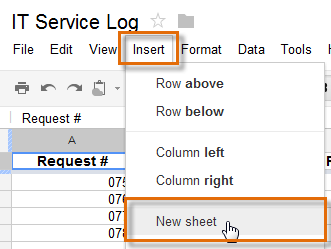 Clicking New sheet
To rename a sheet
- Click the tab of the sheet you wish to rename. Select Rename... from the menu that appears.
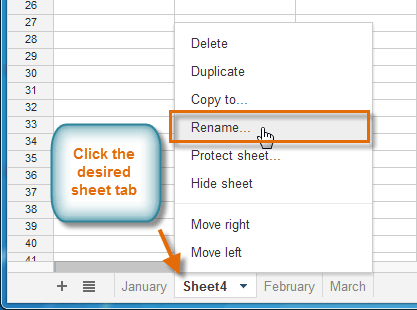 Selecting Rename...
 - In the dialog box that appears, type the desired name for the sheet, then click OK.
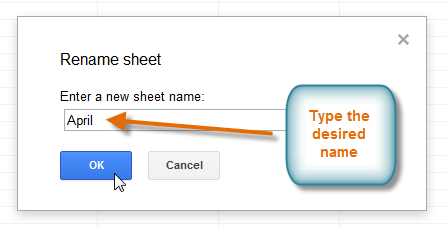 Renaming the sheet
 - The sheet is renamed.
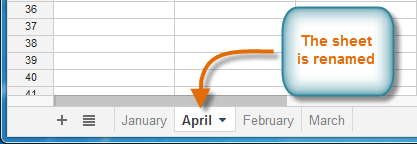 The renamed sheet
To switch to a different sheet:
- Click the desired sheet tab in the sheets toolbar.
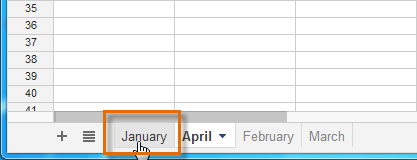 Clicking the desired sheet tab
 - The selected sheet will appear.
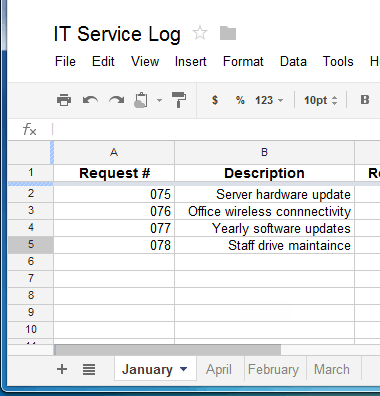 Viewing the selected sheet
If you wish to limit collaborators from editing specific sheets of your spreadsheet, you can protect these sheets by clicking on the desired sheet tab and selecting Protect sheet... from the menu that appears.
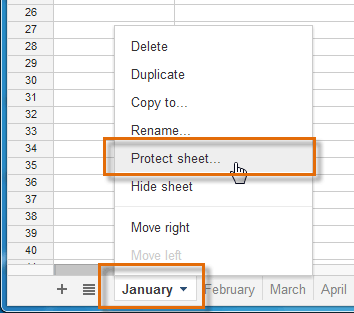 Protecting a sheet from editing


