

Excel 2013
Saving and Sharing Workbooks
Introduction
Video: Saving and Sharing Workbooks
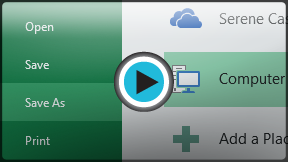 Watch the video (3:52).
Whenever you create a new workbook in Excel, you'll need to know how to save it in order to access and edit it later. As with previous versions of Excel, you can save files locally to your computer. But unlike older versions, Excel 2013 also lets you save a workbook to the cloud using OneDrive. You can also export and share workbooks with others directly from Excel.
OneDrive was previously called SkyDrive. There's nothing fundamentally different about the way OneDrive works—it's just a new name for an existing service. Over the next few months, you may still see SkyDrive in some Microsoft products.
Save and Save As
Excel offers two ways to save a file: Save and Save As. These options work in similar ways, with a few important differences:
- Save: When you create or edit a workbook, you'll use the Save command to save your changes. You'll use this command most of the time. When you save a file, you'll only need to choose a file name and location the first time. After that, you can just click the Save command to save it with the same name and location.
- Save As: You'll use this command to create a copy of a workbook while keeping the original. When you use Save As, you'll need to choose a different name and/or location for the copied version.
To save a workbook:
It's important to save your workbook whenever you start a new project or make changes to an existing one. Saving early and often can prevent your work from being lost. You'll also need to pay close attention to where you save the workbook so it will be easy to find later.
- Locate and select the Save command on the Quick Access Toolbar.
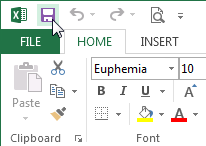 Clicking the Save command
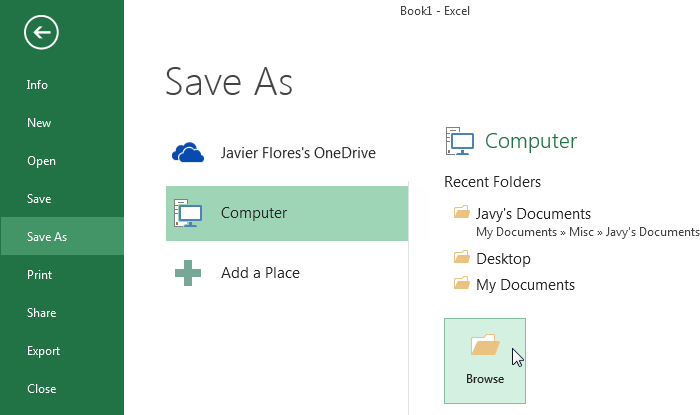
 - If you're saving the file for the first time, the Save As pane will appear in Backstage view.
- You'll then need to choose where to save the file and give it a file name. To save the workbook to your computer, select Computer, then click Browse. Alternatively, you can click OneDrive to save the file to your OneDrive.
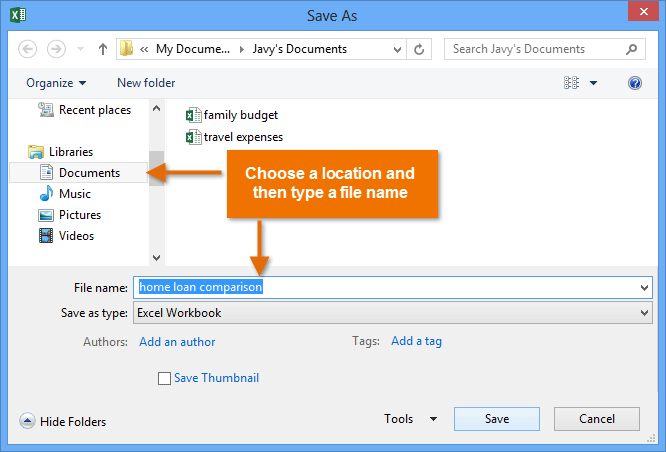
 Saving a workbook locally
 - The Save As dialog box will appear. Select the location where you wish to save the workbook.
- Enter a file name for the workbook, then click Save.
 Saving a workbook
 - The workbook will be saved. You can click the Save command again to save your changes as you modify the workbook.
You can also access the Save command by pressing Ctrl+S on your keyboard.
Using Save As to make a copy
If you want to save a different version of a workbook while keeping the original, you can create a copy. For example, if you have a file named "Sales Data" you could save it as "Sales Data 2" so you'll be able to edit the new file and still refer back to the original version.
To do this, you'll click the Save As command in Backstage view. Just like when saving a file for the first time, you'll need to choose where to save the file and give it a new file name.
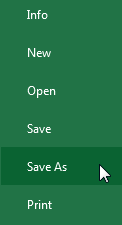 Clicking Save As
To change the default save location:
If you don't want to use OneDrive, you may be frustrated that OneDrive is selected as the default location when saving. If you find it inconvenient to select Computer each time, you can change the default save location so Computer is selected by default.
- Click the File tab to access Backstage view.
 Clicking the File tab
 - Click Options.
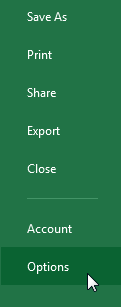 Clicking Options
 - The Excel Options dialog box will appear. Select Save, check the box next to Save to Computer by default, then click OK. The default save location will be changed.
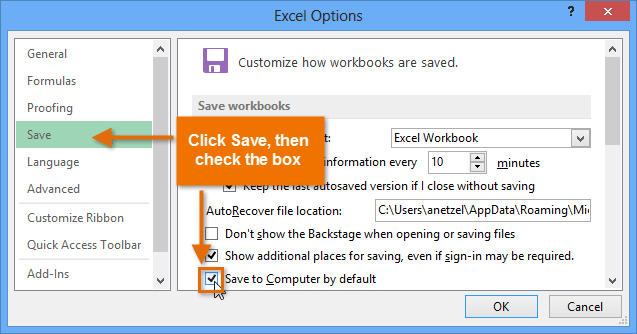 Changing the default save location


