Small Scale Offgrid Solar PV: Installation Manual
Mark the position of these holes in the wall behind and drill the wall (with hammer-drill.)
Drill into the wall as far as you need for the wall plug.
Put the wall plugs in, with a hammer if needed.
Screw to the wall, with screws long enough to pass through the board and fill the whole
plug.
Alternatively in Guatemala the blocks are usually soft enough for nails. Ensure there is
enough space on the board between the nails for the Regulator and the Inverter.
- Mounting in Adobe wall. Self-tapping screws normally achieve a good fixing in adobe
(meaning the Inverter and Regulator can be mounted with no board.) It‟s important to
start with the Regulator flush to the wall (on a part of the wall that‟s level.)
3. Prepare the cables between the Battery and the Charge Controller.
Chose the cable gauge according to the Quetsol technical guide: Cable Selection in small Off
grid Solar Energy Installations.
Measure the amount of cable needed for the cable run to look neat, including changes in
direction. Prepare the ends to connect to the battery :
- Remove enough exterior insulation (of TSJ cable) for the wires reach the two poles of
the battery.
- Prepare the ends with crimped terminals for battery connection.
- Mark cable polarity with black and red insulation tape at the ends.
Clip the cable to the wall.
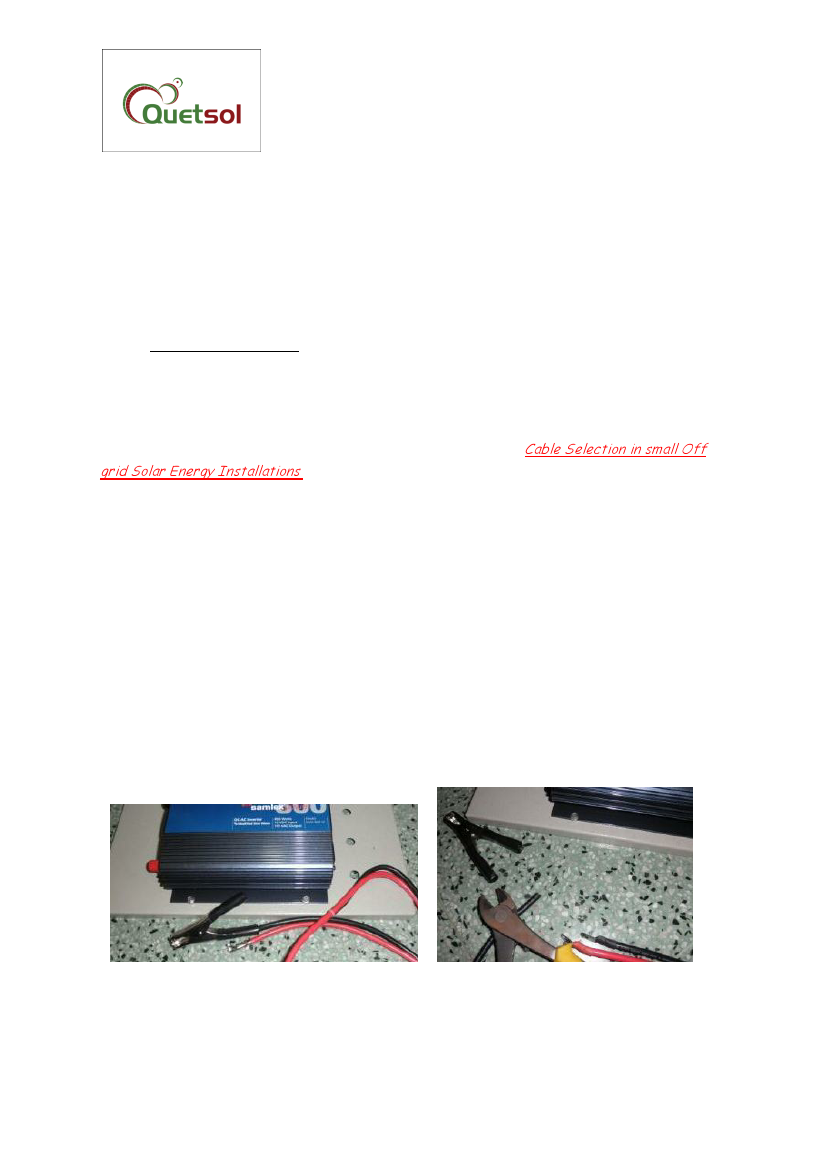
4. Prepare the Inverter cables
Inverters for offgrid solar often come supplied with the battery connection cables. This Manual
explains the steps for connection with crimp terminals. Make sure to buy terminals that are
large enough for the threaded connection points on the battery, and to fit the cable gauge.
Remove the crocodile clips for battery connection. They present a risk of inverse connection.
17