PowerPoint 2007
Using the Slide Master
Introduction
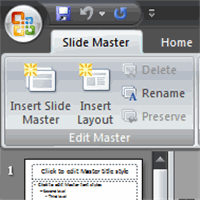 Each time you apply a new theme to your slides, a slide master appears in the background. It stores information about the theme, including font style, colors, effects, placeholder size, and text alignment. The slide master allows you to easily make changes to all slides or a specific slide layout.
In this lesson, you will learn how to use the slide master view to apply changes to the slide master and supporting layouts.
Using the slide master
Watch the video! (Part 1) (5:20min) (Part 2) (5:38min)
Download the example to work along with the video.
The slide master
The easiest way to make the same change to all slides or slides that use a specific layout is to change the slide master, also called the master slide. For example, let's say you like a theme but want to change a specific design element of that theme. You may want a different bullet style, slide titles that are center-aligned instead of left-aligned, or an accent line under each slide title. You can quickly make these changes and more by modifying the slide master.
To view the slide master:
- Select the View tab.
- Click the Slide Master View command in the Presentation Views group.
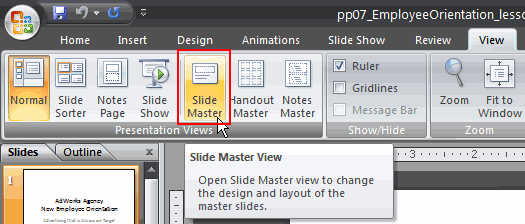
- The slide master tab will appear as the active tab on the Ribbon, and the slide master task pane will appear on the left.
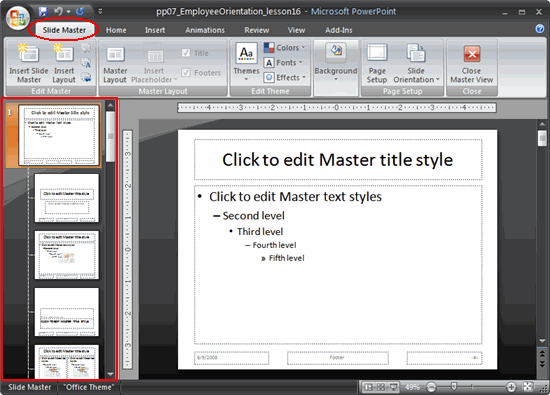
About slide master view
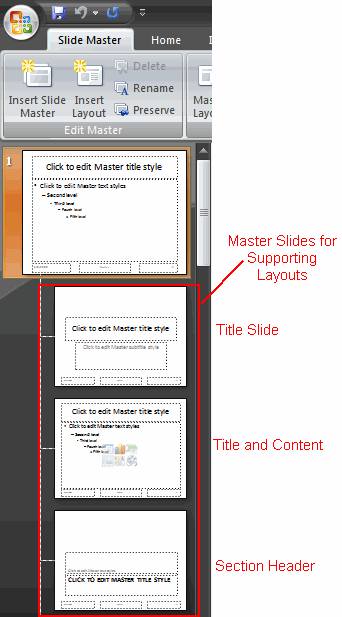
The slide master view appears similar to Normal view; however, in slide master view master slides are displayed in the task pane rather than actual slides. The first thumbnail image in the task pane on the left is the slide master that controls all slides. If you want to make a change to all slides in a presentation, you can do so by changing this slide.
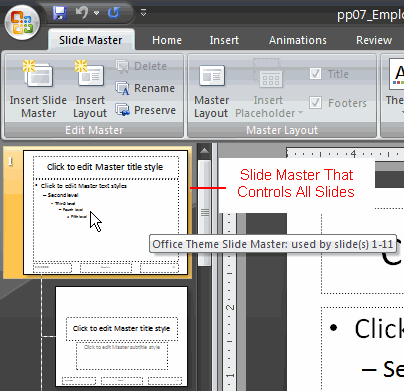
Each slide below the slide master is a master slide for a supporting layout. For example, if you want to make a change to all slides that use a Title and Content layout, you can do so using the Title and Content layout master slide in the task pane.
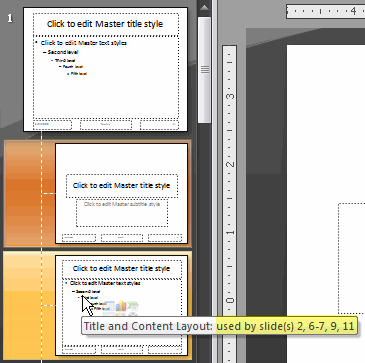
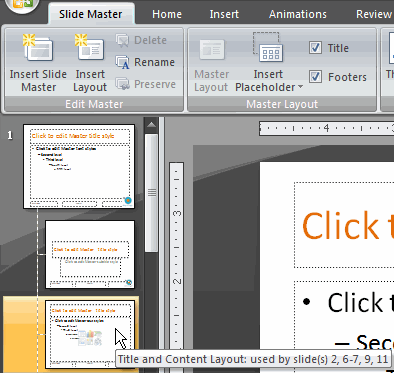
You can see which slides in the presentation use a specific layout. To see this information, just hover over a layout and read the screen tip. The screen tip contains the slide numbers that use the layout.
Making changes to all slides
Any change you can make to a slide in Normal view can be made to the slide master so the change will be reflected on all slides in the presentation. The following examples will show how you can make these changes and move from the Slide Master tab to other tabs on the Ribbon while the presentation remains in slide master view.
To change the theme font on all slides:
- Select the View tab.
- Click the Slide Master View command in the Presentation Views group. The Slide Master tab will appear active.

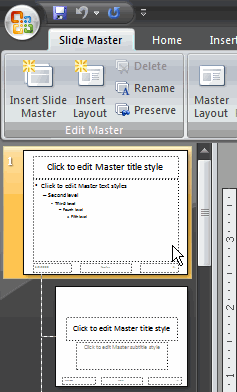
- Select the slide master for all slides, if it is not currently selected.
- Click the Fonts command in the Edit Theme group on the Slide Master tab.
- Hover over each option to display a live preview of the font option on the master slide.
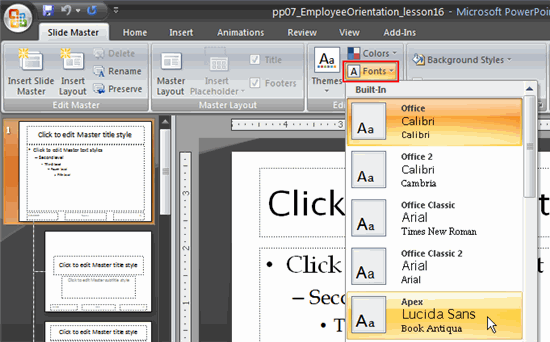
- Click a menu option to select it.
- Click the Close Master View command to return to Normal view.

Making Changes to All Slides
To change text color/alignment on all slides:
- Select the View tab.
- Click the Slide Master View command in the Presentation Views group. The Slide Master tab will appear active.
- Select the slide master for all slides, if it is not currently selected.
- Select the text you wish to modify, and format it as you wish. In this example, we will change the title color and alignment.

- Select the Home tab. The slide master and supporting layouts will remain in the slide task pane on the left because slide master view is the current view.
- Click the Font Color command in the Font group.
- Hover over each font option to display a live preview on the master slide.
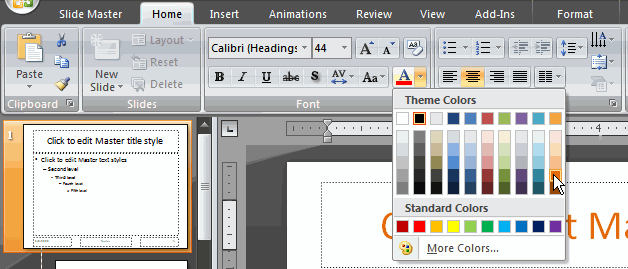
- Select a font color from the menu options. The font color change will appear on all the slides in the task pane on the left.
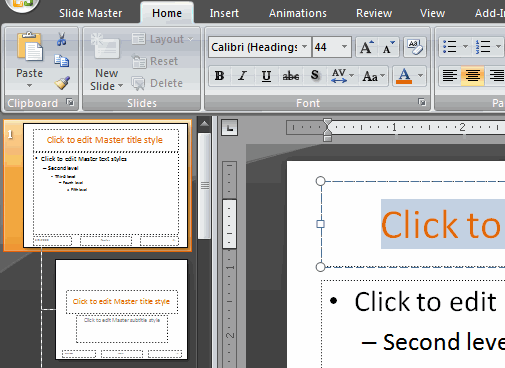
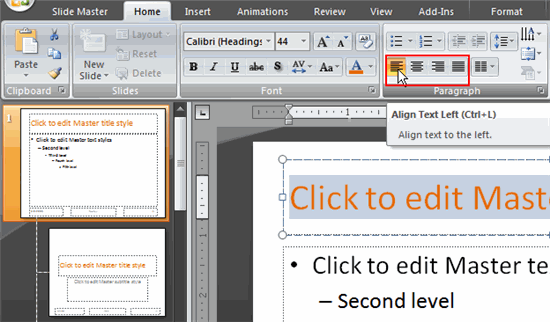
- Click an alignment command to change the alignment of the selected text.
- Click the Slide Show View or Normal View command at the bottom of the window to exit slide master view and see the changes in the presentation slides.
To insert a picture on all slides:
- Select the View tab.
- Click the Slide Master View command in the Presentation Views group. The Slide Master tab will appear active.
- Select the slide master for all slides, if it is not currently selected.
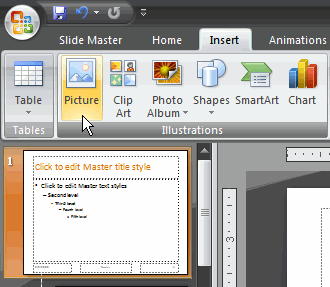
- Select the Insert tab.
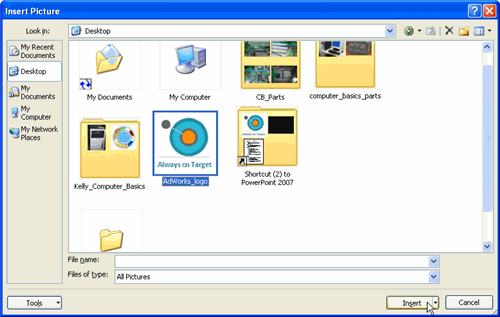
- Click the Picture command in the Illustrations group. The Insert Picture dialog box will appear.
- Locate the picture file on the computer.
- Select the picture file.
- Click Insert. The picture will appear on the slide master.
- Click the picture and while holding down the mouse button, drag it to the desired location on the slide. Release the mouse button.
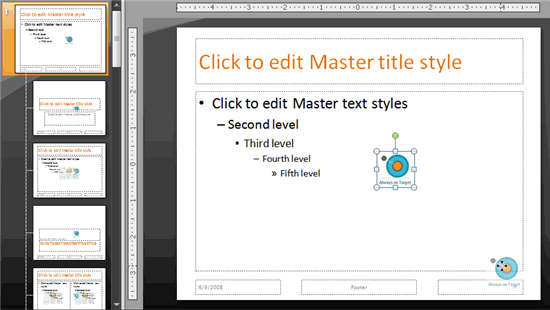
- Click the Slide Show View or Normal View command at the bottom of the window to exit slide master view and see the changes in the presentation slides.
Pay attention to the tab that is active so you do not take unnecessary steps to accomplish a task. For example, if the Slide Master tab is active, just click the Close Master View command to return to Normal view; however, if it isn't active, click the Normal View command at the bottom of the window.
Making changes to specific layouts
In addition to changing design elements on all slides, you can change design elements on slides that use a specific layout. For example, you can apply different formatting to the Title and Content or Section Header layouts. By customizing specific slide layouts, you have more control over the slides and the presentation as a whole.
To change font color/formatting on slides with a specific layout:
- Select the View tab.
- Click the Slide Master View command in the Presentation Views group. The Slide Master tab will appear active.

- Select the supporting layout you wish to change. In this example, we will select the section header layout in the task pane on the left.
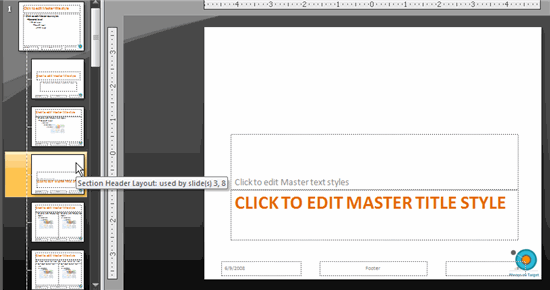
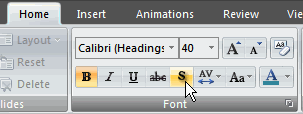
- Select the text you wish to modify on the slide. Now you can format as you wish. In this example, we will change the font color and add a text shadow.
- Select the Home tab.
- Click the Font Color command in the Font group.
- Hover over each option to display a live preview on the master slide.
- Select a font color from the menu options.
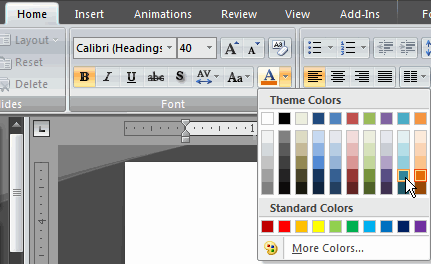
- Click the Text Shadow command to add a shadow to the selected text.
- Click Normal View to close the slide master view and see the section header slides that have been formatted.
Making changes to specific layouts
To insert a line on slides with a specific layout:
- Select the View tab.
- Click the Slide Master View command in the Presentation Views group. The Slide Master tab will appear active.

- Select the supporting layout you wish to change. In this example, we will select the Title and Content layout in the task pane on the left.
- Select the Insert tab.
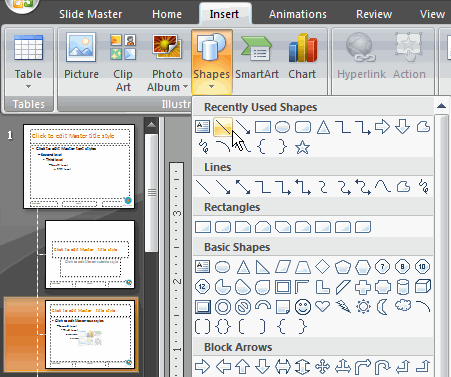
- Click the Shape command.
- Select a line from the menu. The cursor will turn into a crosshair.
- Click and drag the mouse to insert a line where you wish on the slide. Release the mouse button.

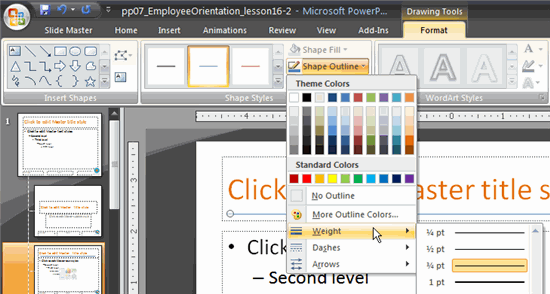
- Select the Format tab. Format the line, if you wish. In this example, we will change the line color, weight, and style.
- Click the Shape Outline command.
- Choose a color, weight, or line style option.
- Click the Normal View command to close the slide master view and see the section header slides that have been formatted.
Press and hold the Shift key while you insert a straight line. This will make the line appear completely straight.
Challenge!
Use the Employee Orientation presentation or any other presentation you choose to complete this challenge.
- Open a presentation.
- Open slide master view.
- Insert a picture on all slides.
- Change the title color and alignment on all slides.
- Change text formatting on one layout.
- View the presentation in slide show view to see the changes.


