PowerPoint 2000
Moving and Sizing Placeholders
Introduction
By the end of this lesson, learners should be able to:
- Move and size placeholders
- Resize placeholders
Moving and Sizing Placeholders
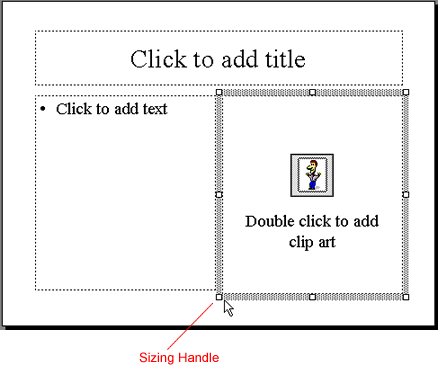
As you prepare a presentation, you may find that you want to change the size of the placeholders. They can be moved or resized using sizing handles. When you click on a placeholder or an object, sizing handles appear on the corners and edges around it.

Clicking and dragging the different sizing handles create different effects. If you want to make your object or placeholder bigger or smaller but still keep the proportions of the original, click and drag on a corner sizing handle. When the sizing handle is selected, it turns into double arrows on a diagonal line.
When you want to squeeze or stretch an object or placeholder (making it fatter or skinnier, shorter or taller in appearance), click and drag on the side sizing handles.
 Remember, dragging the side sizing handles will change the proportions of the object.
Moving and Resizing Placeholders
You may find it necessary to move a placeholder as you are working with slides in your presentation.
To move a placeholder:
- Click inside the placeholder . The border changes to slanted lines with eight sizing handles.
- Move the mouse pointer over the slanted lines.
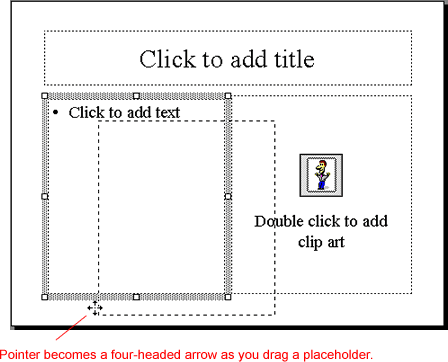
- When a four-headed arrow appears over the borders, click and drag the placeholder to a new location.

To resize a placeholder:
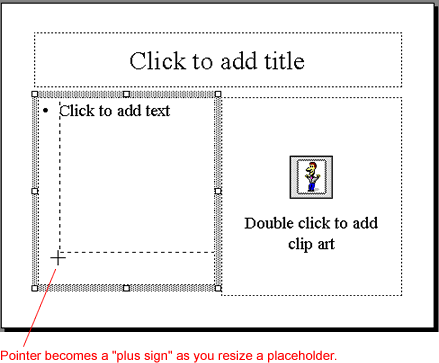
- Click inside the placeholder. The border changes to sizing handles.
- Move the pointer over the sizing handles and a + appears.
- Click and drag the placeholder to the size you want.

Challenge!
- Open PowerPoint.
- Choose Blank presentation.
- Choose an AutoLayout for text and clip art.
- Practice moving and sizing text and clip art placeholders.