

Microsoft Account
Adding and Managing Contacts
Managing your contacts
Once you've added a lot of contacts, your contact list can start to look a little cluttered. Fortunately, Microsoft makes it easy to manage and organize your contacts.
To edit a contact's information:
- Navigate to the People page.
- Select the contact you wish to edit in the All Contacts List on the left side of the screen. If necessary, use the search bar to find the desired contact.
- Locate and select the Edit button.
 Selecting a contact to edit
 - Modify the contact information as desired, then click Save. The contact will be edited.
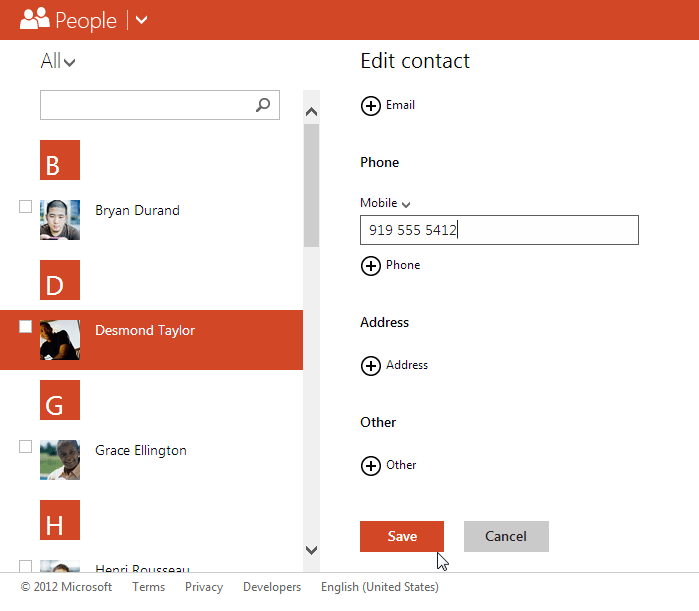 Modifying the contact information
To sort contacts into groups:
If you have a lot of contacts, you may find it helpful to sort your contacts into groups.
- Navigate to the People page.
- Select the contacts you wish to place into a group, then locate and select the Groups button.
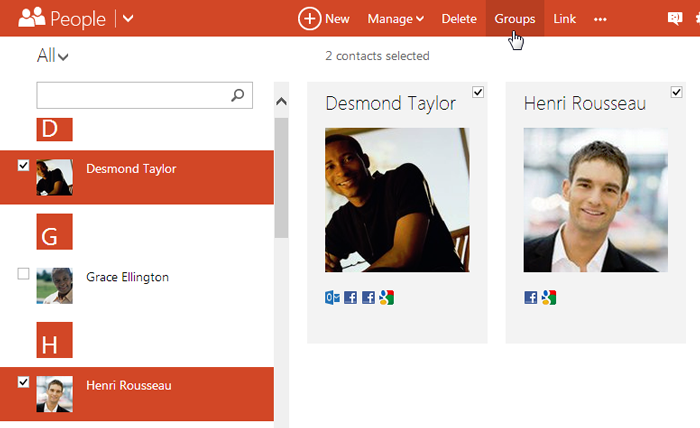 Adding contacts to a group
 - The Groups dialog box will appear. You can choose to either:
- Sort your contacts into an existing group
- Create a new group for your contacts (we'll chose this option in our example)
- Click New group.
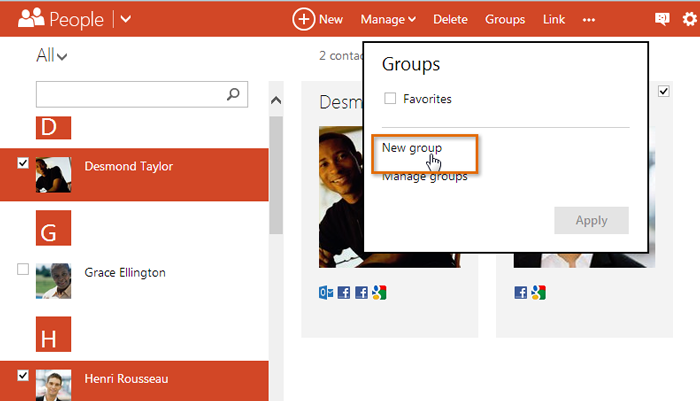 Creating a new category
 - Enter the name of the new group, then click Apply.
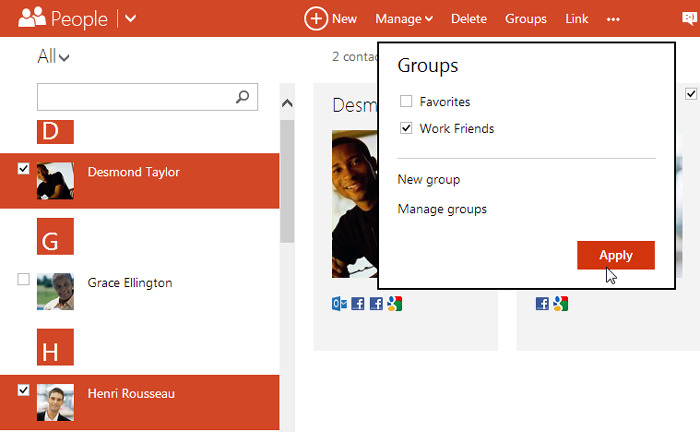 Adding contacts to the new category
 - The group will be created.
- To view only the contacts in that group, click the drop-down arrow next to All, then select the group from the drop-down menu.
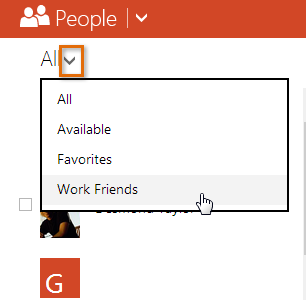 Selecting new group
To create a group without contacts, remove a contact from a group, or delete a group completely, locate and select the Manage button, then click Manage groups.
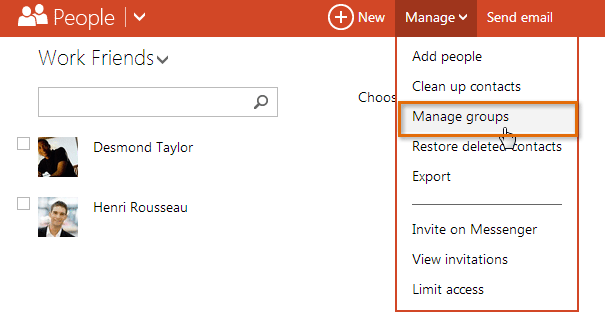 Managing groups


