OS X Mountain Lion
Working with Finder
Working with Finder
If you use a Mac, you'll use Finder any time you want to navigate to a file. You'll also be able to control how your files are displayed, making it easier to find what you need.
Watch the video to learn how to use Finder.
The Finder window
To start navigating, you'll first need to open a Finder window. There are two main ways to do this:
- Double-click any folder on the desktop.
OR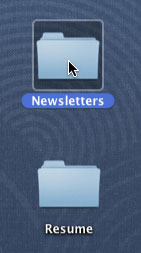 Double-clicking a folder
 - Click the Finder icon on the Dock.
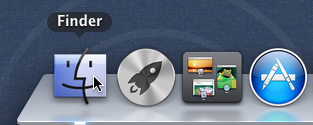 Opening Finder
The Finder window is divided into three main parts: The contents of the current folder; the Sidebar, which you can use to choose a location; and the toolbar, where you can customize the way contents are displayed.
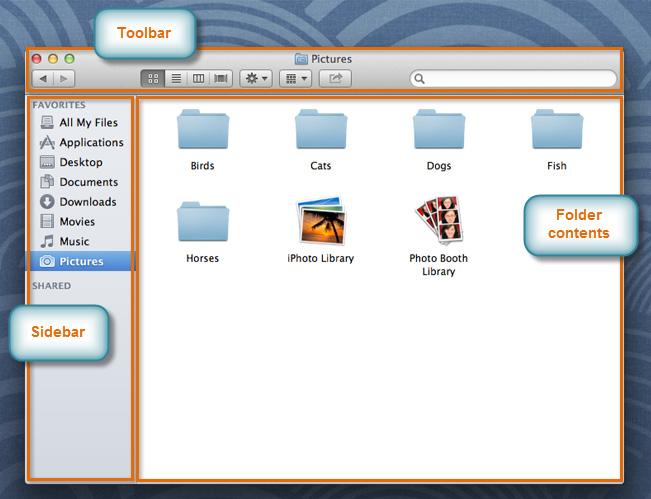 The Finder window
Your home folder
In the Finder sidebar, you will see shortcuts to folders that have names like Documents, Downloads, Music, and Pictures. These folders are part of your account's home folder. To keep your files organized, you may want to use these folders instead of putting everything on the desktop. If you don't see all of these folders in the sidebar, you can open your home folder to view them.
To open your home folder:
- Make sure you are in Finder (the left side of the menu bar should say "Finder").
- In the menu bar, click Go and select Home.
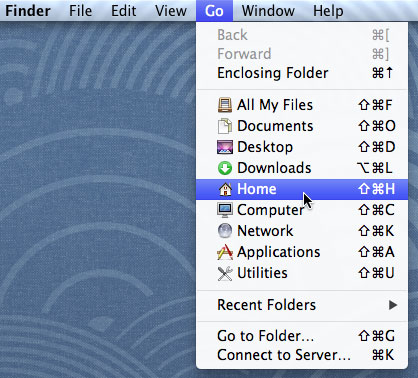 Opening the home folder
 - Your home folder will open in a Finder window.
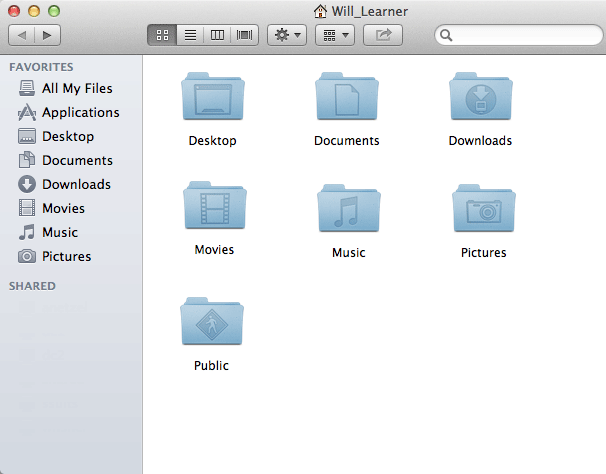 The home folder
Changing the view, arrangement, and sort options
Mountain Lion allows you to change the way folder contents are displayed by changing the view, arrangement, and sort options. This makes it easier to find the specific file you're looking for.
View options
Finder has four different view options to choose from. You may prefer to use just one all the time, or you can switch between them whenever you want.
- Icon view: This is the default view. It displays the folder contents as large icons.
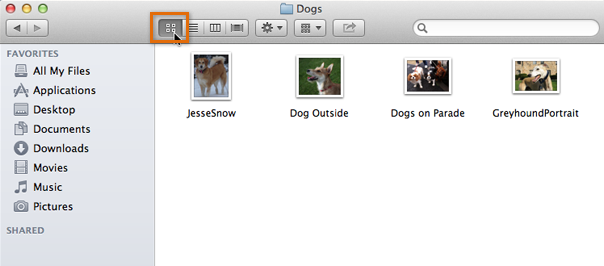 Icon View
 - List view: This displays a vertical list of folder contents, along with details about each item.
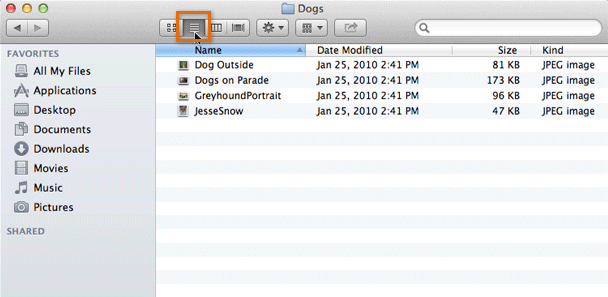 List View
 - Column view: This shows the current folder in a column, with the parent folder in another column to the left. If the Finder window is large enough, it will display several levels of folders, allowing you to see the location of the current folder. If you select a file, it will display a preview of the file to the right of the columns.
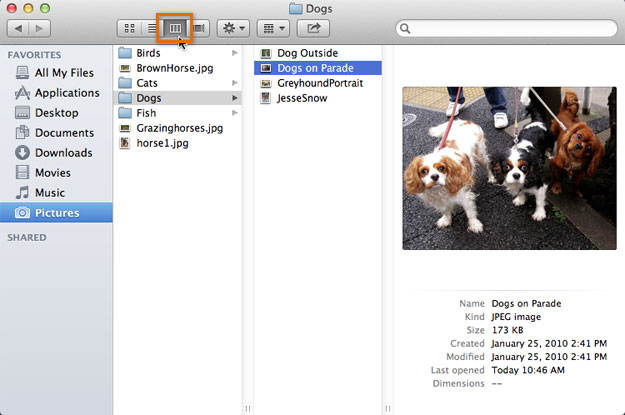 Column View
 - Cover flow: This is similar to list view, but at the top of the window there is a preview of folder contents. Using your keyboard's arrow keys, you can easily flip through all files in the folder without actually opening them.
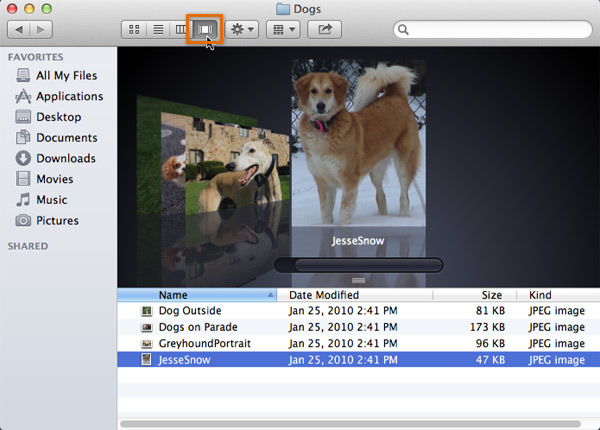 Cover Flow
No matter which view you're in, you can preview a file by pressing the space bar on your keyboard. This is known as Quick Look. It works with most common file types, but not all.
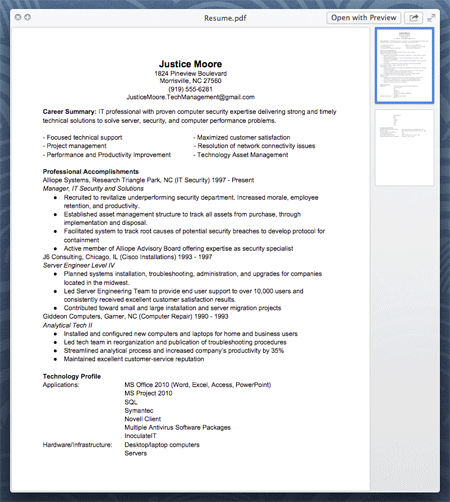 Previewing a file with Quick Look
To change the item arrangement:
With Mountain Lion, you can group folder contents by file type, application, date, size, or label. This is useful when you have a lot of files in a folder.
- Click the Item Arrangement button, then select the desired arrangement.
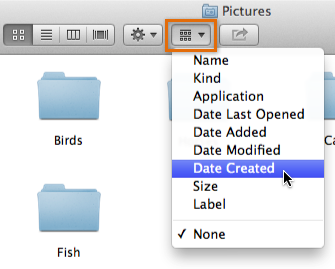 Arranging by Date Created
 - The folder contents will now be arranged into groups.
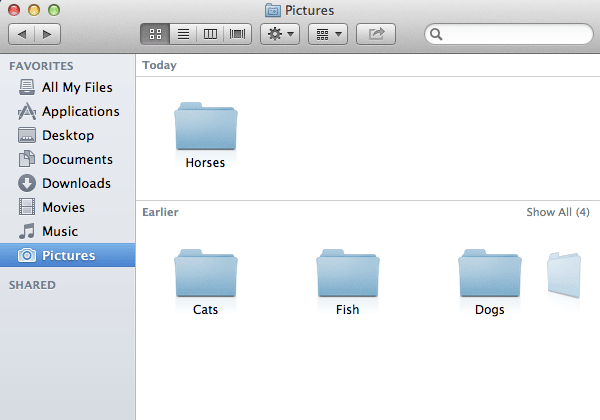 After arranging the folder
To remove the grouping, simply change the item arrangement to None.
To sort in list view and cover flow:
If you are in list view or cover flow, you can sort the folder contents. This is similar to item arrangement, except it only puts the contents in order and doesn't group them. You can't use sorting and item arrangement at the same time, so you'll need to make sure the item arrangement is set to None.
- Click a column header to sort by that column. For example, you can click the Size column header to sort by file size.
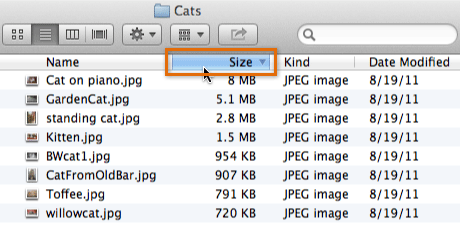 Sorting by file size
If you don't see the column you want, you can right-click any column header to select the columns you want to show.
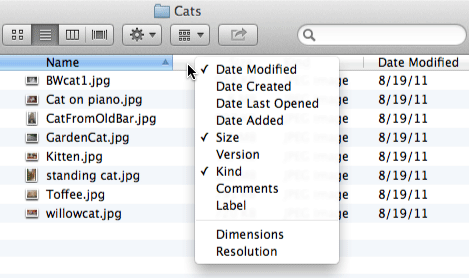 Right-clicking the header to add columns
Working with files and folders
Now that you know how to use Finder, you can learn how to create new folders, add shortcuts to the desktop, delete files, color-code folders, and unmount drives that are connected to your computer.
Watch the video to learn how to work with files, folders, and more.
Creating and modifying folders
As you organize your files, you'll need to create new folders from time to time. Most of the time, you'll be creating folders within other folders, but you can also put them directly on the desktop. Once you've created a folder, you can change its name or color-code it.
To create a new folder:
- Navigate to the location where you want to create the new folder.
- Right-click and select New Folder.
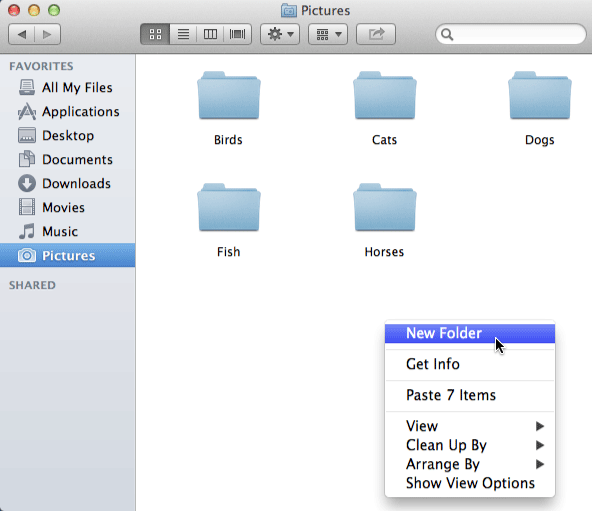 Right-clicking to create a new folder
 - Type the desired name for your folder.
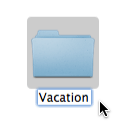 Typing a name for the folder
You can also create a folder by clicking File in the menu bar and selecting New Folder.
To rename a folder:
- Click the folder once to select it (do not double-click), then press the Return or Enter key. The folder name should now be highlighted.
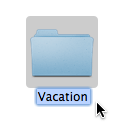 The highlighted folder name
 - Type the desired name for the folder.
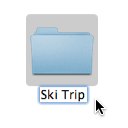 Typing a new name for the folder
To color-code a folder:
- Right-click the folder icon and select the desired color.
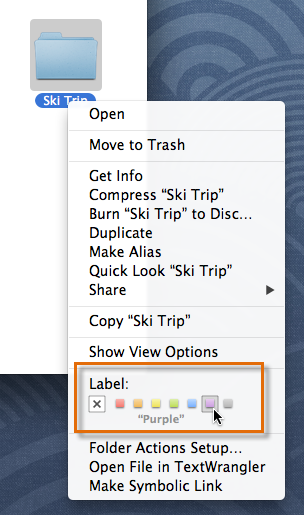 Choosing a folder color
 - The folder name will now show the new color.
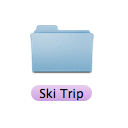 The folder name with the new color
Creating a shortcut to a folder
If you have a folder you use frequently, you can save time by creating a shortcut (also called an alias) on the desktop. Instead of navigating to the folder each time you want to use it, you can simply double-click the shortcut and the folder will open. A shortcut will have a small arrow in the lower-left corner of the icon.
To create a shortcut:
- Navigate to where where your folder is located.
- Hold down the Option and Command keys, then click and drag the folder to the desktop. While you are dragging it, you should see a small arrow on the icon.
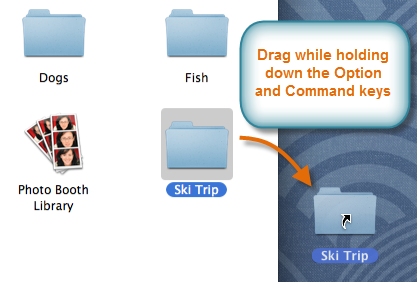 Creating a shortcut on the desktop
 - When you release the mouse, the shortcut will be created. The icon should still have an arrow indicating it's a shortcut.
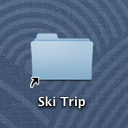 The finished shortcut
Deleting files and folders
If you want to remove some of the clutter from your computer, you can delete files and folders you don't need. This will move them to the Trash (which is just like the Recycle Bin in Windows). Then, if you're sure you want to permanently delete them, you can empty the Trash.
To delete a file or folder:
- Click and drag the file or folder onto the Trash icon on the Dock. Alternatively, you can select the file and then press Command+Delete.
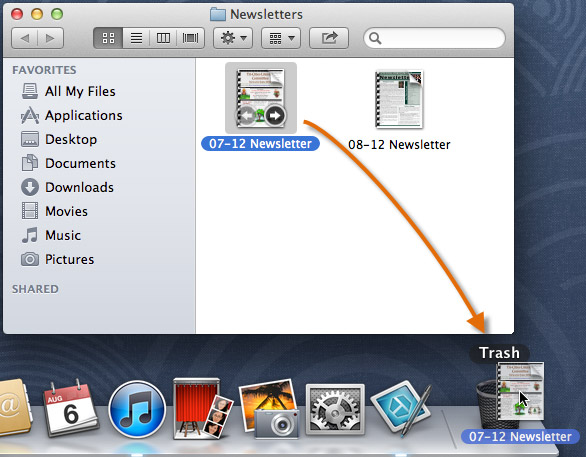 Dragging a file to the Trash
 - To empty the trash, right-click the Trash icon and select Empty Trash. All files in the Trash will be permanently deleted.
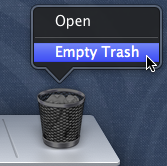 Emptying the Trash
On some Macs, right-clicking may be disabled by default. If you're unable to right-click, you can just click and hold the Trash icon until you see the Empty Trash option.
Ejecting drives
When you connect a flash drive or external hard drive to your Mac, it is known as mounting the drive. Before you disconnect the drive, it's important to eject it (or unmount it) properly to avoid damaging the data.
To eject a drive:
- Click the Finder icon on the Dock.
 Opening Finder
 - Locate your drive in the sidebar and click its eject button.
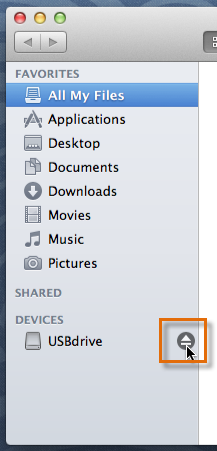 Clicking the eject button
 - The drive will disappear from the sidebar, and you can safely disconnect it from the computer.
If your flash drive appears as an icon on the desktop, right-click the drive icon and select Eject. The drive icon will disappear from the desktop. Alternatively, you can click and drag it to the Trash. It can then be safely disconnected from your computer.
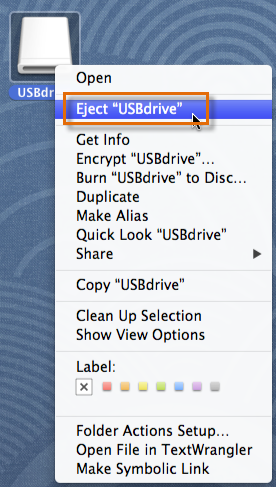 Ejecting a USB flash drive


