Google Docs
Getting Started with Your Document
Introduction
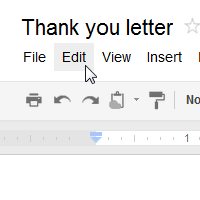
When working with a word processing application like Google Documents, it is important to be comfortable with the document interface and to know how to perform basic tasks with text.
In this lesson, you'll get to know the interface and the basics of setting up your document. You'll also become familiar with how to work with text, including inserting, deleting, selecting, copying, cutting, and pasting, as well as how to use the spell check and find and replace features.
Getting to know documents
Watch the video to learn how to navigate the Google Documents interface and set up your first document.
Google Documents interface
When you create a document in Google Docs (Drive), the interface for Documents will appear. This interface displays the toolbar, along with the main view of your document. It allows you to type and modify text, in addition to sharing a document with others.
Click the buttons in the interactive below to learn about the interface for Documents.

Document Title
Google Drive displays the title of your document here and in the View pane of your Google Drive home page.
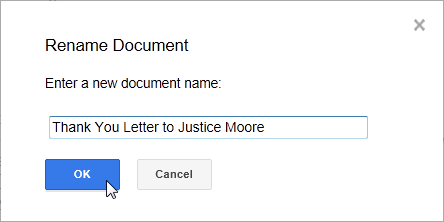
By default, new documents are named Untitled document. Simply click on the title to change the document name.
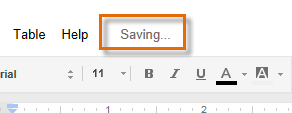
Saved Changes Notification
Google Drive automatically saves your changes as you work. The saved changes notification lets you know that you document has been saved.
Collaboration Options
Collaboration options allow you to share your document with others and make comments as you work.
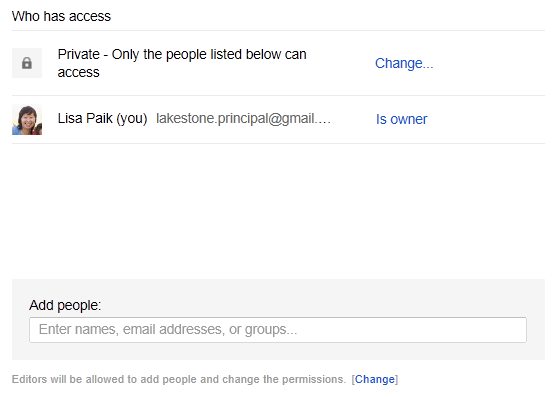
Shortcuts Toolbar
This toolbar provides convenient shortcuts for formatting the document text
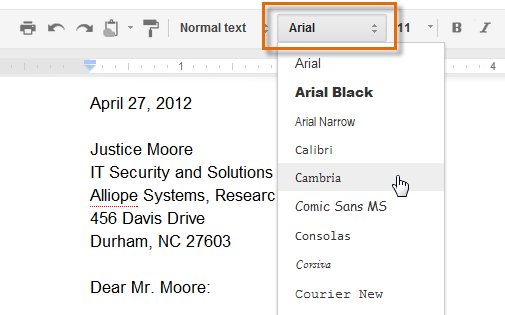
Menu Toolbar
Various menus for working with your document can be found in the Menu toolbar. Click a menu to see available commands and options.
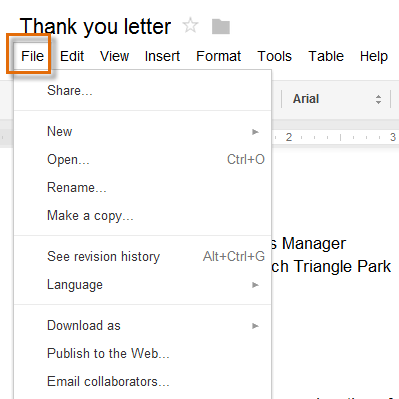
Navigate to Google Drive
Hover the mouse next to the document title. An arrow will appear. Click the arrow to navigate back to your Google Drive home page.

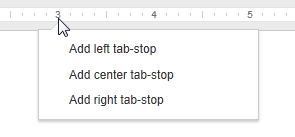
Ruler
The ruler is useful for setting margins, indentations, and tab-stops.
Page setup options
When you first create a Google document, you may want to change the Page Setup options like page orientation, margins, or paper size, depending upon the type of document you are creating.
To set up page orientation:
- Click File, then select Page setup...
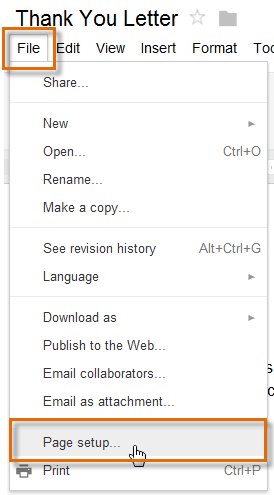 Selecting Page setup...
 - The Page setup dialog box will appear. Locate the Orientation options.
- Click either Portrait or Landscape to change the page orientation, then click OK.
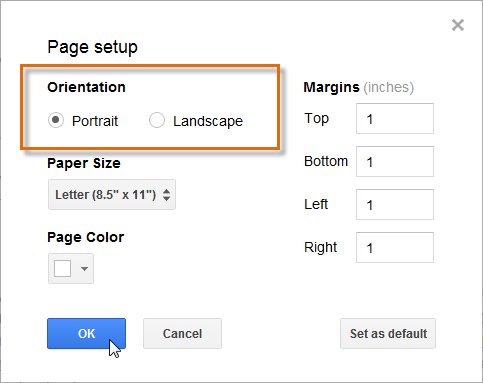 Choosing the Page Orientation
Landscape format means the page is oriented horizontally, while portrait format means it is oriented vertically.
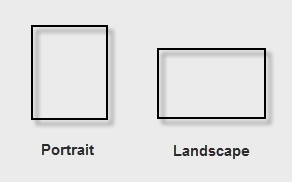 Viewing portrait and landscape formats
To set page margins:
- Click File, then select Page setup. The Page setup dialog box will appear.
- Locate the Margins options. Adjust the margin sizes for each side of the page, then click OK.
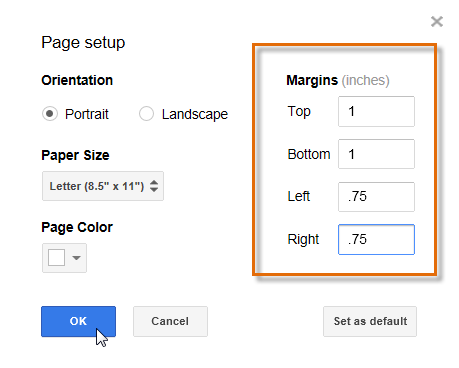 Setting Page Margins
Setting paper size
- Click File, then select Page setup. The Page setup dialog box will appear.
- Locate and click the Paper Size drop-down box.
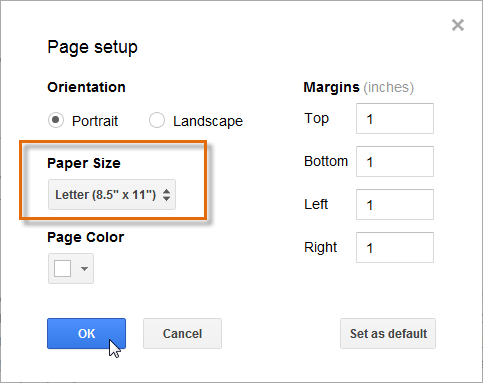 Paper Size options
 - Select a paper size for your document.
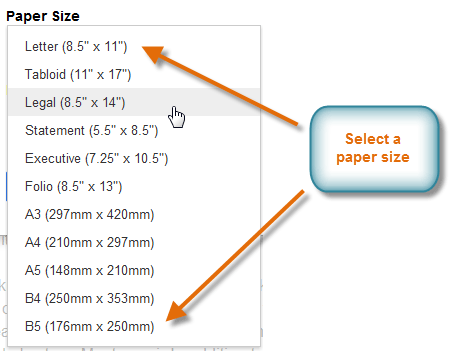 Paper Size selection
 - The new paper size selection will appear in the box. Click OK to set the paper size.
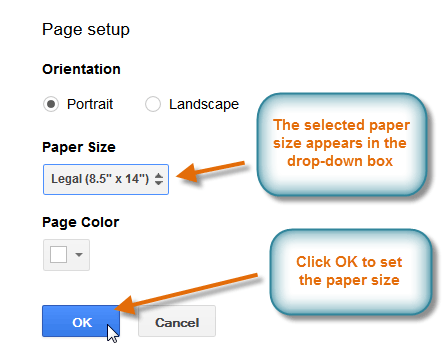 Confirming the paper size selection
The Page Color option in the Page setup dialog box changes the background color of the document. This may be useful as a decorative option if you plan on publishing your document on the Web.
Text basics
If you are familiar with word processing software such as Microsoft Word, you will find working with text in Google Documents to be a similar experience. If you are new to word processing, working with text in Google Documents is fairly easy to learn. Over the next few pages, we will show you the basics of working with text.
Watch the video for an introduction to text, including techniques like copy and paste.
To insert text:
- Move your mouse to the location where you wish text to appear in the document.
- Click the mouse. The insertion point appears.
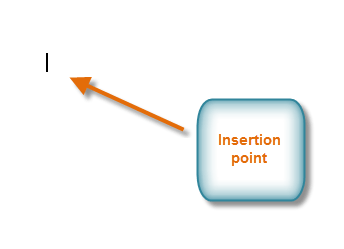 The insertion point
 - Type the text you wish to appear.
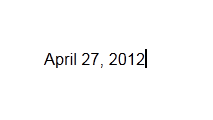 Typing text
To delete text:
- Place the insertion point next to the text you wish to delete.
- Press the Backspace key on your keyboard to delete text to the left of the insertion point.
- Press the Delete key on your keyboard to delete text to the right of the insertion point.
To select text:
- Place the insertion point next to the text you wish to select.
- Click the mouse, and while holding it down drag your mouse over the text to select it.
 Highlighting text
 - Release the mouse button. You have selected the text. A highlighted box will appear over the selected text.
 Selected text
Copying, cutting, and pasting text
You may find that sometimes it's easier to copy and paste text that repeats often in your document. Other times, there may be text you wish to move from one area of the document to another, in which case you'll need to cut and paste or drag and drop the text.
Typically, the copy, cut, and paste commands are found in the Edit menu of many word processing applications. However, Google Documents uses keyboard shortcuts, or a combination of keys to perform these commands. If you try to select copy, cut, or paste from the Edit menu in Google Documents, Google reminds you to use keyboard shortcuts.
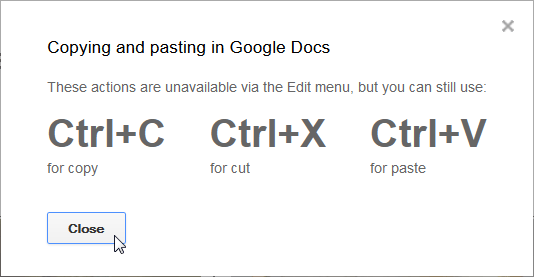 Viewing the Keyboard shortcuts
If you use Google Chrome as your Internet browser, you can download the free Chrome Google Docs app from the Chrome Web Store. It will allow you to select copy, cut, and paste from the Edit menu, and to right-click the mouse to copy, cut, and paste text.
To copy and paste text:
- Select the text you wish to copy.
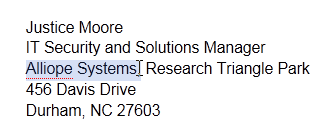 Selecting text to copy
 - Press Ctrl+C (Windows) or Command+C (Mac) on your keyboard to copy the text.
- Place your insertion point where you wish the text to appear.
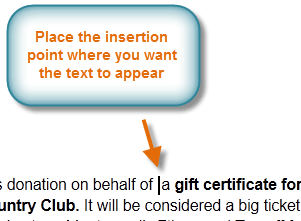 Placing the insertion point
 - Press Ctrl+V (Windows) or Command+V (Mac) on your keyboard to paste the text. The text will appear.
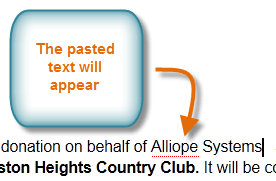 Viewing pasted text
To cut and paste text:
- Select the text you wish to copy.
 Selecting text to cut
 - Press Ctrl+X (Windows) or Command+X (Mac) on your keyboard to cut the text.
- Place your insertion point where you wish the text to appear.
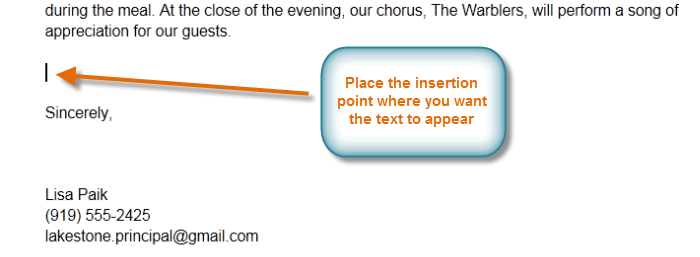 Placing the insertion point
 - Press Ctrl+V (Windows) or Command+V (Mac) on your keyboard to paste the text. The text will appear.
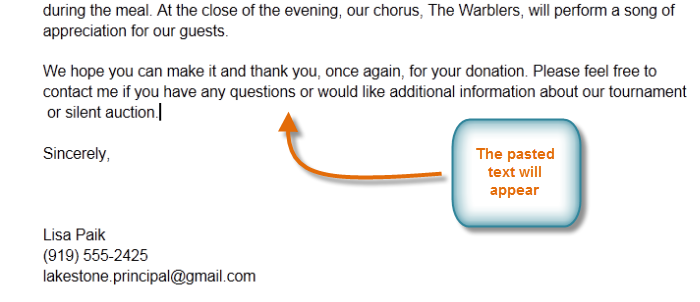 Viewing the pasted text
To drag and drop text:
- Select the text you wish to move to another place in the document.
 Preparing to drag and drop text
 - Click and drag the text to the location where you want it to appear. The cursor will have an insertion point under it to indicate that you're moving text.
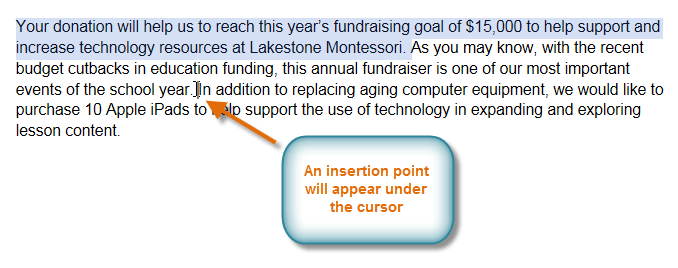 Dragging text to a new location
 - Release the mouse button, and the text will move to the new location.
 Viewing dropped text
To use the web clipboard:
The web clipboard collects copied selections and allows you to choose which selection to paste into the document. This can be useful when you find that you need to repeat text several times in the document.
- Select the text you wish to copy.
 Selecting text to copy
 - Click the Web clipboard button, then select Copy selection to web clipboard from the drop-down menu. The selected text will be copied to the web clipboard.
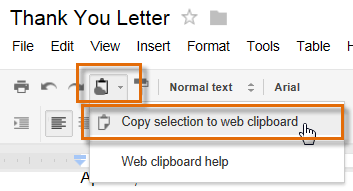 Copying text to the Web clipboard
 - Place your insertion point where you wish the text to appear.
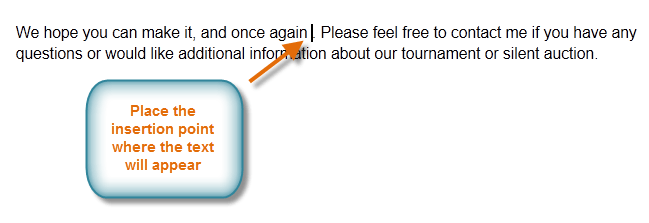 Selecting a location to paste from Web clipboard
 - Click the web clipboard button, and a drop-down menu will appear.
- Hover over the copied text selections. A preview of the selected text will appear in the box below the drop-down menu, and an additional paste options drop-down menu will appear to the right of your selection.
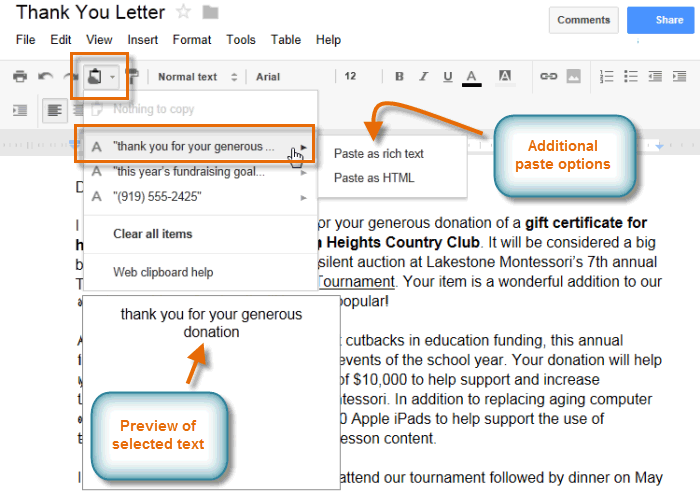 Web clipboard paste options and preview
 - Click the copied text selection you wish to appear, then select Paste as rich text from the paste options drop-down menu.
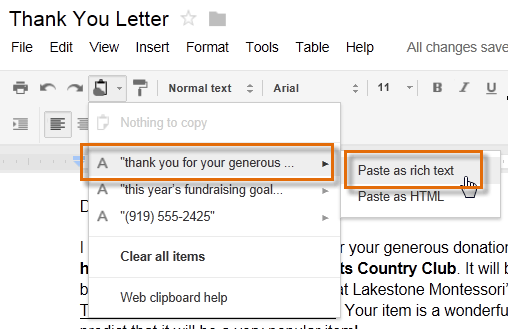 Pasting the selected text
 - The text will appear.
 Viewing the pasted text
To insert special characters:
Google Documents offers a large collection of special characters. They are useful when writing equations, and they can serve as decorative accents.
- Place the insertion point where you wish to insert a special character.
- Click Insert, then select Special characters...
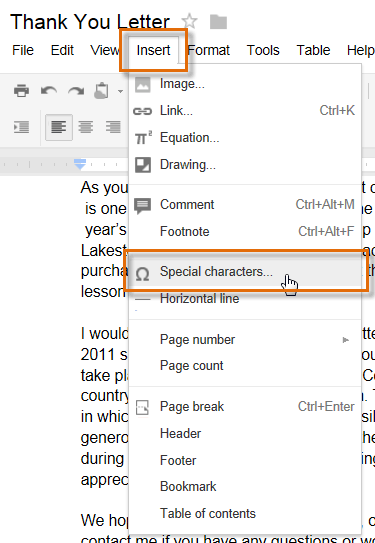 Selecting Special characters...
 - The Insert Special Characters dialog box will appear.
- Use the drop-down arrows above the character grid to browse groups of symbols. In our example, we are browsing for musical symbols to add to our document.
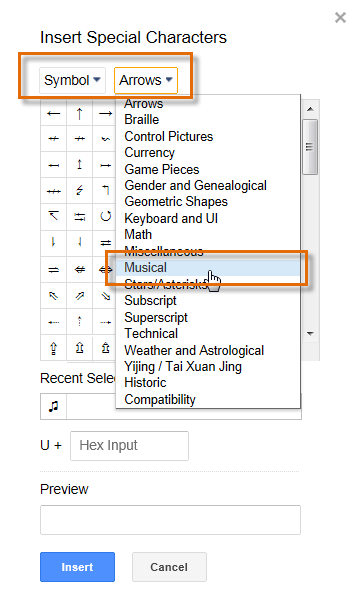 Browsing special characters
 - Hover over a symbol to see a larger view.
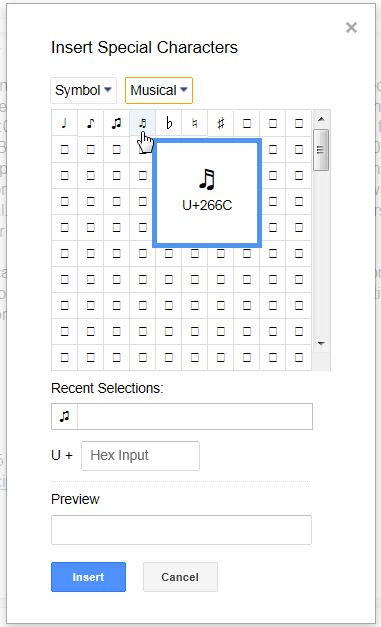 A larger view of a symbol
 - Click the desired symbol. It will appear in the Preview box. Click Insert.
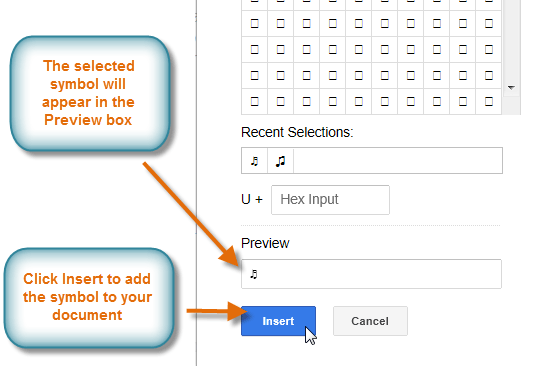 Previewing and inserting a symbol
 - The symbol will appear in your document.
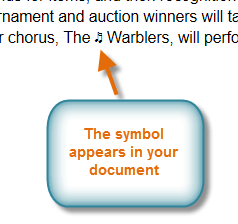 Viewing a selected symbol in a document
Spell check and suggested spelling
Google Documents, by default, will automatically check for misspelled words and make suggested spellings. Words with spelling suggestions are underlined in red.
 A word with spelling suggestions
To use suggested spelling:
- Right-click an underlined word. A drop-down menu with suggested spellings for the misspelled word will appear. Select the correct spelling from the list.
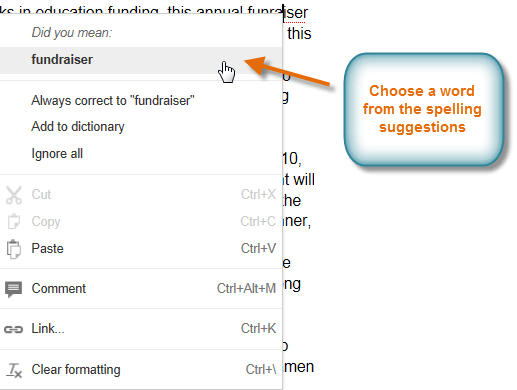 The spelling suggestions menu
 - The correct spelling will appear in place of the misspelled word in the document.
 A corrected spelling
Occasionally, Google Documents will suggest spellings for a word it does not recognize, like the name of a person or a company. If you are certain of the spelling, you can add the word to the dictionary. Once you add a word to the dictionary, Google Documents will keep the spelling of the word.
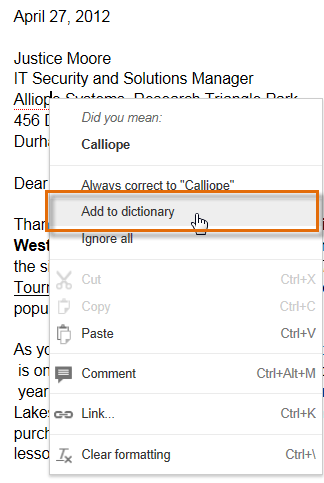 Adding a word to the dictionary
Using find and replace
When you're working with longer documents, it can be difficult and time consuming to locate a specific word or phrase within the document. Google Documents can automatically search your document using the find feature, and it even allows you to change words or phrases using the replace feature.
To find text:
- Click Edit, then select Find and replace...
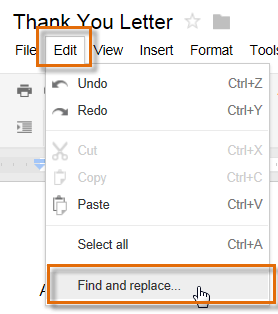 Selecting Find and replace...
 - The Find and replace dialog box will appear.
- Type the text you wish to find in the Find field. The number of times the word appears in the text will appear in the Find field, and each appearance will be highlighted in light yellow throughout the document.
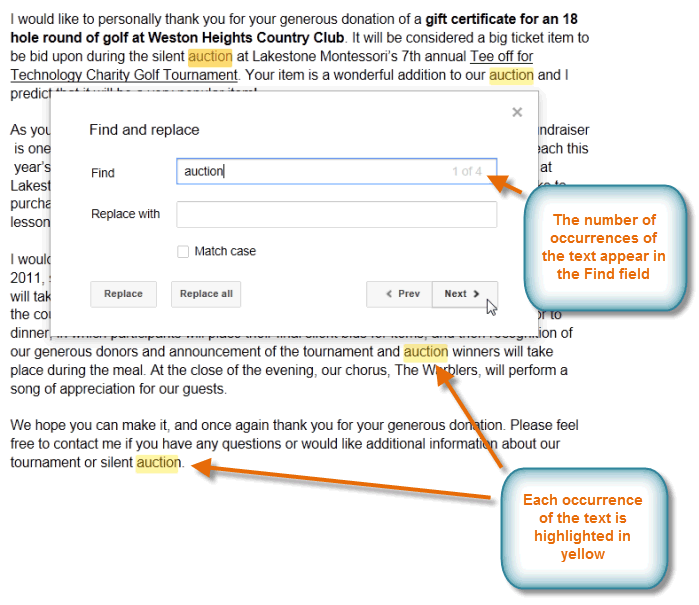 Finding text in a document
 - If the word appears more than once, you can click the Prev and Next arrows to jump to the next appearance. When the word is selected, it will be highlighted in darker yellow.
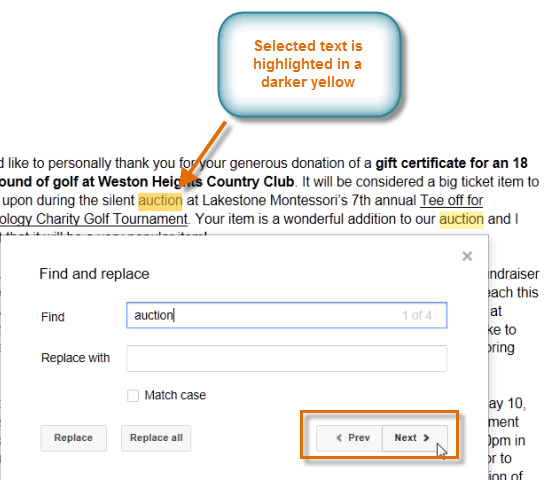 Selecting an occurrence of text
 - Click X to close the dialog box.
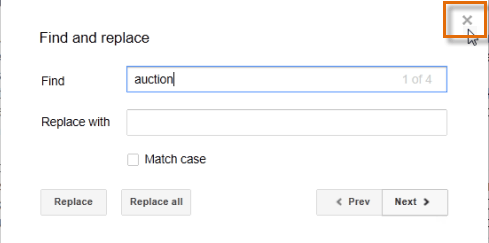 Closing the Find and replace dialog box
To replace text:
- Click Edit, then select Find and replace... The Find and replace dialog box will appear.
- Type the text you wish to find in the Find field. Type the text that you want to replace it with in the Replace with field.
- Click Next or Prev and then Replace to replace text. If you wish to replace all occurrences of the text within the document, click Replace all.
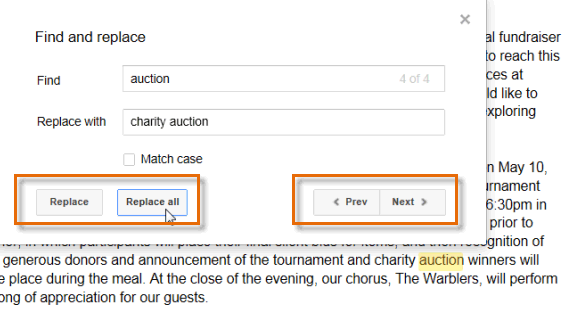 Replacing text in a document
Challenge!
To work through the challenge, open GCFLearnFree L8: Thank You Letter and copy the file to your Google Drive. View the instructions below the challenge if you're not sure how to make a copy of the file.
- Look for any words that have spelling suggestions. Select the correct spelling for them.
- Cut and paste or drag and drop the last sentence of the first paragraph so it becomes the second sentence of the same paragraph.
- Copy a few phrases to the web clipboard, and practice pasting one into your document.
- Select a place to insert a special character as decoration.
- The name of the country club is wrong, so find and replace Weston Heights with Weston Ridge.
- Decrease the left and right margins in page setup so all of the text is on one page.
To copy the example file to your Google Drive:
In these tutorials, we will provide example files you can use to practice what you've learned in each lesson. Because these files are Google Docs we have chosen to share, you will need to copy the file to your Google Drive before you can edit the file.
- Click the link at the top of this page to open the example file.
- The example file will appear in a new browser tab or window. If you are not currently signed in to your Google account, locate and click Sign in on the top-right corner of the page.
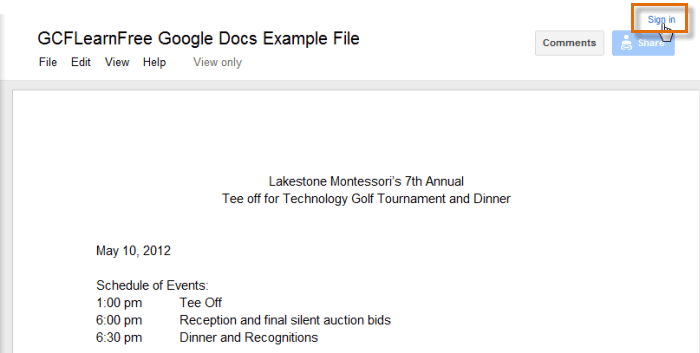 Signing in to your Google Account
 - After you have signed in to your Google account, locate and select File in the toolbar menu, then select Make a copy... from the drop-down menu.
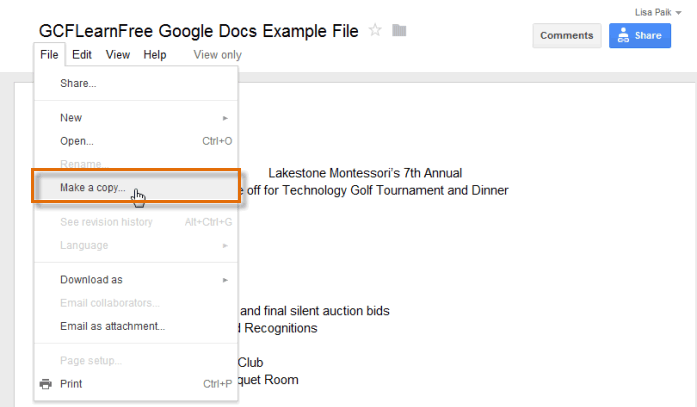 Making a copy of the example file
 - The Copy Document dialog box will appear. Click OK.
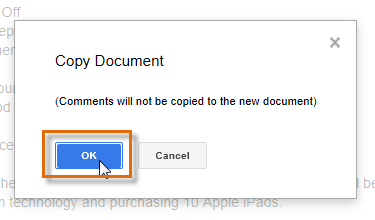 Clicking OK
 - The copy of the file will appear in a new browser tab. Now you're ready to start using the example file.
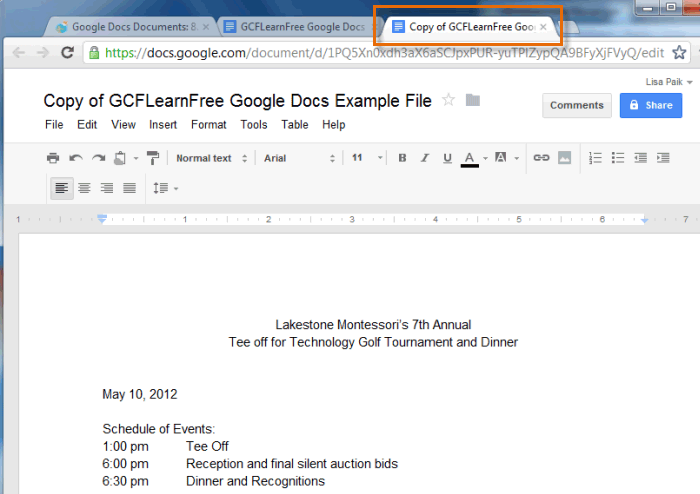 Viewing the copied example file in a new tab


